


Basic functions
23
Preventing your subject from being out of focus
It may be difficult to get your subject in focus when:
there is little contrast between the subject and background
-
(When your subject is wearing a color of clothing that is similar to the
background)
the light source behind the subject is too bright
-
the subject is shiny
-
the subject includes horizontal patterns, such as blinds
-
the subject is not positioned in the center of the frame
-
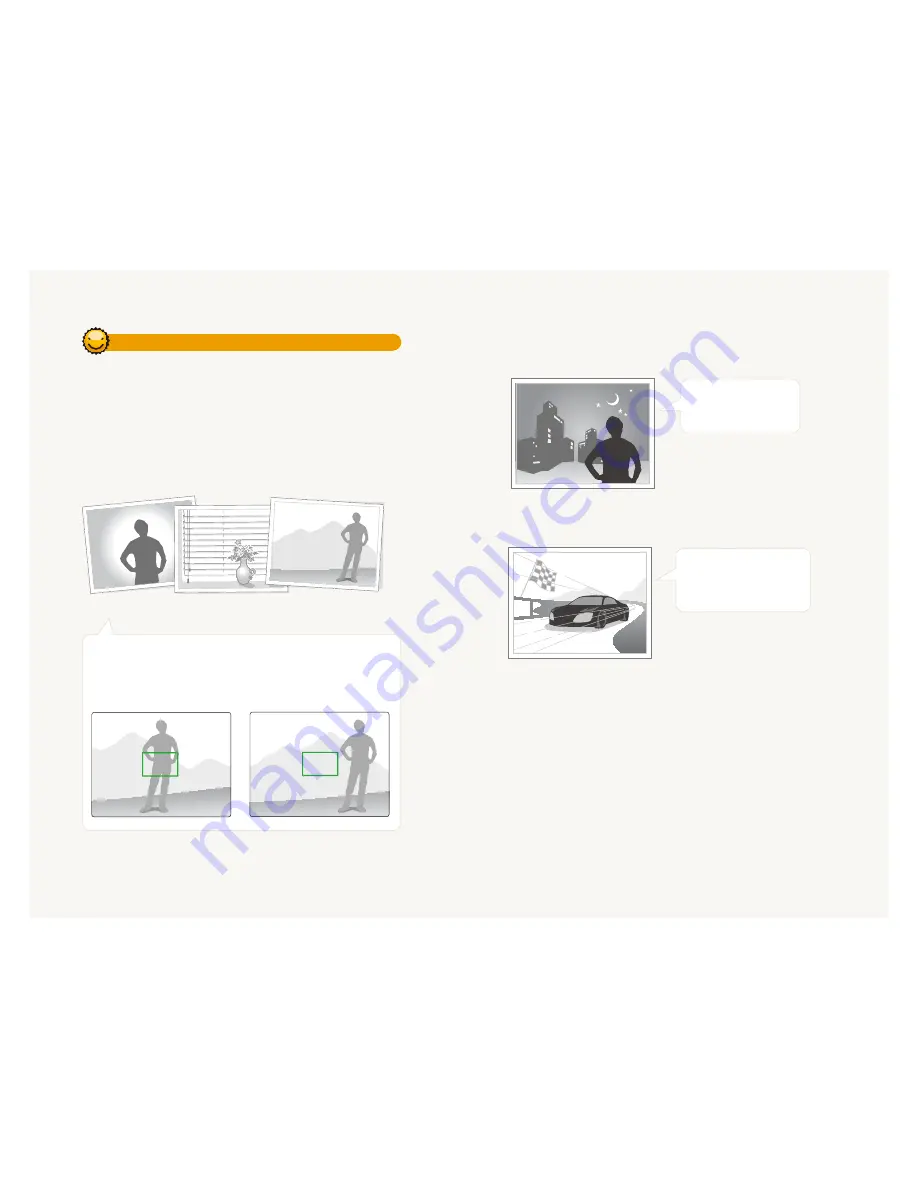
Use the focus lock
Half-press [
Shutter
] to focus. When the subject is in focus,
you can reposition the frame to change the composition.
When you are ready, press [
Shutter
] to take your photo.
When you take photos in low light
t
Turn on the flash.
(p. 45)
When subjects are moving fast
t
Use the continuous
or motion capture
function. (p. 58)
Содержание CL65
Страница 97: ......


