25
O
P E R AT I O N
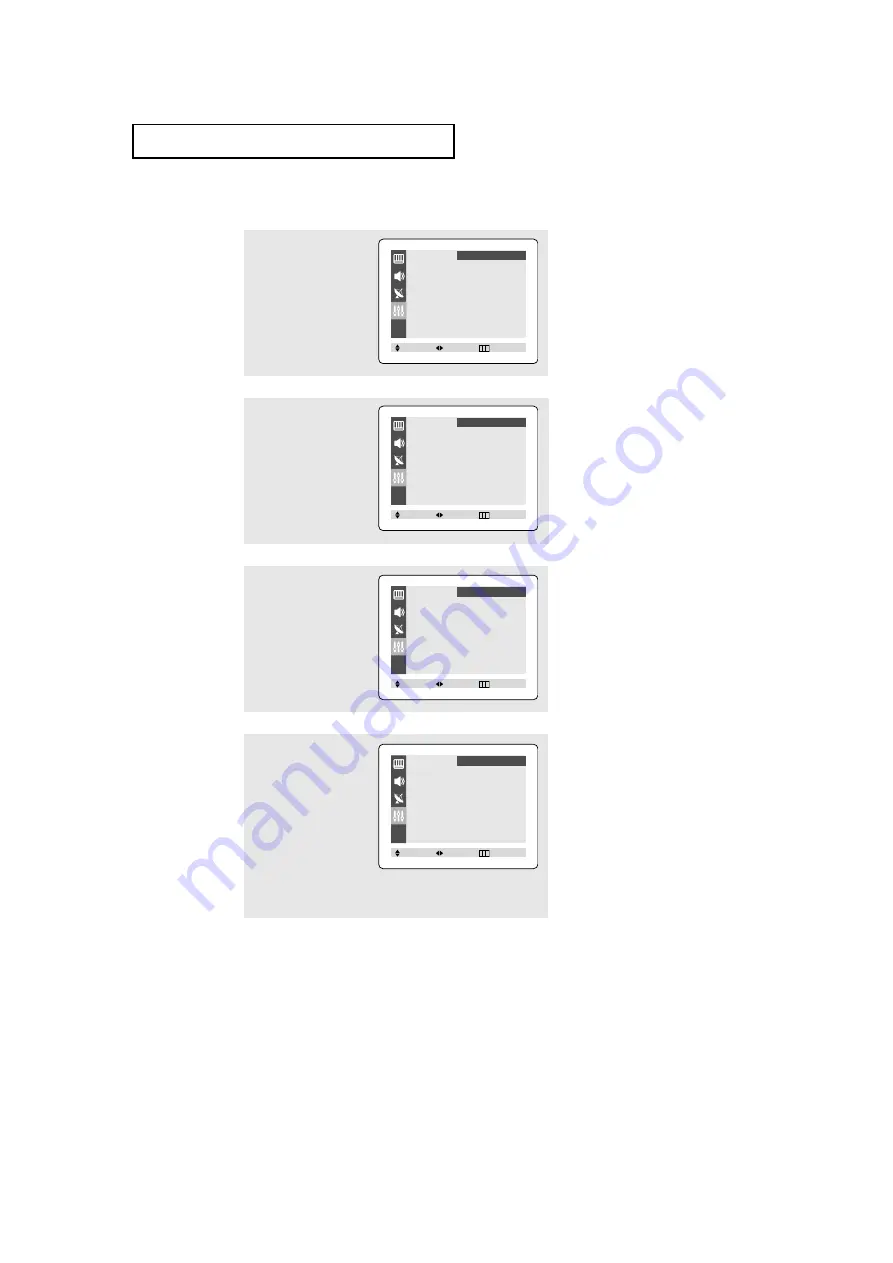
Setting the Clock
1
Pr
ess the
MENU
button to
display the on-screen
menu.
Press the
▲
or
▼
button
to select “Function”, then
press the
ˇ
or
ˆ
button.
2
Pr
ess the
▲
or
▼
button
to select “Time”, then
press the
ˇ
or
ˆ
button.
The Time menu will
appear on the screen, and
“Clock” will be selected.
3
Pr
ess the
ˇ
or
ˆ
button
to select the hours digits.
Press the
▲
or
▼
button
repeatedly until the cor-
rect hour appears.
▼
When selecting the hours, be sur
e
to select the proper time of day (AM
or PM).
You can change the hours by pressing
▲
or
▼
r
epeatedly (or by holding
down either of these buttons).
4
After the hour is enter
ed,
press the
ˆ
button. to
select the minutes digits.
Press the
▲
or
▼
button
to select the correct min-
utes.
Press the
EXIT
button to
exit.
▼
The time will appear ever
y time
you press the INFO button.
Language
ˇ
ˇ
English
ˆ
ˆ
T
ime
ˆ
ˆ
Caption
ˆ
ˆ
Function
Move
Select
Exit
Time
Clock
- - : - - am
On time
- - : - - am Off
Off time
- - : - - am Off
Function
Move
Select
Exit
Time
Clock
10 : 00 am
On time
- - : - - am Off
Off time
- - : - - am Off
Function
Move
Select
Exit
Time
Clock
10 : 30 am
On time
- - : - - am Off
Off time
- - : - - am Off
Function
Move
Select
Exit
All manuals and user guides at all-guides.com


