


29
The models in the Graphic Cards list supports FreeSync
FreeSync
can only be used with specific AMD graphics card models. Refer to the following list for
supported graphics cards:
Make sure to install the latest official graphics drivers from AMD that support
FreeSync
.
―
For additional AMD graphics card models that support the
FreeSync
feature, visit the official AMD website.
―
Select
FreeSync
Off
if you are using a graphics card from a different manufacturer.
•
AMD Radeon R9 300 Series
•
AMD Radeon R9 Fury X
•
AMD Radeon R7 360
•
AMD Radeon R9 295X2
•
AMD Radeon R9 290X
•
AMD Radeon R9 290
•
AMD Radeon R9 285
•
AMD Radeon R7 260X
•
AMD Radeon R7 260
How do you enable FreeSync?
1
Set
FreeSync
to
Standard Engine
or
Ultimate Engine
in the OSD menu.
2
Enable
FreeSync
in
AMD Radeon Settings
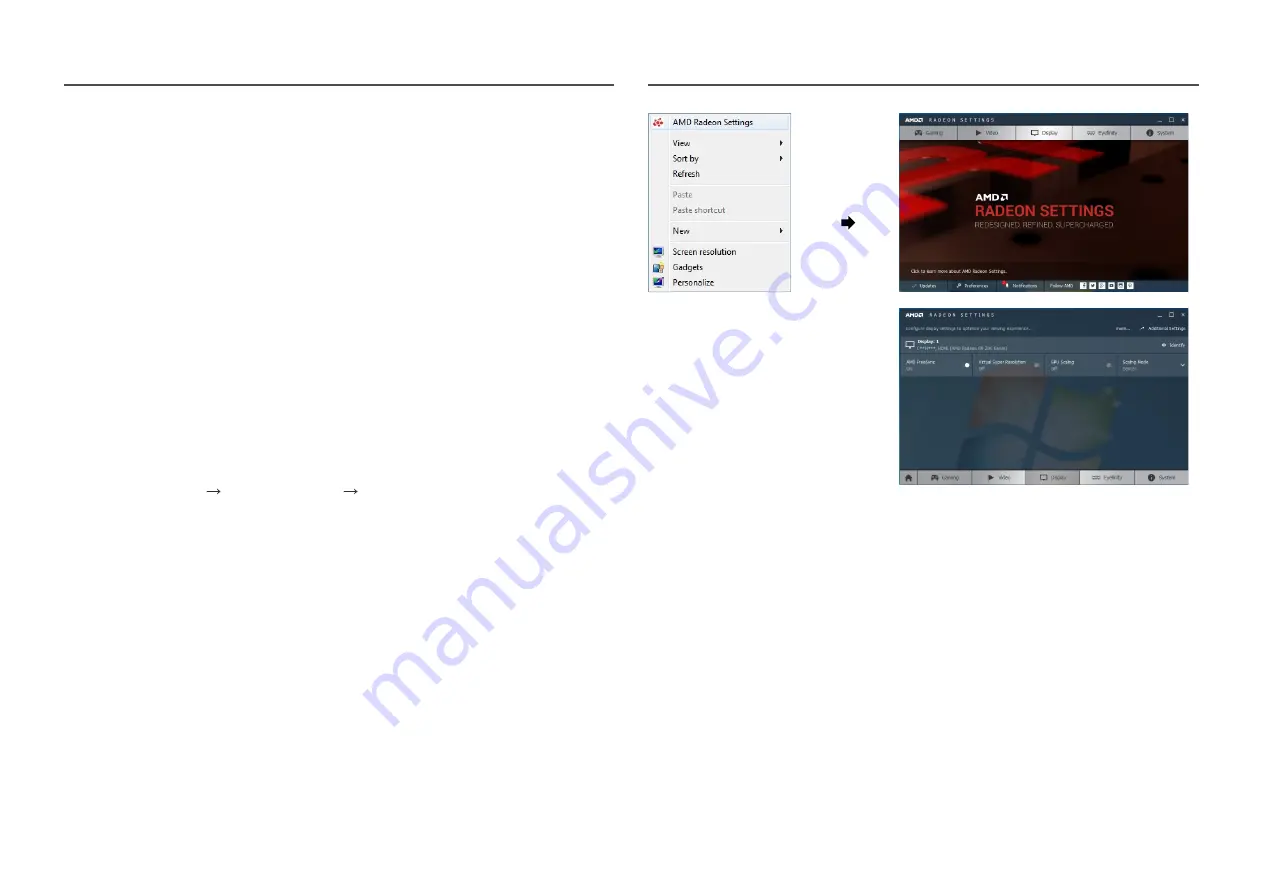
:
Right-click the mouse
AMD Radeon Settings
Display
The "
AMD FreeSync
" feature should be set to "On". Select to "On" if not already enabled.


