


English - 15
04
O
VEN USE
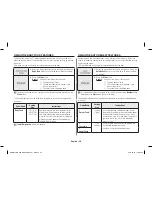
ONE-STAGE COOKING
For simple one-stage cooking, you only need to set a cooking time. The power level is
automatically set to High. If you want to set the power to any other level, you must set it
using the
MWO Power level
button.
1.
Use the
Number
buttons to set a cooking time. You can set
a time from one second to 99 minutes, 99 seconds. To set a
time over one minute, enter the seconds too.
For example,
to set 20 minutes, enter 2, 0, 0, 0.
2.
If you want to set the power level to something other than
High, press the
MWO Power level
button, then use the
Number
buttons to enter a power level.
Power Levels
0 = PL:0
(Deodorization)
6 = PL:60
(Simmer)
1 = PL:10
(Warm)
7 = PL:70
(Medium high)
2 = PL:20
(Defrost)
8 = PL:80
(Reheat)
3 = PL:30
(Low)
9 = PL:90
(Sauté)
4 = PL:40
(Medium low)
10 = PL:Hi
(High)
5 = PL:50
(Medium)
3.
Press the
Start
button to begin cooking. If you want to
change the power level, press the
Stop/Cancel
button
before you press the
Start
button, and re-enter all of the
instructions.
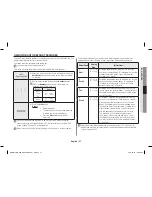
Some recipes require different stages of cooking at different temperatures. You can set
multiple stages of cooking with your microwave.
MULTI-STAGE COOKING
1.
Follow steps 1 and 2 in the “One-Stage Cooking” section on
page 15 for further details.
When entering more than one cooking stage, the
MWO
Power level
button must be pressed before the second
cooking stage can be entered.
2.
Use the
Number
buttons to set a second cooking time.
3.
Press the
MWO Power level
button, then use the
Number
buttons to set the power level of the second stage of
cooking.
4.
Press the
Start
button to begin cooking.
You can check the Power Level while cooking is in progress
by pressing the
MWO Power level
button.
USING THE +30S BUTTON
You can increase the cooking time by pressing the
+30S
button once for each 30
seconds to be added.
1.
Press the
+30S
button once for each 30 seconds to be
added.
Add 30 seconds to a program in progress by pressing the
+30S
button for each 30 seconds you want to add.
2.
Press the
Start
button.
It only work in MWO, except all Auto Cook & Health Cook
mode.
AME0114MB_XAP_DE68-03752U-01_EN.indd 15
2014-06-19 �� 10:09:31


