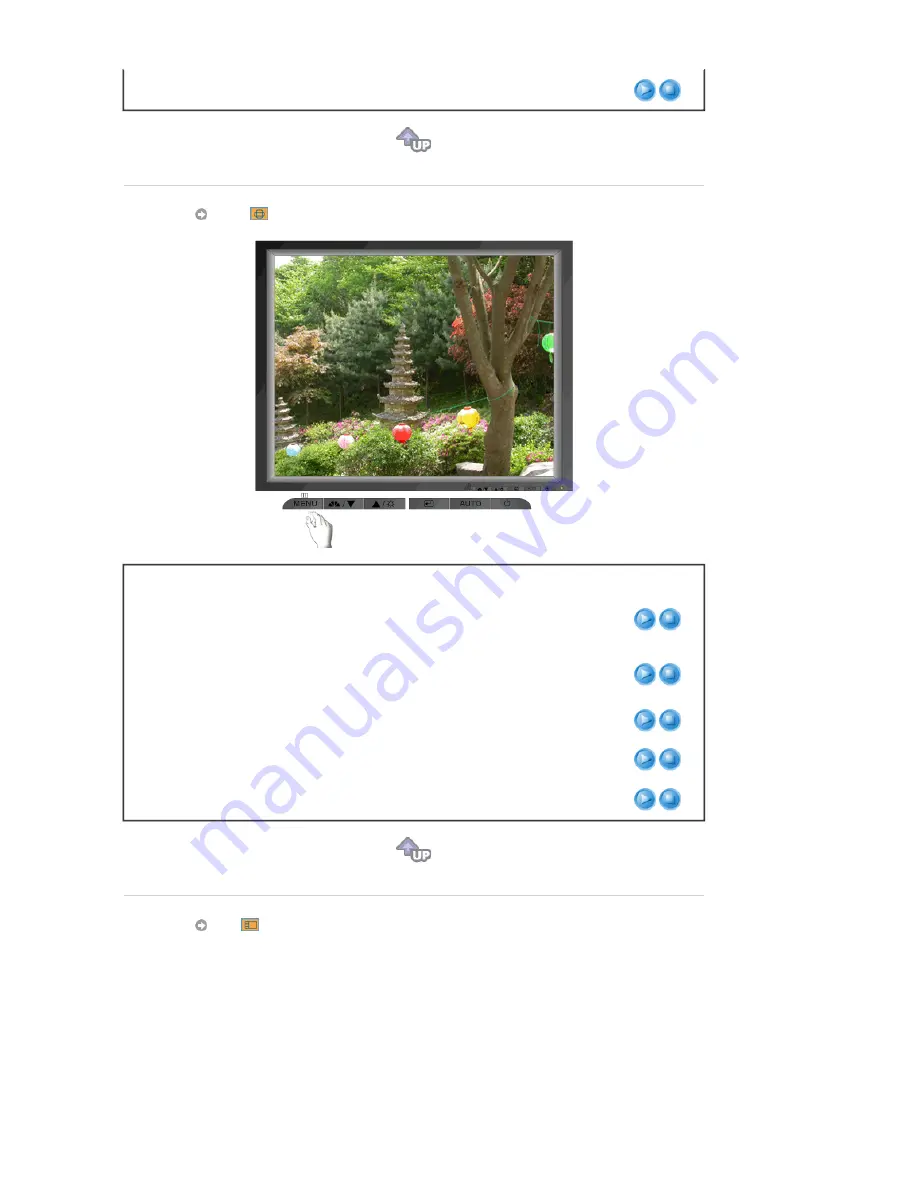
background image

Gamma

Select one of three pre-defined gammas.


 Image 


Menu

Description

Play/Stop

Coarse

Removes noise such as vertical stripes. Coarse 
adjustment may move the screen image area. You may 
relocate it to the center using the Horizontal Control menu.

Fine


Removes noise such as horizontal stripes. If the noise 
persists even after Fine tuning, repeat it after adjusting the 

frequency (clock speed).

Sharpness

Follow these instuction to change the clearance of image.

H-Position

Follow these instructions to change the horizontal position 
of the monitor's entire display.

V-Position

Follow these instructions to change the vertical position of 
the monitor's entire display.


 OSD 


Содержание 913N - SyncMaster - 19" LCD Monitor

Страница 1: ...SyncMaster 913N 915N 912T...

Страница 2: ...erstand at all times Do not disassemble Disconnect the plug from the outlet Do not touch Grounding to prevent an electric shock Power When not used for extended period of time set your computer to DPM...

Страница 3: ...ords or plugs to an outlet z This may cause fire Installation Be sure to contact an authorized service center when installing your monitor in a location with the heavy dust high or low temperatures hi...

Страница 4: ...t must be done by a qualified professional z Installation by unqualified personnel may result in injury z Always use the mounting device specified in the owner s manual Install the product keeping a d...

Страница 5: ...ds or smells coming from it unplug it immediately and contact an authorized dealer or service z This may cause an electric shock or fire Be careful not to let water drip into the monitor or expose the...

Страница 6: ...explosion or fire Never insert anything metallic into the monitor openings z This may cause an electric shock fire or injury Do not insert metal objects such as chopsticks wire and gimlet or inflammab...

Страница 7: ...to vibrations z Dropping the product may cause damage to the product or personal injury Using the product in a location prone to vibrations may shorten the lifetime of the product or may catch fire Wh...

Страница 8: ...s are included with your monitor If any items are missing contact your dealer Unpacking Option 1 Monitor Simple stand Bottom Option 2 Monitor Pivot stand Manual Warranty Card User s Guide SyncMaster 9...

Страница 9: ...ifferent modes are available Custom Text Internet and Entertain Each mode has its own pre configured brightness value You can easily select one of four settings by simply pressing MagicBright control...

Страница 10: ...during normal operation and blinks green once as the monitor saves your adjustments See PowerSaver described in the manual for further information regarding power saving functions For energy conservat...

Страница 11: ...If any items are missing contact your dealer Unpacking Monitor Simple stand Bottom Manual Quick Setup Guide Warranty Card Not available in all locations User s Guide Monitor Driver Natural Color softw...

Страница 12: ...epending on your taste If this is the case adjust the Brightness and Contrast by using the OSD menu 2 Text Normal Brightness For documentations or works involving heavy text 3 Internet Medium Brightne...

Страница 13: ...tended for long periods Rear The configuration at the back of the monitor may vary from product to product 1 Power port Connect the power cord for your monitor to the power port on the back of the mon...

Страница 14: ...ems are missing contact your dealer Unpacking Monitor Pivot stand Manual Quick Setup Guide Warranty Card Not available in all locations User s Guide Monitor Driver Natural Color software MagicTune sof...

Страница 15: ...ness and Contrast by using the OSD menu 2 Text Normal Brightness For documentations or works involving heavy text 3 Internet Medium Brightness For working with a mixture of images such as text and gra...

Страница 16: ...n it is not needed or when leaving it unattended for long periods Rear The configuration at the back of the monitor may vary from product to product 1 Power port Connect the power cord for your monito...

Страница 17: ...ct the signal cable to the 15 pin D sub connector on the back of your monitor 2 2 Connected to a Macintosh Connect the monitor to the Macintosh computer using the D SUB connection cable 2 3 In the cas...

Страница 18: ...Monitor and Bottom Pivot Stand A Stand Stopper Attaching a base This monitor accepts a 100 mm x 100 mm VESA compliant mounting interface pad Monitor Assembly SyncMaster 913N 915N...

Страница 19: ...nitor face down on a flat surface with a cushion beneath it to protect the screen 3 Remove four screws and then remove the Stand from the LCD monitor 4 Align the Mounting Interface Pad with the holes...

Страница 20: ...back of your monitor 2 2 Using the DVI Digital connector on the video card Connect the DVI Cable to the DVI Port on the back of your Monitor 2 3 Connected to a Macintosh Connect the monitor to the Mac...

Страница 21: ...een 3 Remove four screws and then remove the Stand from the LCD monitor 4 Align the Mounting Interface Pad with the holes in the Rear Cover Mounting Pad and secure it with four screws that came with t...

Страница 22: ...sert CD into the CD ROM drive 2 Click Windows ME Driver 3 Choose your monitor model in the model list then click the OK button 4 Click the Install button in the Warning window 5 Monitor driver install...

Страница 23: ...ation is slightly different from one operating system to another Follow the directions appropriate for the operating system you have Prepare a blank disk and download the driver program file at the In...

Страница 24: ...5 Click Update Driver and select Install from a list or then click Next button 6 Select Don t search I will then click Next and then click Have disk 7 Click the Browse button then choose A D Driver an...

Страница 25: ...Monitor homepage http www samsung com 9 Click the Close button then click OK button continually 10 Monitor driver installation is completed Microsoft Windows 2000 Operating System When you can see Dig...

Страница 26: ...monitor that corresponds to the one you connected to your computer and click OK 11 Continue choosing Close button and OK button until you close the Display Properties dialogue box Microsoft Windows NT...

Страница 27: ...nformation refer to Help F1 in the software program How to install the Natural Color software Insert the CD included with the Samsung monitor into the CD ROM Drive Then the initial screen of the progr...

Страница 28: ...enu 2 This buttons allows you to adjust items in the menu 3 This buttons allows you to adjust items in the menu 4 Press this button activates a highlighted menu item 5 Press to self adjust to the inco...

Страница 29: ...o make the automatic adjustment function sharper execute the AUTO function while the AUTO PATTERN is on z If Auto Adjustment does not work properly press Auto button again to adjust picture with more...

Страница 30: ...rightness 1 Picture Brightness Contrast 2 Color Color Tone Color Control Gamma 3 Image Coarse Fine Sharpness H Position V Position 4 OSD Language H Position V Position Transparency Display Time 5 Setu...

Страница 31: ...n the screen Push the button to adjust brightness Contrast Adjust the Contrast Color Menu Description Play Stop Color Tone The tone of the color can be changed and one of four modes can be selected Co...

Страница 32: ...ontrol menu Fine Removes noise such as horizontal stripes If the noise persists even after Fine tuning repeat it after adjusting the frequency clock speed Sharpness Follow these instuction to change t...

Страница 33: ...ny software running on the computer H Position You can change the horizontal position where the OSD menu appears on your monitor V Position You can change the vertical position where the OSD menu appe...

Страница 34: ...eset Image parameters are replaced with the factory default values Color Reset Color parameters are replaced with the factory default values Information Menu Description Information Shows a video sour...

Страница 35: ...menu 2 This buttons allows you to adjust items in the menu 3 This buttons allows you to adjust items in the menu 4 Press this button activates a highlighted menu item 5 Press to self adjust to the in...

Страница 36: ...matically Available in analog Mode Only To make the automatic adjustment function sharper execute the AUTO function while the AUTO PATTERN is on z If Auto Adjustment does not work properly press Auto...

Страница 37: ...fferent modes Custom Text Internet Entertain Brightness Menu Description Brightness Adjust Brightness Source Menu Description Source Selects the Video signal while the OSD is off 1 Picture Brightness...

Страница 38: ...age H Position V Position Transparency Display Time 5 Setup Auto Source Image Reset Color Reset 6 Information Picture Menu Description Play Stop Brightness Adjust the Brightness Direct Access Feature...

Страница 39: ...lor Control Follow these steps to adjust individual R G B color balance Gamma Select one of three pre defined gammas Image Menu Description Play Stop Coarse Removes noise such as vertical stripes Coar...

Страница 40: ...ion Play Stop Language Follow these steps to change the language used in the menu You can choose one of seven languages English German Spanish French Italian Swedish Russian Note The language chosen a...

Страница 41: ...ct Auto Source for the monitor to automatically select the signal source Image Reset Image parameters are replaced with the factory default values Color Reset Color parameters are replaced with the fa...

Страница 42: ...Information Shows a video source display mode on the OSD screen...

Страница 43: ...ility that guides you through the tuning process with easy to understand instructions and back ground patterns designed for each monitor control The display settings for each user can be saved providi...

Страница 44: ...llation 1 Insert the installation CD into the CD ROM drive 2 Click the MagicTune installation file 3 Select installation Language Click Next 4 When the InstallShield Wizard window appears click Next 5...

Страница 45: ...6 Choose a folder to install the MagicTune program 7 Click Install 8 The Installation Status window appears...

Страница 46: ...ecutable icon appears on your desktop Double click the icon to start the program 11 The following window appears if the installation is successful Magictune execution icon may not appear depending on...

Страница 47: ...fected by such factors as the video card motherboard and the network environment See Troubleshooting if you have trouble during installation System Requirements OS z Windows 98 SE z Windows Me z Windo...

Страница 48: ...on Tab Definition Picture Tab Definition MagicTune allows for quick accurate tuning of the display with the ability to easily save and use monitor configurations that are best suited for you z OSD mod...

Страница 49: ...tions supported by the program MagicBright MagicBright is a new feature providing the optimum viewing environment depending on the contents of the image you are watching Currently four different modes...

Страница 50: ...Color Control Adjusts of the monitor image color You can change the monitor color to your desired color z R G B Calibration The process through which the colors of your choice are optimized and mainta...

Страница 51: ...ical stripes Coarse adjustment may move the screen image area You may relocate it to the center using the Horizontal Control menu z Auto Setup Auto adjustment allows the monitor to self adjust to the...

Страница 52: ...ystem Tray is deselected in Options Basic Settings z Select Language The language chosen affects only the language of the OSD Source Select z Analog z Digital Help Visit the MagicTune website or click...

Страница 53: ...erly you won t detect any color tone on Control patch 3 When you finish adjustment for step1 Click Next button 4 Repeat 1 2 3 procedures for remaining step2 step5 5 You can easily view the calibration...

Страница 54: ...eview button on the Color Calibration The above picture will be shown 1 Press View Calibrated button to see the calibration effect which you adjusted 2 Press View Uncalibrated button to see the origin...

Страница 55: ...n the menu If the program runs on Windows XP go to Control Panel in the Start menu 2 Click the Add or Remove Programs icon in Control Panel 3 In the Add or Remove Programs screen scroll down to find M...

Страница 56: ...roperly MagicTune feature is found only on PC VGA with Window OS that supports Plug and Play z Visit the MagicTune website for technical support for MagicTune FAQs questions and answers and software u...

Страница 57: ...dows ME XP 2000 and then change the frequency of the video card Refer to the Preset Timing Modes Note If the initial screen the login screen does not appear contact the Service Center or your dealer C...

Страница 58: ...y adjusted when checking the Display Timing on the menu Adjust the frequency properly by referring to the video card manual and the Preset Timing Modes The maximum frequency per resolution may differ...

Страница 59: ...anual How can I clean the outer case LCD Panel Disconnect the power cord and then clean the monitor with a soft cloth using either a cleaning solution or plain water Do not leave any remains of the de...

Страница 60: ...re within 3 feet one meter of the monitor Useful Tips z A monitor recreates visual signals received from the computer Therefore if there is trouble with the computer or the video card this can cause t...

Страница 61: ...o have the monitor double check the input signal source If the power is on reboot the computer to see the initial screen the login screen which can be seen If the initial screen the login screen appea...

Страница 62: ...e sure the video card is fully inserted in it s slot Have the screen colors become strange after running a program or due to a crash between applications Reboot the computer Has the video card been se...

Страница 63: ...n using the maximum resolution 5 If you have problems in installing the adapter video driver boot the computer in Safe Mode remove the Display Adapter at the Control Panel System Device Administrator...

Страница 64: ...e Environment The location and the position of the monitor may influence the quality and other features of the monitor 1 if there are any sub woofer speakers near the monitor unplug and relocate the w...

Страница 65: ...6 75 Hz Display Color 16 194 277 Colors Resolution Optimum resolution 1280 x 1024 60 Hz Maximum resolution 1280 x 1024 75 Hz Input Signal Terminated RGB Analog 0 7Vp p Positive at 75 ohms Separate H V...

Страница 66: ...els could be seen This is not from bad quality and you can use it without uneasiness z For example the number of TFT LCD sub pixels that is contained in this product are 3 932 160 Note Design and spec...

Страница 67: ...500 VESA 640 x 480 37 861 72 809 31 500 VESA 800 x 600 35 156 56 250 36 000 VESA 800 x 600 37 879 60 317 40 000 VESA 800 x 600 46 875 75 000 49 500 VESA 800 x 600 48 077 72 188 50 000 VESA 1024 x 768...

Страница 68: ...6 75 Hz Display Color 16 194 277 Colors Resolution Optimum resolution 1280 x 1024 60 Hz Maximum resolution 1280 x 1024 75 Hz Input Signal Terminated RGB Analog 0 7Vp p Positive at 75 ohms Separate H V...

Страница 69: ...siness z For example the number of TFT LCD sub pixels that is contained in this product are 3 932 160 Note Design and specifications are subject to change without prior notice PowerSaver This monitor...

Страница 70: ...640 x 480 37 861 72 809 31 500 VESA 800 x 600 35 156 56 250 36 000 VESA 800 x 600 37 879 60 317 40 000 VESA 800 x 600 46 875 75 000 49 500 VESA 800 x 600 48 077 72 188 50 000 VESA 1024 x 768 48 363 60...

Страница 71: ...olution Optimum resolution 1280 x 1024 60 Hz Maximum resolution 1280 x 1024 75 Hz Input Signal Terminated RGB Analog DVI Digital Visual Interface Compliant Digital RGB 0 7Vp p Positive at 75 ohms Sepa...

Страница 72: ...le the number of TFT LCD sub pixels that is contained in this product are 3 932 160 Note Design and specifications are subject to change without prior notice PowerSaver This monitor has a built in pow...

Страница 73: ...500 VESA 640 x 480 37 861 72 809 31 500 VESA 800 x 600 35 156 56 250 36 000 VESA 800 x 600 37 879 60 317 40 000 VESA 800 x 600 46 875 75 000 49 500 VESA 800 x 600 48 077 72 188 50 000 VESA 1024 x 768...

Страница 74: ...CEP 04719 040 Sao Paulo SP SAC 0800 124 421 http www samsung com br CANADA Samsung Electronics Canada Inc Samsung Customer Care 7037 Financial Drive Mississauga Ontario L5N 6R3 1 800 SAMSUNG 1 800 72...

Страница 75: ...S p a Via C Donat Cattin 5 20063 Cernusco s Naviglio MI Servizio Clienti 199 153 153 http www samsung italia com M XICO SAMSUNG ELECTRONICS M XICO S A de C V V a Lopez Portillo No 6 Col San Fco Chilp...

Страница 76: ...549 1621 Fax 0027 11 549 1629 http www samsung co za SWEDEN DENMARK NORWAY FINLAND Samsung Electronics AB Box 713 S 194 27 UPPLANDS V SBY SVERIGE Bes ksadress Johanneslundsv gen 4 Samsung support Sver...

Страница 77: ...horizontally is called Horizontal Cycle The inverse number of the Horizontal Cycle is called Horizontal Frequency Unit kHz Interlace and Non Interlace Methods Showing the horizontal lines of the scree...

Страница 78: ...utton is pressed If there s still noise after automatic adjustment use FINE COARSE adjustment function 5 If you view a fixed screen for an extended period of time residual image or blurriness may appe...

Страница 79: ...dealer or an experienced radio TV technician for help User Information Changes or modifications not expressly approved by the party responsible for compliance could void the user s authority to opera...

Страница 80: ...l requirements AB2 Written Eco document acompanying the products Congratulations You have just purchased a TCO 95 approved and labelled product Your choice has provided you with a product developed fo...

Страница 81: ...d from TCO Development Unit S 11494 Stockholm Sweden Fax 46 8 782 92 07 E mail Internet development tco se Current information regarding TCO 95 approved and labelled products may also be obtained via...

Страница 82: ...entally harmful substances are used both in the products and during their manufacture Since it is not so far possible to satisfactorily recycle the majority of electronics equipment most of these pote...

Страница 83: ...components associated with the labelled unit There is however one exception Mercury is for the time being permitted in the back light system of flat panel monitors as today there is no commercially a...

Страница 84: ...to be treated in environmentally acceptable way U S A Residents Only European Residents Only U S A SWEDEN NORWAY GERMANY COMPANY Solid Waste Transfer Recycling Inc ELKRETSEN Elektronikkretur AS vfw AG...

Страница 85: ...e IEC 950 for data processing equipment and IEC 601 1 for medical equipment Furthermore all configurations shall comply with the system standard IEC 601 1 1 Everybody who connects additional equipmen...

Страница 86: ...ttern z Use a Screen saver if possible z Set the Monitor to power off with the PC Display Properties Power Scheme Turn the power off for 4 hours after 24 hours in use Turn the power off for 2 hours af...

Страница 87: ...tterns When the LCD panel is operated for a long time with a fixed pattern over 12 hours there may be slight difference in voltage between electrodes that work the liquid crystal LC in a pixel The vol...

Отзывы: