24
GB
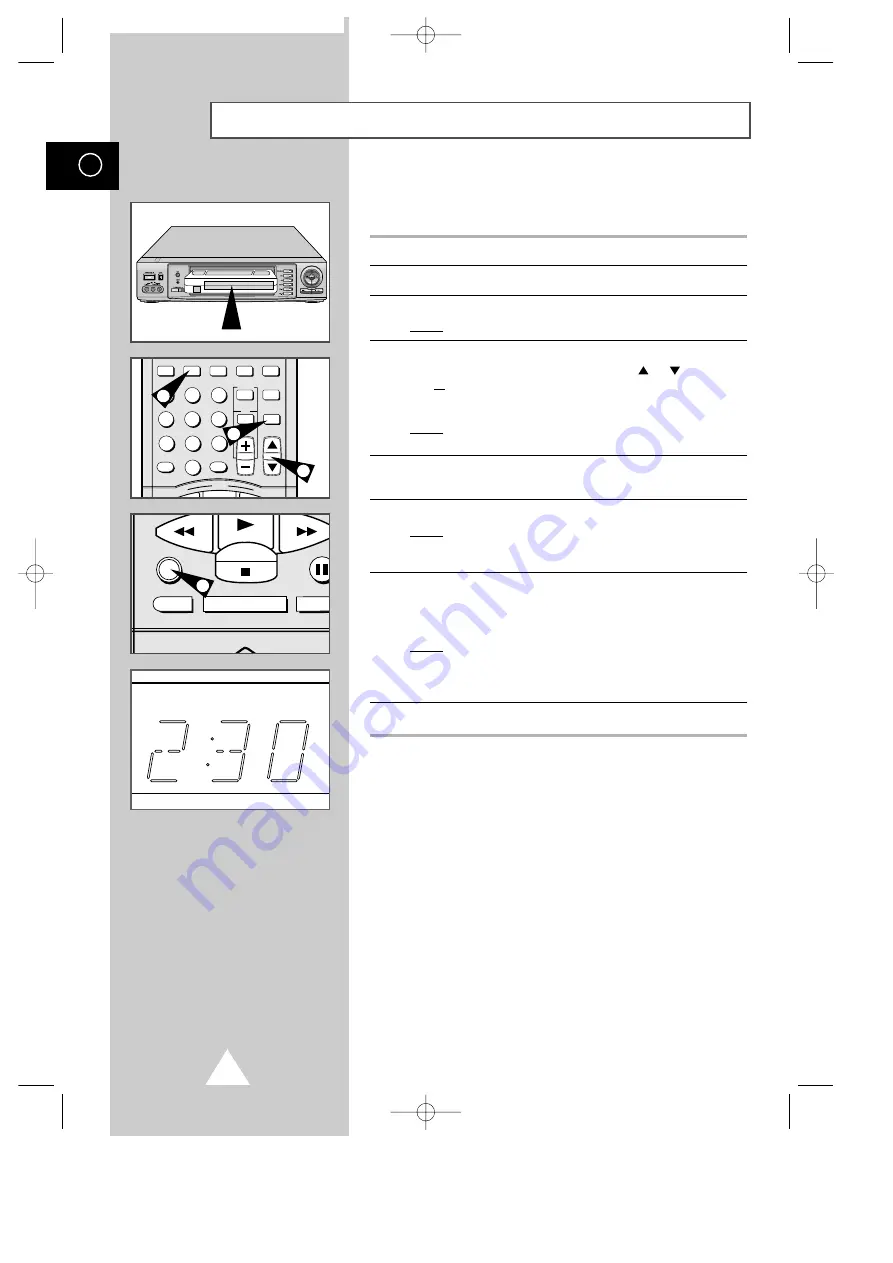
This function enables you to record up to nine hours of programs.
Your VCR stops automatically after the preset length of time.
1
Switch on the television.
2
Select the AV input on the television for use with your VCR.
3
Insert the cassette on which the program is to be recorded.
Result:
The VCR is switched on automatically.
4
Select:
◆
the station to be recorded using the CH (
or ) buttons ;
or
◆
the AV source using the INPUT button for a satellite tuner or
external video source
Result:
The channel number is displayed and the program can
be seen on the television.
5
Select the recording speed by pressing the REC.SPEED button as
many times as required (see page 22).
6
Press the REC button for at least one second to start recording.
Result:
The record indicator appears on the television screen
and VCR display. An index is recorded on the tape
(see page 36).
7
Press the REC button several times to increase the recording time
in:
◆
30-minute intervals up to four hours ; or
◆
1-hour intervals up to nine hours.
Result:
The length is displayed on the VCR and television.
The selected program is recorded for the length of time
requested. At the end of that time, the VCR stops
recording automatically.
8
If you wish to cancel the recording before the end, press POWER.
☛
If the end of the tape is reached while recording:
◆
the recording stops ; and
◆
the VCR automatically turns off.
Recording a Program with Automatic Stop
INDEX REC.SPEED CLK/COUNT PICTURE TIMER
ART INPUT
1
2
3
4
5
6
7
8
9
0
CLR/RST
100
CH
REW
PLAY
F.F
STROBE AUDIO
4
DISPLAY MONITOR A.DUB
REC
P/ST
INPUT
OUTPU
STOP
INDEX DUB
INDEX DUB Hi-Fi
6
4
5
SV-5000W/SECA2 4/1/1 12:16 AM Page 24


