Document Reference: ENG-UMAN-000730
Revision: 6.00
Page 20 of 40
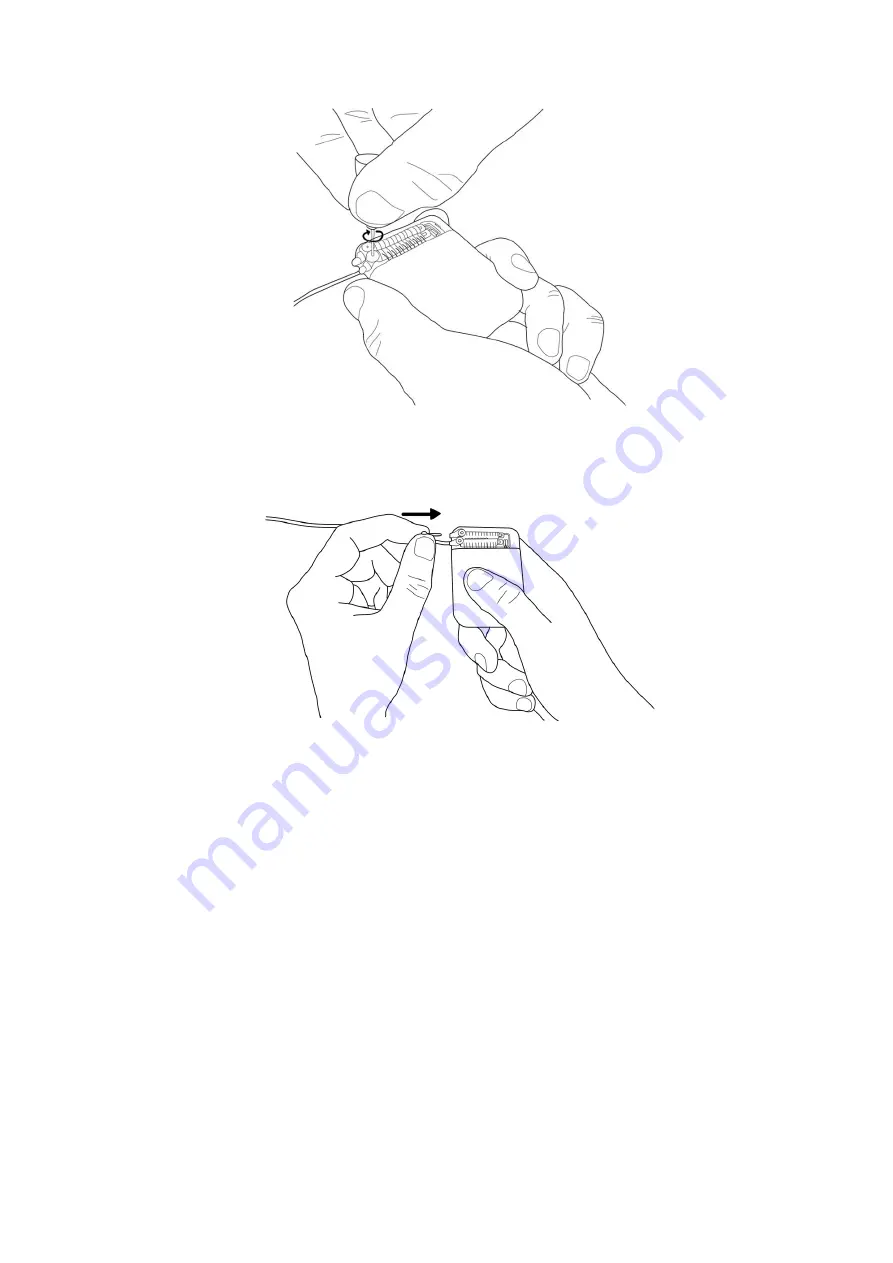
Figure 7.3: Tightening the port screws until you hear a "click".
7.
If you are using only one lead, place the CLS port plug in the unused port to prevent
moisture ingress (refer to Figure 7.4).
Figure 7.4: Inserting the port plug.
8.
Tighten the setscrew with the torque wrench supplied in the kit until you hear a
“click”.
9.
Create a strain relief loop at the CLS port entry (Figure 7.5).
Note:
The strain relief loop takes up any excess length and reduces tension in the lead at the
lead exit from the CLS port during movement.
•
Ensure that the lead is not bent at the port entry of the CLS header (refer to Figure
7.6).
•
The strain relief loop should have a diameter greater than the height of the header
(>15mm) as the lead exits the CLS port.
•
A small pocket adjacent to the port entry may be necessary to accommodate the
loop. Ensure that any excess lead is coiled around the perimeter of the CLS or
underneath.


