Salamander Mobile Interactive Display Stands
501-630 [07.17] page 1 of 24
fps1/elt/gg
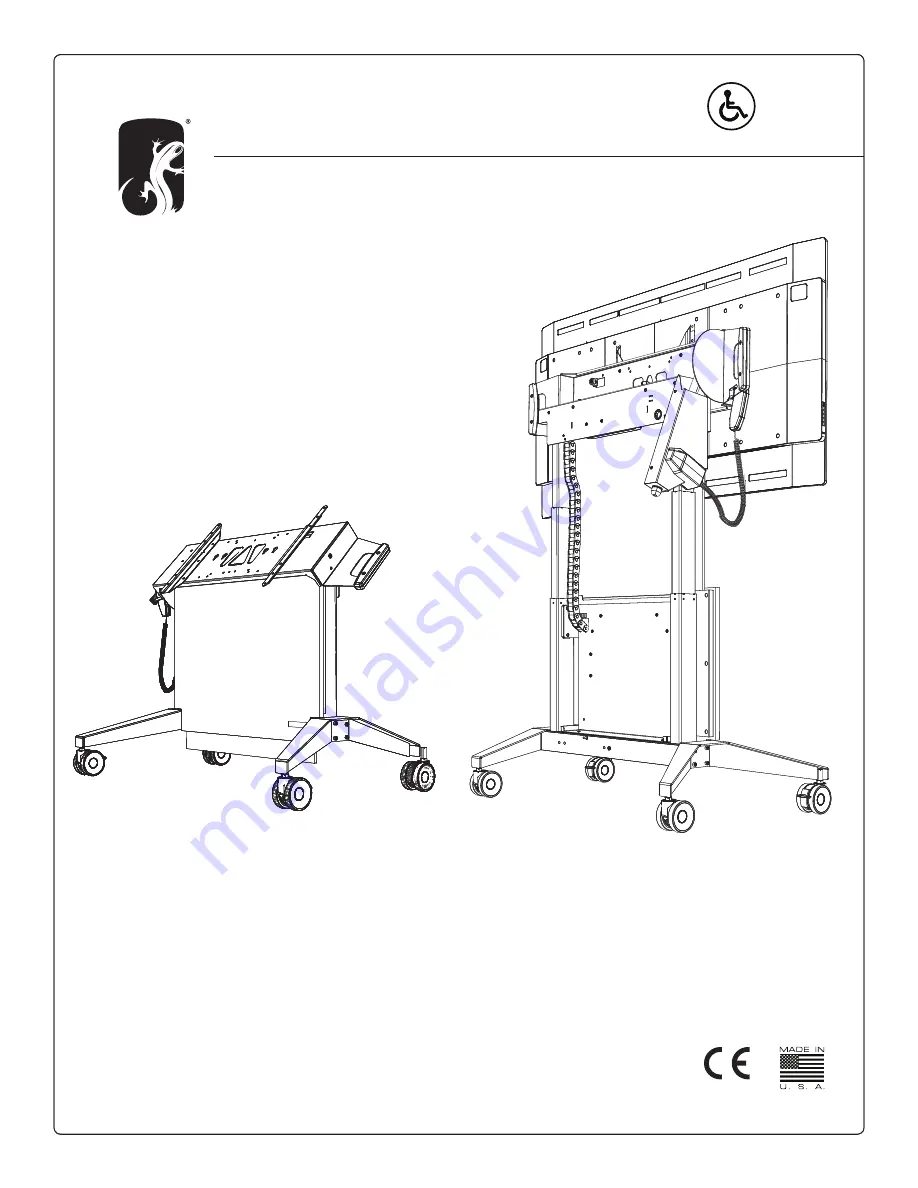
user manuAl
FPS SERIES
mobile interactive
display stands
CAPACITY
Supports most displays up to 175 lb (80 kg)
VESA Mounting Compliant
Horizontal - 300mm, 400mm, 600mm
Vertical - 200mm, 300mm, 400mm
ADA
COMPLIANT


