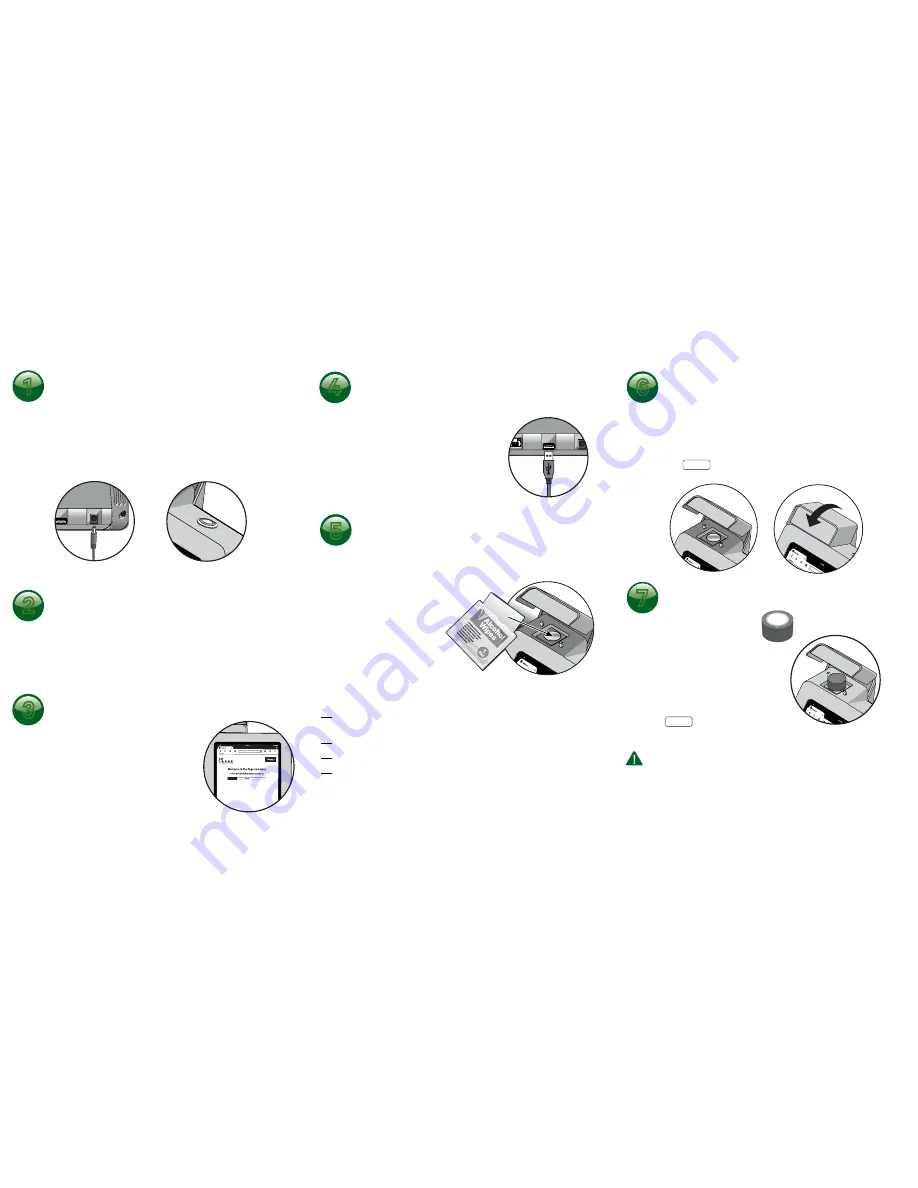
To perform the black calibration, simply close the sample holder lid,
and press NEXT. The system will conduct the calibration, and will
move on to the white calibration screen.
Get the white reference puck:
Place the white side of the puck
down on the Beacon measurement
window. Ensure that the puck is
covering the window. For this step
do not close the lid.
Press NEXT to perform the calibration
then remove and appropriately store the puck.
Conduct a Black Calibration
Conduct a White Calibration
1
The white reference is encapsulated in glass. Be careful not to touch
the white area, get it dirty, or scratch the glass. The Beacon assumes
the white area is 100% reflective for producing a maximum signal for
measurement. Use the rubbing alcohol wipes to clean it when necessary.
A daily calibration is required to normalize the system. It must be known
how the Beacon responds to the maximum amount of light coming into
the window (white calibration) and no light coming in (black calibration).
1
2
3
Carefully remove the Beacon from the box.
Place the unit on a flat and stable work surface. Keep it away from
any bright lights or strong air flow, such as a fan.
Plug in the Beacon and turn it on.
Set Up the System
AC power connection
Power switch
1
2
3
Connect the
CannaMetric™ Profile Label Printer
1
Place the label printer next to the Beacon,
and connect using the USB connection
port in the back of the Beacon. The power
cable on the printer should be connected
to the printer and the wall outlet.
7
1
2
4
6
Start the Beacon Interface
After turning on the Beacon base, a blank screen will appear, followed by
a screen indicating that the system is loading (which takes approximately
30 seconds). Once the system has loaded, you will be automatically
taken to Step 3.
The cleaner the window the more of the sample is detected
and reliably measured.
Clean the window after every measurement.
Let the window dry completely before you place a sample on it.
The window is made of sapphire and is very difficult to scratch
(but please don’t try).
Clean the Measurement Window
Tips
5
The Beacon sees the sample through the measurement window.
It is critical to keep this window clean by using rubbing alcohol wipes.
1
2
Clean the measurement window
with alcohol wipes and allow to
completely dry.
If the wipe leaves a foggy
residue, wipe off with a clean,
lint-free cloth
3
Wait 20 Minutes for Warm Up
When you first turn it on, the Beacon requires
20 minutes for the lamp to warm up and reach
a stable system temperature. On the touch-
screen, the warm up window looks like this:


