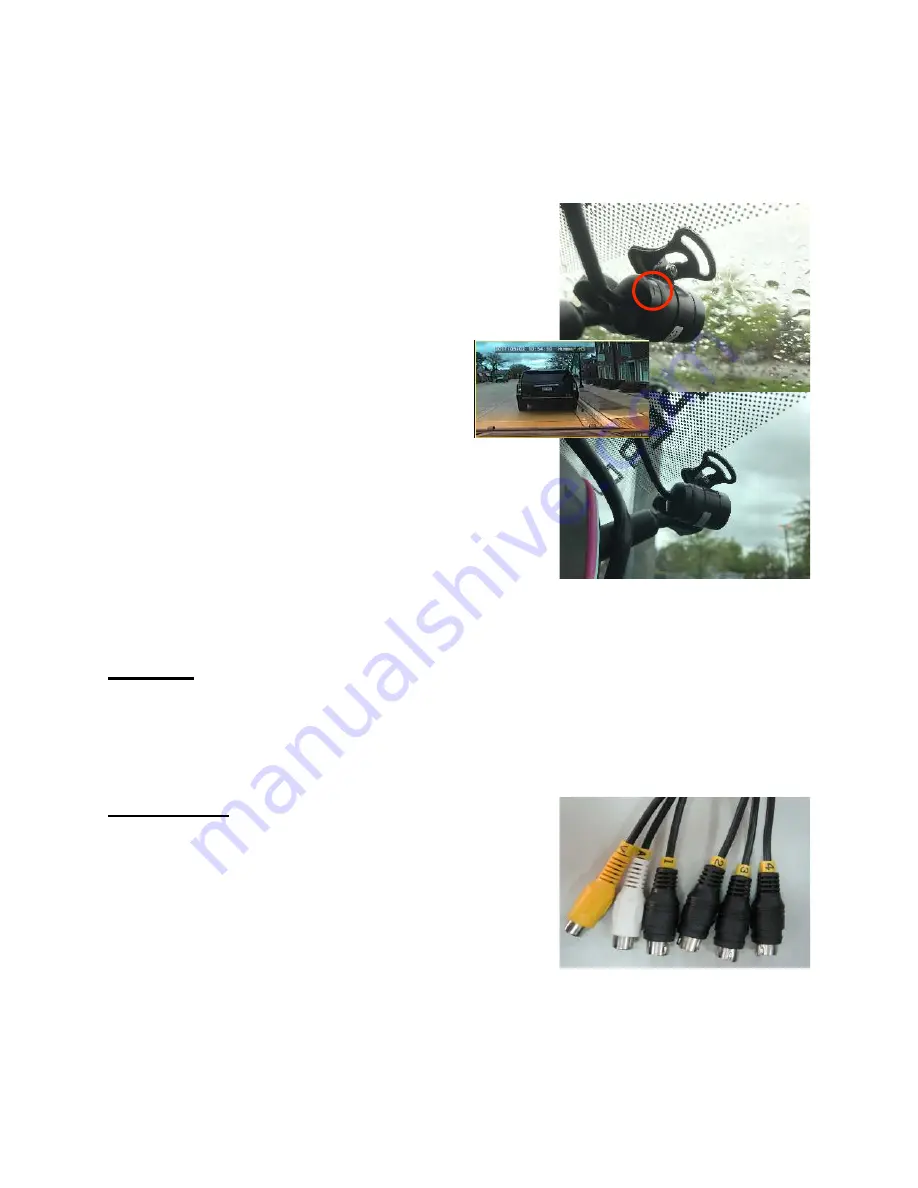
When it comes to the interior (Non-IVR) Camera
there is a small grove etched into the back. (Shown
Right) This indicates when the camera is up right
and in the proper position. Etching should line up
with the T in the bracket.
You may need to loosen the allen/hex screw with
the supplied key. (in the box) This will
allow you to adjust the mounting stand
angle. This will also loosen the bracket
holding the camera so you can rotate it if
needed. Be sure to line up the groove
etched into the back of the camera to
ensure a straight and proper position.
Example to the right shows a popular mounting
position on a vehicle’s windshield (interior).
This would require rotating the camera inside the
bracket by loosening the bracket screw.
Step 4:
Run camera cables with supplied 5 meter
extension cables. Ensure proper connection, use
electrical tape if needed.
DVR Pigtails:
V - Video Output
A - Audio Output N/A
1.
Camera 1 Video Input
2.
Camera 2 Video Input
3.
Camera 3 Video Input
4.
Camera 4 Video Input
*If monitor is used for a backup camera view, make sure the camera you want to
use as a backup camera is plugged into Camera 1 Video input.


