Safa Media IRS-1610L Скачать руководство пользователя страница 6

Check that the product is in standby mode.

Press the FILE/ REPEAT button to select the file you want. The file type will be scrolled (A, B, C, and D)
every time you press the button. If you do not select a file, you will record in the current file.

If the index of the current file reaches 99, the recording will continue from the at the end last index of the
next file.

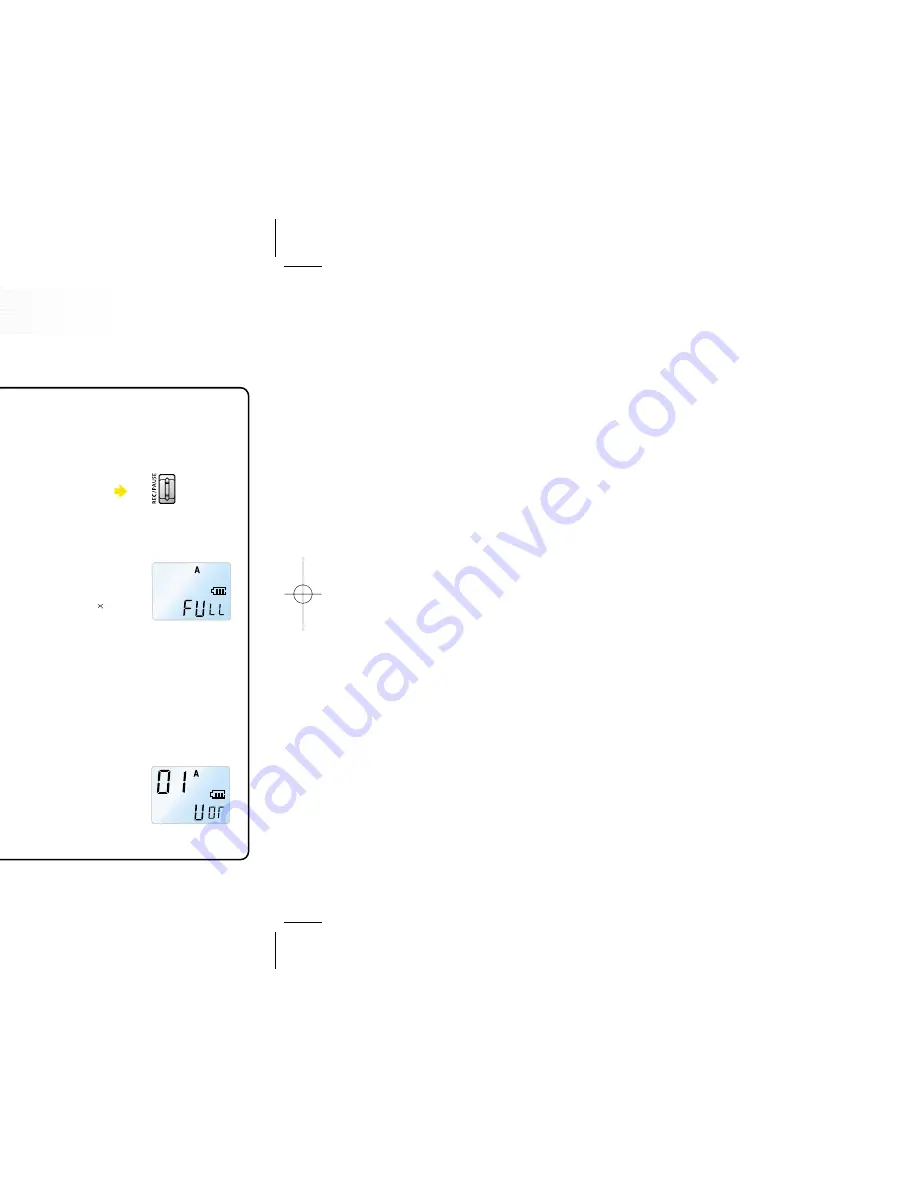
Press the PLAY/PAUSE/REMAIN button to display the remaining recording
capacity.

Press the NEXT button (

) to increase the size of the INDEX while 

you are recording (Index separation function).

The maximum index number for each file is 99 (Up to 396 files: 99 

4 ).

If the recording time is longer than the available capacity or when the index
reaches 396, 'FULL' is displayed and you cannot continue recording. (Figure 5)

When this happens, delete some recordings or move them to an external appliance (audio or
PC) to continue recording.

Do not remove the batteries during recording. This may cause the product to malfunction. If you  intend to
record for a prolonged period of time, first replace the batteries while the unit is in standby  mode or power 
off mode.

Do not touch or move the product while you are recording via the built-in Microphone. This may cause
unnecessary noise on your recording.

The recording will automatically be paused when the level of sound
resource decreases while VOR is on. (Figure 6)

- The sound may be discontinued for a short period while VOR mode is 

activated.

- When you use the VOR function in low/sensitive mode, only loud sounds 

will be recorded.

- Deactivate the VOR function when recording important conversations.

10

Recording

9

Getting Started

Please note the followings before you start recording.

(Figure 5)

(Figure 6)

1

Switching Sound MAP On

Press the PLAY/PAUSE/REMAIN button to switch on the product. 
The product will switch to standby mode.

Alternatively, you can press the REC/PAUSE button.
When you replace the batteries, the LCD displays all indicators and your 
Sound MAP goes into recording and playback standby state (Figure 2).

Switching Sound MAP Of

f

The power will be automatically shut off if you do not do activate any 
functions for 1 minute (i.e. if you don't use your Sound MAP for one minute).

2

Lock the button(hold)

1. Press and hold MENU/HOLD button (for about 2 seconds) in the

standby state to set the lock state (HOLD ON). (Figure 3)

If you press any other button while the unit is in HOLD ON mode, the
LCD displays 'ON HOLD' and pressing the button will not result in any
response from the machine.

2. Press and hold MENU/HOLD button (for about 2 seconds) in the lock

state to release lock state. (Figure 4)

The LCD will display 'OFF HOLD' indicating that the lock mode has
been released.

While the unit is in HOLD ON mode, this mode will be de-activated if
the power is turned off and on again.

(Figure 4)

(Figure 3)

(Figure 2)

File Types
Select one of A, B, C, or D.

Содержание IRS-1610L

Страница 1: ...User s Manual 10L AP e your Sound MAP ...

Страница 2: ...appliances Audio PC 12 ecording the general telephone onversation 12 ayback 13 ormal Playback 13 ow speed Playback 13 igh speed Search 13 ayback on other Indexes 14 epetition Playback 14 enu 15 ic Recording Sensitivity 15 OR Function 15 eep Setting 16 ecording Time Setting 16 dex Introduction 16 lete Function 17 o delete a particular index 17 o Delete a File 17 ving into the external appliance 18 ...

Страница 3: ... accessories to any e it to malfunction come deformed or malfunction due to heat remove the batteries from the and disconnect any external cables force to the LCD screen It may cause cause it to malfunction duct to direct sunlight or any source of eriod f you do not intend to use this product od of time ory wires earphone earmic or audio force ecifications of the Sound MAP are subject r notice ...

Страница 4: ... time indicator menu change ng Low sensitivity recording mode indicator Repeat one index Mode Section Repeat A B Playback state indicator File repeat playback mode indicator isplay User s manual CD ROM Cable for telephone conversation recording ...

Страница 5: ...h line in 12 om external appliances Audio PC 12 e general telephone conversation 12 13 back 13 ayback 13 earch 13 other Indexes 14 ayback 14 15 g Sensitivity 15 n 15 16 me Setting 16 ction 16 n 17 articular index 17 ile 17 external appliance 18 he external audio such as rder 18 a PC 18 ...

Страница 6: ...the index you cannot continue recording Figure 5 ecordings or move them to an external appliance audio or ecording This may cause the product to malfunction If you intend to first replace the batteries while the unit is in standby mode or power hile you are recording via the built in Microphone This may cause g paused when the level of sound Figure 6 r a short period while VOR mode is low sensitiv...

Страница 7: ...A depending nal appliances Audio PC VOR function before you start recording see pages 15 and 16 volume control is set too high during recording ecording if the volume control of the external appliance is able to the Audio Cable Connector LINE of your Sound MAP l appliance Audio or PC the sound input from the external appliance ay change slightly when recording starts However this will l recording ...

Страница 8: ...ng playback he current index will be repeated 10 times n during playback Figure 13 press and hold the FILE REPEAT whole indices of the current file will be on to stop playback want to start the section repetition indicator flashes Figure 11 PEAT button again where you want to stop uously the selected section will be o stop playback Figure 11 Figure 12 Figure 13 Figure 14 ...

Страница 9: ...on k or stop will continue in the ecording mode ve times during N button to play he first index of the ree times in Record Playback Stop r BACK button P OFF OFF BEEP and BEEP ON 20 N or STOP DELETE button to select ng playback or stop will continue mode Figure 19 Figure 20 Figure 21 Figure 23 Figure 24 Figure 22 ...

Страница 10: ...al audio appliance xternal audio appliance and the play button on your Sound ording able to the LINE jack of your Sound MAP and the other end to d card d card settings and saving method he USB ports of your Sound MAP and the PC ram installation details and saving method the provided audio cable does not fit the input jack of the external ...

Страница 11: ...eplacethebatterieswithnewones Insertthebatterieswithrightpolarity Release the lock mode Replace the batteries with new ones Delete any unnecessary recordings Release the lock mode Replace the batteries with new ones Check the recording number Adjust the volume control Pull out the earphone Adjust the volume control Fully plug in the earphone Adjust the volume control ked HOLD ON mode dead r or rec...

Страница 12: ...d Service Guide eriod nly in the country of purchase form and keep it at the safe place l dealer when any problem occurs to this product s negligence uthorized modification or repair ral hazards such as fire seawater flood or war iod is expired uide SOUND MAP yr mon day Warranty Period 1 year Paid Amount A MEDIA Co Ltd Smart Audio Future Audiopia ...

Отзывы: