Spares
30
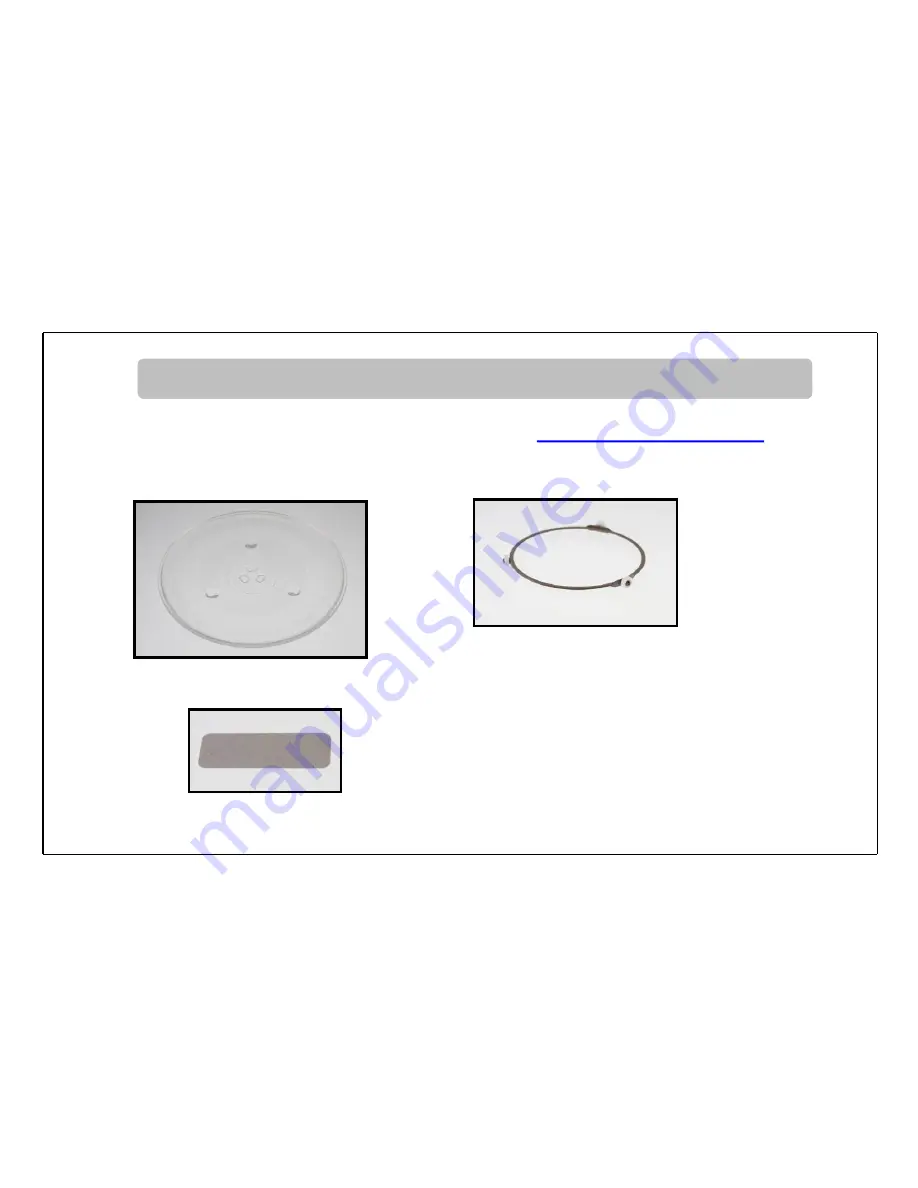
The following spare parts are available from
www.productcareuk.com
Glass turntable
Turntable coupling
Wave Guide cover
Страница 1: ...r RHM2064S Important safety instructions please read carefully and keep them for future reference For Customer Services Spare Parts please call 0845 209 7461 Opening times Monday Friday 8am 6pm Saturd...
Страница 2: ...use your microwave oven Cleaning and care Important utensil information Connection to the mains supply Problem solving Technical specification Spares 2 3 4 9 10 11 12 13 21 23 24 27 28 30 For Customer...
Страница 3: ...he food when you open the microwave oven door The microwave oven will work using an ordinary household electrical socket Inside the microwave oven is the magnetron which turns the electrical energy in...
Страница 4: ...damage such as A misaligned door Damage to the door Dents or holes in the door window and screen Dents in the inside If you can see any damage do not use the oven surface that is strong enough to sup...
Страница 5: ...h as egg yolks potatoes chicken livers ready meals and so on without piercing them several times with a fork Never put any objects into the openings on the outer case Never remove parts from the oven...
Страница 6: ...especially true if plastic wrap has been covering the top and handles of the utensil You may need oven gloves to handle the utensil The contents of feeding bottles and baby food jars shall be stirred...
Страница 7: ...istmas puddings jam and mincemeat which heat up very quickly When heating or cooking foods that contain a lot of fat or sugar do not use plastic containers Always have the glass tray and turntable sup...
Страница 8: ...h or shut the power off at the fuse or circuit breaker panel If the supply cord is damaged it must be replaced by the manufacturer its service agent or similarly qualified persons in order to avoid a...
Страница 9: ...mpetent person The door seals are located around the window on the inside of the door These seals are not airtight although no microwaves can be released it is normal for small amounts of air or steam...
Страница 10: ...heat producing appliance outer casing can get same as on the rating label do not use extension cables or mains socket adaptors extremely hot A minimum clearance of 20cm is required between the oven a...
Страница 11: ...agram A Control panel B Turntable shaft C Turntable ring assembly D Glass tray E Observation window F Door assembly G Safety interlock latches H Waveguide cover I Oven cavity For Customer Services Spa...
Страница 12: ...d during cooking Do not place the food directly onto the glass tray always place on or in suitable microwaveable cookware If the glass tray or turntable ring assembly has been damaged in anyway please...
Страница 13: ...utton to input weight for defrosting CLOCK PRE SET Press this button to set the clock and use the preset function STOP CLEAR Press to stop the cooking process TIMER WEIGHT AUTO MENU Rotate to select t...
Страница 14: ...r figures will flash 23 24 hour 3 Press CLOCK PRE SET button again and the minute figures will flash be within 0 59 60 minutes 5 Press CLOCK PRE SET to finish the clock setting procedure The will flas...
Страница 15: ...NFIRM to confirm 95 00 5 Press START 30SEC CONFIRM to start the cooking process Press power button Cooking power P100 100 P80 80 P50 50 P30 30 P10 10 To stop the cooking process at anytime press the S...
Страница 16: ...30 seconds The maximum cooking time is 95 minutes or START 30SEC CONFIRM The oven will start cooking for the selected length of time at 100 power Defrosting by Weight 1 Press WEIGHT TIME DEFROST butto...
Страница 17: ...stage cooking functions Example if you want to defrost 500g of food then cook it at 80 microwave power for 7 minutes The steps are as following 1 Press WEIGHT TIME DEFROST button once the screen will...
Страница 18: ...ove steps do not press START 30SEC button but do as follows 3 Press the CLOCK PRE SET button the current time displays and the hour figures flash 5 Press CLOCK PRE SET button and the minute figures wi...
Страница 19: ...n the TIMER WEIGHT AUTO MENU to choose the food weight 4 Press START 30SEC CONFIRM button to start cooking Please see the table below and on the next page for the various settings Display Auto Menu We...
Страница 20: ...ts please call 0845 209 7461 Opening times Monday Friday 8am 6pm Saturday 9am 1pm or visit us at www productcareuk com Meat 250 100 350 450 Pasta 50 add 450ml water 80 100 add 800ml water Potato 200 1...
Страница 21: ...ill be a long beep as the lock activates a green rectangle will illuminate in the display Lock off In locked state press STOP CLEAR for 3 seconds there will be a long beep The current time will contin...
Страница 22: ...es To do this wipe with mild detergent and water then dry You should clean the outside of the oven with a damp cloth Don t allow water to seep into the ventilation openings Do not allow the control pa...
Страница 23: ...inside of the oven smells put a cup of water with the juice and skin of one lemon in a deep microwave bowl Microwave it for three minutes wipe thoroughly and then dry with a soft cloth Failure to main...
Страница 24: ...king speed Use only cookware that is approved to be used in a microwave oven Do not cook using a container with a restricted opening such as bottles as they may explode Do not heat baby bottles with t...
Страница 25: ...r needs to be replaced please note the following Important The wires in the mains lead are Coloured in accordance with the following code GREEN YELLOW EARTH BLUE NEUTRAL BROWN LIVE 24 For Customer Ser...
Страница 26: ...to the terminal which is marked with the letter E or by the earth symbol or coloured GREEN or GREEN YELLOW The BLUE wire is the NEUTRAL and must be connected to the terminal marked with the letter N o...
Страница 27: ...conforming to BS1362 of the same rating If the fuse cover is lost the plug must not be used until a replacement is obtained from an electrical supplier If you need to remove the plug cut it from the...
Страница 28: ...the socket wait 10 seconds and plug it in again securely Check the premises for a blown circuit fuse or a tripped main circuit breaker If these seem to be working properly test the socket with another...
Страница 29: ...with the original proof of purchase The product must be installed and used in accordance with the instructions contained in this instruction guide and any other instructions for use which has been su...
Страница 30: ...Rated Voltage 230V 240V 50Hz Rated Input Power Microwave 1200 1270 W Rated Output Power Microwave 750 800 W Oven Capacity 20 L Turntable Diameter 255 mm External Dimensions LxWxH 439 5mmX340mmX258 2m...
Страница 31: ...Spares 30 The following spare parts are available from www productcareuk com Glass turntable Turntable coupling Wave Guide cover...
Страница 32: ...nd recycling of materials contained within Your co operation is vital to make sure the success of these schemes and for the protection of the environment For your nearest disposal facility visit www r...