


10-11
EYE-Q
TM
Autoconvergence
TOUCH-UP
When TOUCH-UP is selected, only the static convergence of the
currently selected source will be carried out automatically. Follow
the steps below to select:
Highlight TOUCH-UP by pushing up or down keys of the con-
trol disc;
Press the <ENTER> button to start up the static convergence.
If the process is successfully completed, the projector will return to
image display of the current source.
ALIGN ON CURRENT SOURCE
When ALIGN is selected, the automatic convergence on the current
memory bank will be carried out automatically, starting from the
existing settings.
By projecting alternately red and blue line, 25 convergence areas
are aligned to the green pattern.
Follow the steps below to select:
Highlight ALIGN below ON CURRENT SOURCE by push-
ing up or down keys of the control disc;
Press the <ENTER> button to start up the automatic conver-
gence of the entire screen.
If the process is successfully completed, the projector will return to
image display of the current source.
Use this option when the convergence is close to proper alignment.
ALIGN FROM MIDPOSITION ON CURRENT SOURCE
When ALIGN FROM MIDPOSITION is selected, the automatic
convergence on the current source will be carried out automatical-
ly, but starting from the mid-position settings.
By projecting alternately red and blue lines, 25 convergence areas
are aligned to the green pattern.
Follow the steps below to select:
Highlight ALIGN FROM MIDPOSITION by pushing up or
down keys of the control disc;
Press the <ENTER> button to start up the automatic conver-
gence of the entire screen.
If the process is successfully completed, the projector will return to
image display of the current source.
Use this option when the convergence is far from proper alignment.
ADJUSTMENT MODE
Select a path from below:
EYE-Q
GUIDED
RANDOM ACCESS
INSTALLATION
SERVICE
Source 1
Select with
then <ENTER>.
<EXIT> to return
or
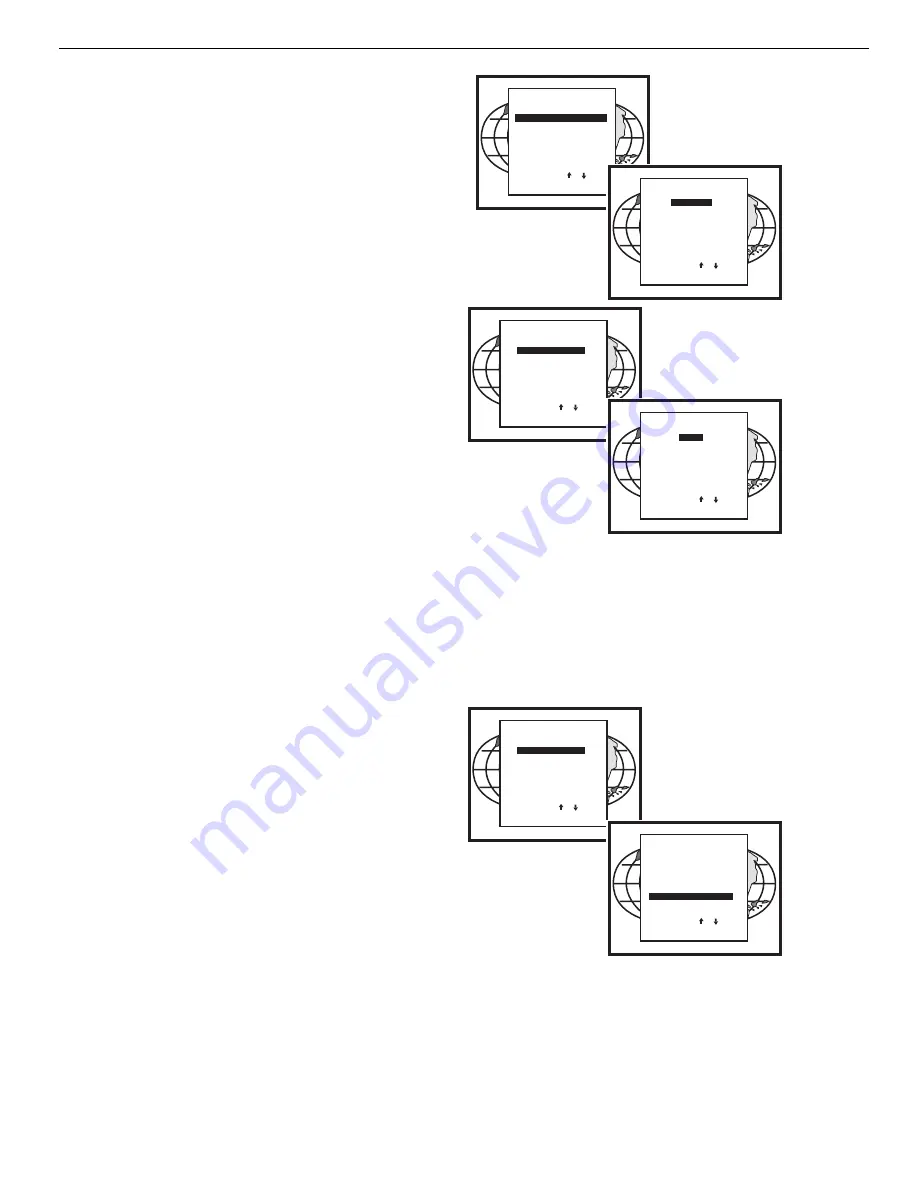
EYE-Q
TOUCH UP
AUTOCONVERGENCE
QUICK AUTOPICTURE
FULL AUTOPICTURE
EYE-Q SETUP
EYE-Q DIAGNOSTICS
Select with
then <ENTER>.
<EXIT> to return
or
EYE-Q
TOUCH UP
AUTOCONVERGENCE
QUICK AUTOPICTURE
FULL AUTOPICTURE
EYE-Q SETUP
EYE-Q DIAGNOSTICS
Select with
then <ENTER>.
<EXIT> to return
or
AUTOCONVERGENCE
ON CURRENT SOURCE:
ALIGN
ALIGN FROM MIDPOSITION
ON ALL SOURCES: (XX)
TOUCH-UP
ALIGN
ALIGN FROM MIDPOSITION
Select with
then <ENTER>.
<EXIT> to return
or
STATUS:
ready
Содержание DTV-947
Страница 1: ...OWNER S OPERATING MANUAL DTV Capable CRT Projector with External VHD Controller DTV 947...
Страница 2: ......
Страница 89: ......
Страница 90: ...2463 Tripaldi Way Hayward CA 94545 510 293 9154 Fax 510 293 0201 RUMA 003500 rev 10 00...


