background image

Part I: How to Setup


Ruckus Zoneflex 7372 for WAD Servers


TABLE OF CONTENTS 

0. Introduction 

1. How to setup the Ruckus ZF 7372 with the DHCP server enabled 

2. How to setup the Ruckus ZF 7372 with the DHCP server disabled 


0. Introduction 

Ruckus Zoneflex 7372 (Ruckus ZF 7372) is a powerful Access Point (AP) that has a DHCP server inside to work as both a router and a AP. It also has the Beamflex Technology for its radio 

transmission covering a wide area and more than 500 customer logins. For more detail description of the AP, please refer to 

Ruckus Zoneflex 7372 Data Sheet

The Ruckus ZF 7372 can work together with Ruckus Zone Director when deployed in multiple units. But it can also work without the Zone Director as a stand-alone single unit or standalone 

multiple units. For any question, please contact us at [email protected] or 1-747-220-0120. Getting support from the Ruckus Wireless company itself is the worst part of the company as the 
company somehow likes to charge for the techsupport requested on their own products. Way to go, Ruckus! 

There are two settings of the Ruckus ZF 7372 we will describe. First is when the Ruckus ZF 7372 is used with the WAD-110 or WAD-120 unit and the DHCP server inside the WAD unit is 

enabled. In this case, the DHCP server inside the Ruckus ZF 7372 must be disabled and the Ruckus ZF 7372 must be configured to work as only an access point. The WAD server will control 
and assign the IP addresses in the network. 

The second case is when using the WAD-110 or WAD-120 unit with the DHCP server disabled inside. In this case, the DHCP server inside the Ruckus ZF 7372 must be enabled and 

configured to work as a router. 

For the WAD-104 unit, which does not have a DHCP server inside, the Ruckus ZF 7372 must have its DHCP server enabled and work as a router always, as in the second case. 


1. How to setup the Ruckus ZF 7372 with the DHCP server enabled. 

Following the Quick Setup Guide that comes in the package, connect the Ruckus ZF 7372 to a laptop or a PC. We assume that the Ruckus ZF 7372 has the factory default settings. If not, 

please reset the Ruckus ZF 7372 to the factory default. 

1.1 

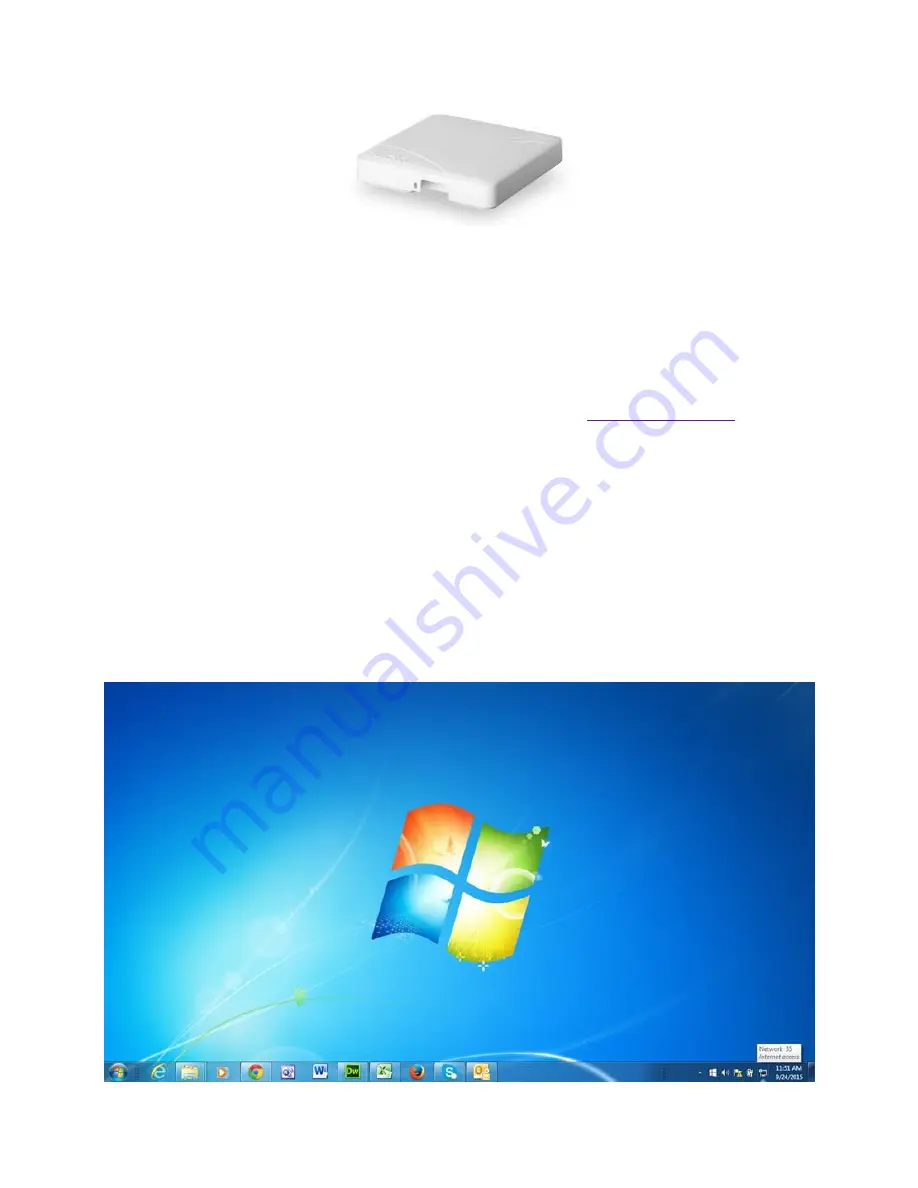
Go to the Internet Access icon in the right bottom corner of the Windows desktop. 


1.2 

Click on the Internet Access icon and a pop-up display will appear. 

Содержание ZoneFlex 7372

Страница 1: ...uckus There are two settings of the Ruckus ZF 7372 we will describe First is when the Ruckus ZF 7372 is used with the WAD 110 or WAD 120 unit and the DHCP server inside the WAD unit is enabled In this...

Страница 2: ...Open Network and Sharing Center The following pop up display will appear 1 4 Click on the Change adapter settings The following pop up display will appear Right click on the Local Area Connection and...

Страница 3: ...1 5 Select the Internet Protocol Version 4 TCP IPv4 and click on Properties 1 6 Select Use the following IP address and input 192 168 0 10 followed by the Subnet mask 255 255 255 0 Press OK...

Страница 4: ...1 7 Press Close 1 8 Next open the Internet Explorer and input into the URL field 192 168 0 1 You will see the following message...

Страница 5: ...1 9 Click on Continue to the website not recommended 1 10 Input the Username super and Password sp admin to enter the Ruckus Wireless Admin Select Local Subnets under Configuration...

Страница 6: ...1 11 Click on the Enable button 1 12 Fill in the field in the display as shown below Press the Update Settings button...

Страница 7: ...tSelect is to be avoided as it can change the channel in midst of the sound transmission causing glitches and stutters in the audio As for the channel to which the SmartSelect should change it is best...

Страница 8: ...as shown below Be sure to copy exactly except for the SSID The SSID field shown below as Wireless 1 is the network name which will be displayed on the customer s smartphone The customer will need to...

Страница 9: ...ar Next press the Radio 5G under Configuration 1 18 Here we change the SmartSelect to any channel between 145 161 We recommend these channels for their less usage in the market In our example we selec...

Страница 10: ...ield shown below as Wireless9 is the network name which will be displayed on the customer s smartphone The customer will need to connect to the network in order to listen to the TVs We recommend the S...

Страница 11: ...The message Your parameters were saved will appear Next press the Ethernet Ports under Configuration 1 22 Change the settings of Port2 as shown below Press the Update Settings button However this time...

Страница 12: ...xit The Ruckus ZF 7372 is ready for use now Connect the Ruckus ZF 7372 as shown in the User Manual of the WAD server 2 How to setup the Ruckus ZF 7372 with the DHCP server disabled Following the Quick...

Страница 13: ...lay will appear 2 3 Click on the Open Network and Sharing Center The following pop up display will appear 2 4 Click on the Change adapter settings The following pop up display will appear Right click...

Страница 14: ...2 5 Select the Internet Protocol Version 4 TCP IPv4 and click on Properties 2 6 Select Use the following IP address and input 192 168 0 10 followed by the Subnet mask 255 255 255 0 Press OK...

Страница 15: ...2 7 Press Close 2 8 Next open the Internet Explorer and input into the URL field 192 168 0 1 You will see the following message...

Страница 16: ...2 9 Click on Continue to the website not recommended 2 10 Input the Username super and Password sp admin to enter the Ruckus Wireless Admin Select Internet under Configuration...

Страница 17: ...ring into the Ruckus ZF 7372 as shown in the Step 2 10 click on the Radio 2 4G under Configuration The following screen will appear Click on SmartSelect and change it to any fixed channel 1 11 The Sma...

Страница 18: ...remaining fields as shown below Be sure to copy exactly except for the SSID The SSID field shown below as Wireless 1 is the network name which will be displayed on the customer s smartphone The custo...

Страница 19: ...ere saved will appear Next press the Radio 5G under Configuration 2 16 Here we change the SmartSelect to any channel between 145 161 We recommend these channels for their less usage in the market In o...

Страница 20: ...as Wireless9 is the network name which will be displayed on the customer s smartphone The customer will need to connect to the network in order to listen to the TVs We recommend the SSID field be rel...

Страница 21: ...our parameters were saved will appear Next press the LOGOUT button on the right upper corner to exit The Ruckus ZF 7372 is ready for use now Connect the Ruckus ZF 7372 as shown in the User Manual of t...

Отзывы: