


2. If the keypanel, belt pack etc. that you want to assign to a key is located in a remote intercom system, enter
the intercom system number (7 for example). Otherwise, skip to step 3.
☞
Intercom system numbers are the numbers that appear in the “Icm” column in CStrunk
when you select “Names” or “Setup” from the Intercoms menu.
3. Enter the panel number of the keypanel, belt pack etc. that you want to assign to a key (37 for example:)
☞
If the panel number is for a remote intercom system,
you must always enter 3 digits by adding leading
zeros as shown. If the panel number is for the local
intercom system, you do not have to enter any lead-
ing zeros.
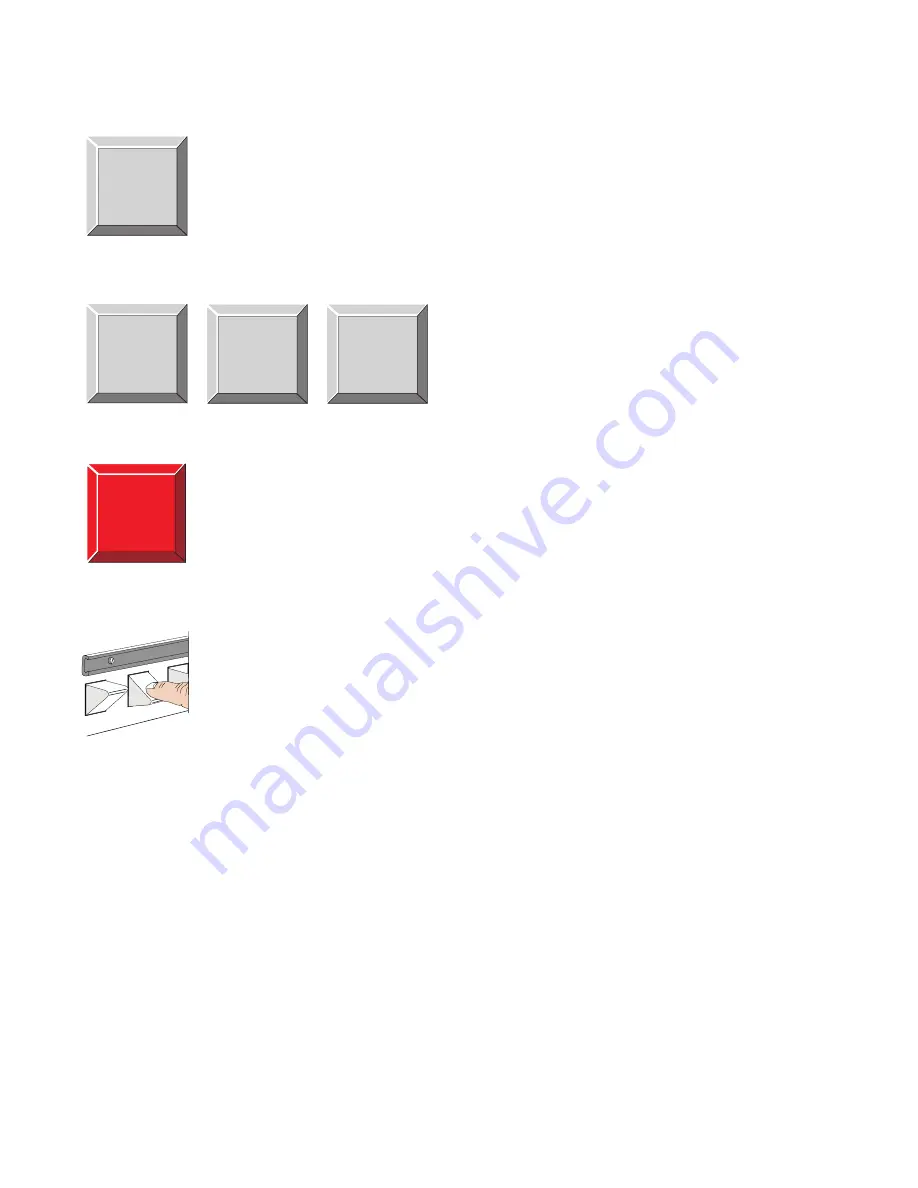
4. Tap the PGM key.
5. Press a talk (or listen) key.
If a talk key is pressed, the panel’s name will appear in the alpha-numeric display above that
key (on keypanels so equipped).
If a listen key is pressed, the panel’s name will appear briefly in the alpha-numeric display
below that key, and after a few seconds, the talk key assignment for that key will reappear.
(To check listen key assignments at any time, use the listen key display request sequence:
FUNC__DISPLAY__3.)
☞
If a key will not accept an assignment, the port that you are trying to assign may have been restricted (not
enabled) by the intercom system configuration software. The intercom system configuration software can also
be used to restrict individual keypanel keys to prevent key assignment.
KP96/KP97 Keypanel Operation Manual, Ver. 8.3G
15
MULT
FUNC
0
AUTO
ISO
3
EX COPY
7
COPYCW
PGM
EX COPY
7
COPYCW