


BTR-240 Users Manual - Preliminary
Page 5 of 8
Rev D – 4 / 18 / 2011
NOTE:
If the <Menu> button is pressed and
held for approximately half a second, the LCD
will abort any current changes if in “set” mode
and immediately return to the Status Screen.
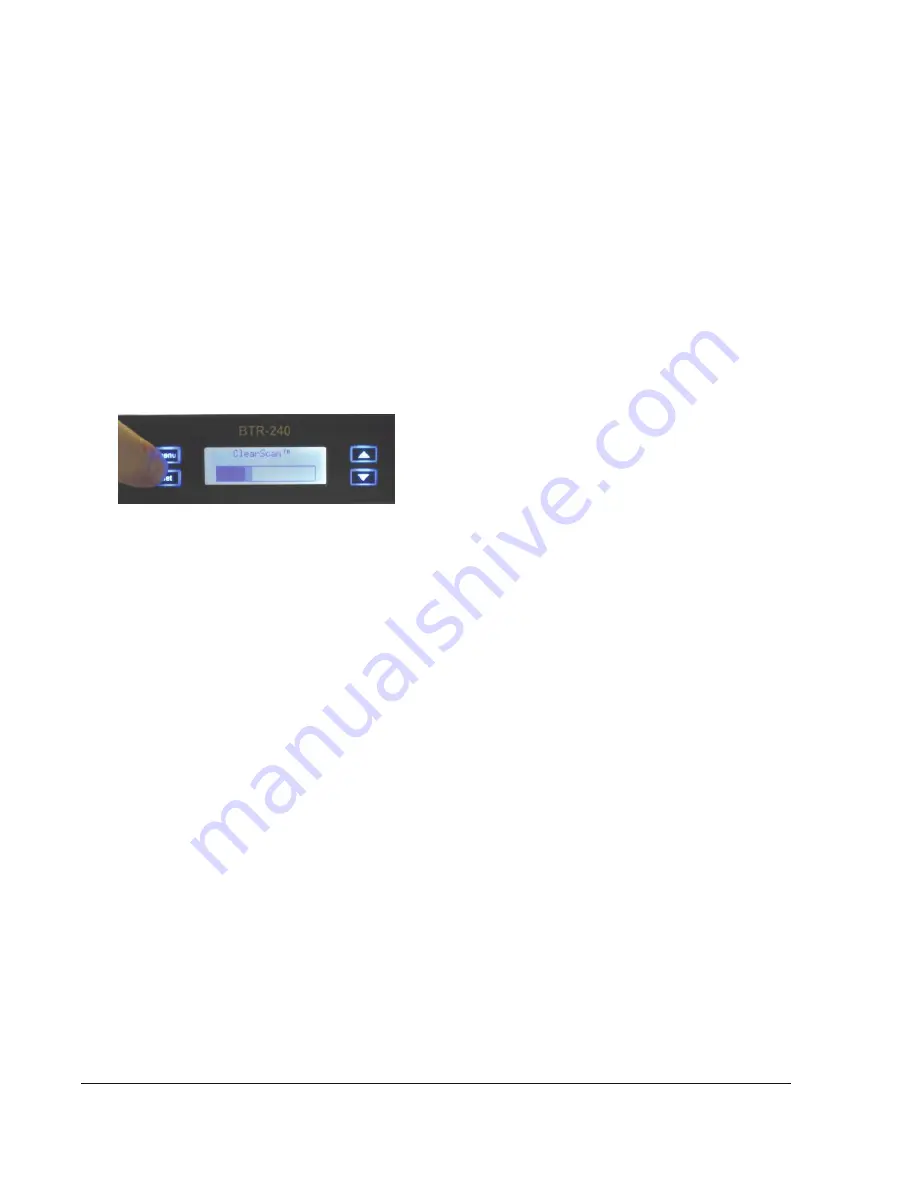
1.2 ClearScan
™
A user may also run a ClearScan
™
from the
front panel to automatically select the most
available RF channel for use.
A ClearScan
™
is performed from by pressing
the <Menu> + <Set> buttons on the front panel
simultaneously for approximately 3 seconds.
Once the ClearScan
™
operation is initiated, the
scanning status is indicated by a progress bar on
the LCD.
After the operation has been performed, the
LCD returns to the Status Screen to indicate the
current RF channel of operation.
NOTE:
The RF channel of operation needs to
be verified / set
before
turning on the TR-240
beltpacks. If a beltpack is already associated
with a base station, it may not continue to
associate once the channel is changed. If this
occurs, the beltpack will need to be rebooted.
2
Local Headset Configuration
There are several ways to configure the local
headset at the base station front panel. Settings
for the local headset include the following:
•
Talk Button
•
Channel Select Button
•
Local Headset Volume
•
Microphone and Sidetone Levels
2.1 Talk
Button
Pressing the <Talk> button on the front panel
will enable and disable the audio path from the
headset microphone. The green talk light will
be illuminated when the microphone path is
enabled. The green talk light will be off when
the microphone path is disabled.
2.1.1
Momentary
Press and hold the <Talk> button for longer
than ½ second and the microphone path will be
enabled. The microphone path will be disabled
when the <Talk> button is released.
2.1.2
Latch
Tap the <Talk> button for less than ½ second
and the microphone path latch and remain
enabled. Tap the <Talk> button again to turn
off the latch and disable the microphone path.
2.2
Channel Select Button
Pressing the <Channel Select> button will select
the intercom channel for the local headset. Each
press of the button will cycle through the
options; Intercom 1, Intercom 2, both. The
green LEDs above the button will be
illuminated for which intercom channel is
currently active for the local headset.
2.3
Local Headset Volume
The local headset volume can be controlled
from the front panel by turning the <Volume>
knob clockwise and counterclockwise to
increase and decrease the volume, respectively.
2.4
Microphone and Sidetone Levels
The microphone gain and sidetone level can be
adjusted by navigating the menu on the LCD to
the “Local Headset” option and pressing the
<Set> button.


