5
DOWNROD / BALL ASSEMBLY
HANGING THE FAN MOTOR ASSEMBLY
˙
Lift the fan assembly onto the mounting bracket.
˙
Ensure the notch of the ball joint is positioned on the stopper of the mounting bracket to
prevent the fan from rotating when in operation.
Mounting bracket
Stopper of bracket
Notch of ball joint
˙
Locate downrod assembly. Loosen ground
screw on black hanging ball and setscrew to
free lock pin, black hanging ball will slide down.
˙
Remove ground screw and green ground wire.
Remove hanging ball from downrod and save all parts.
˙
Insert fan wires and safety cable through downrod.
Thread downrod into top of fan motor housing until
holes for downrod pin align with holes in collar.
˙
Make sure wires do not get twisted.
Insert downrod pin through coupling and
downrod, secure by tightening security screw.
˙
Put canopy in between the downrod and ball,
replace the downrod ball, insert the lock pin
through downrod and tight setscrew against
downrod, tighten ground wire by using ground screw.
Warning:
Failure to tighten setscrew on hanging ball
completely could result in the fan loose and possibly falling.
Lock Pin
Set screws
Coupling cover
White wire
Cross bolt
Black Wire
Downrod
Assembly
Blue wire
Green ground wire
Ball screw
Hanging ball
Canopy
Downrod
Содержание 1072-PC
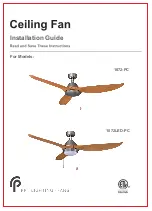
Страница 1: ...Installation Guide For Models 1072 PC 1072LED PC...
Страница 16: ...RP 120419...


