


Instruction Manual Roundshot Livecam D2 HD - version 4.04 – May 2012 - © by Seitz Phototechnik AG / Switzerland www.roundshot.ch
page 61
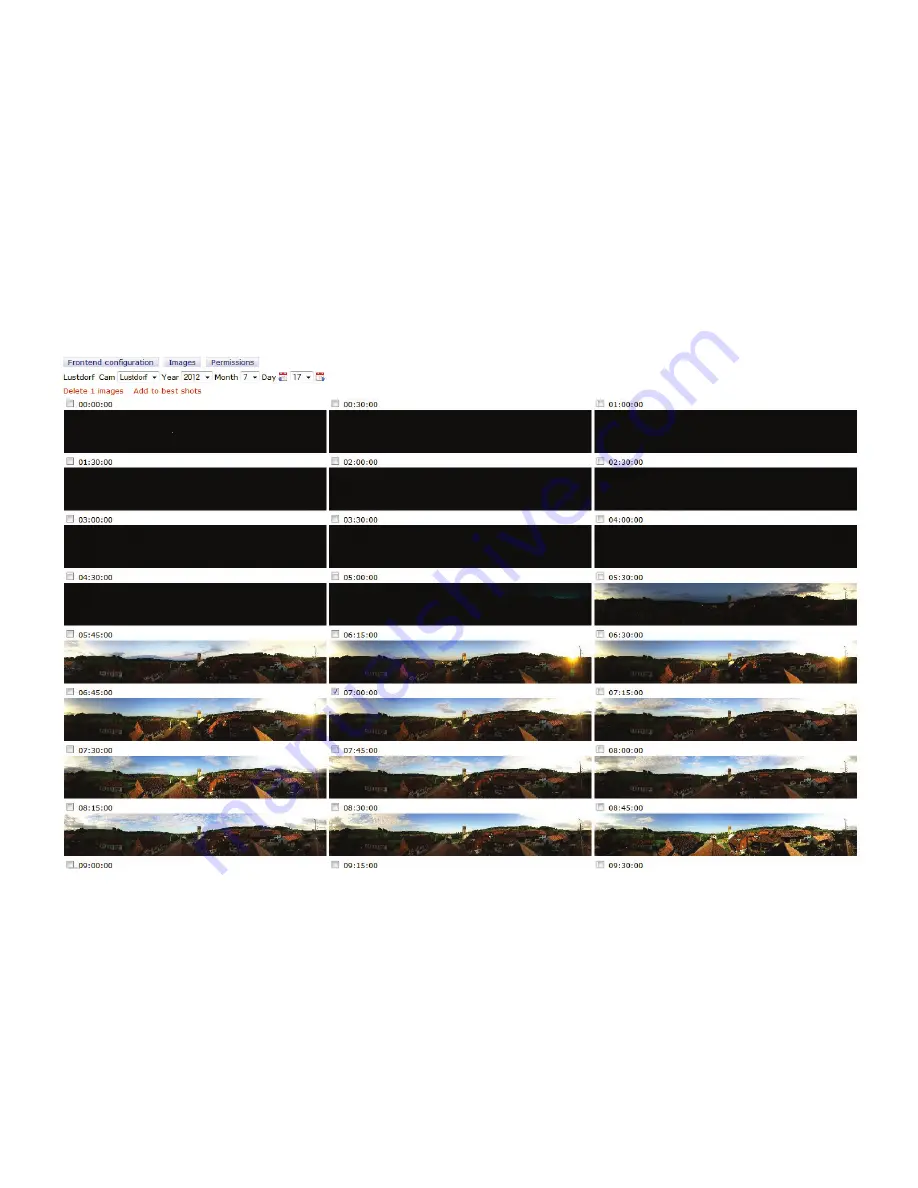
3.2 Images
In the “Images” menu it is possible to manage the image database of the livecam.
After selecting the images 2 main functions are used here:
•
Delete one or more images from the history if necessary.
•
Make a selection of images and define them as “best shots” directly accessible by
the website visitors.


