ENGLISH
13
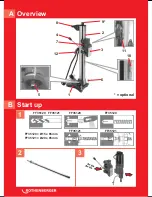
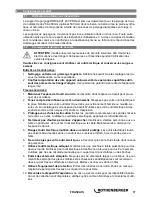
Brickwork set: Screw the diamond knurl threaded bar with the grommet and mounted nut in-
to the armature. Tighten the nut using an open-ended spanner. Attach the drill rig and fasten
using the U-washer and nut.
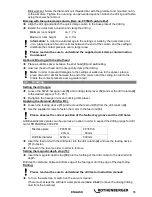
Bracing with the quick clamp column (Item no. FF35015 picture B-2)
Align the drill rig and attach the quick clamp column to the base plate of the drill rig.
Extend the quick clamp column and clamp the drill rig.
Minimum room height:
ca. 1,7 m
Maximum room height:
ca. 3,0 m
Information:
In order to avoid damage to the ceilings or walls by the quick clamp col-
umn, place a piece of wood or similar between the end of the column and the ceiling to
distribute the contact pressure over a larger area.
Please read and be sure to understand the supplied quick clamp column instruc-
tion manual!
Optional: Bracing with the strut head
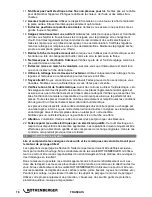
Place a suitable spacer between the strut head
(9)
and wall/ceiling.
Unscrew the strut head and consequently clamp the drill rig.
Note:
In order to prevent damages to the ceilings or walls due to the spacer, place a
piece of wood or similar between the end of the column and the ceiling in order to dis-
tribute the contact pressure over a greater area!
3.4
Handling
Setting the drill angle:
Loosen the SW24 hexagon nuts
(5)
and rocking clamp lever
(12)
and set the drill column
(2)
to the desired angle (-15 -0- 45°).
Re-tighten the hexagon nuts and rocking clamp lever.
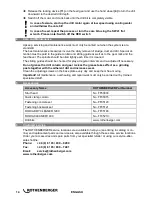
Applying the diamond drill (fig. B-3):
Loosen the locking device
(11)
and remove the feed unit
(3)
from the drill column
(2)
.
Use the supplied screws to fasten the motor to the feed unit
(3)
.
Please observe the correct position of the feather key groove and the drill holes
Additional distance plates can be used as an option in order to expand the drilling range for drill
motor RODIADRILL 3000 PD.
Distance plate
FF35139
20mm
FF35136
60mm
Drill bits diameter
420mm
500mm
Insert the feed unit with the drill motor into the drill column
(2)
and use the locking device
(11)
to fasten.
Proceed in the reverse order in order to remove
Setting the magnetic depth stop (10):
Insert the magnetic depth stop
(10)
into the toothing of the drill column to the desired drill
depth.
Drill depth = distance between bottom edge of the feed gear and top edge of the depth stop.
Drilling:
Please read and be sure to understand the drill motor instruction manual!
Turn on the water tap or switch on the vacuum cleaner.
(There must at least be sufficient water pressure (
max. 4 bar
!) to move the arising drilling
mud from the borehole)


