36
ENGLISH
The
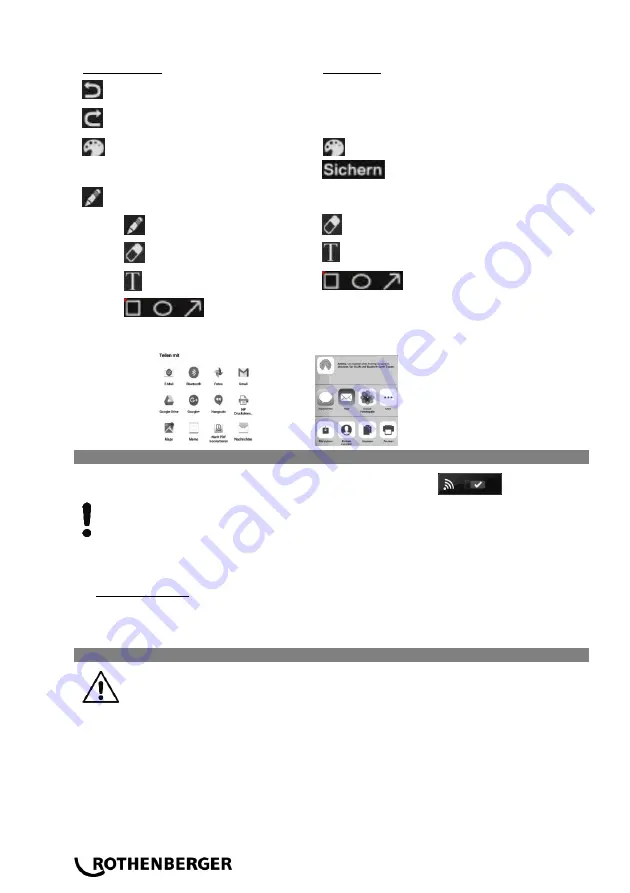
processing menu appears after “Image processing“ was selected.
Android device
iOS device
Retrogressive
Retrogressive
Restore
Restore
Colour palette
Colour palette
Save
Save
Select the stylus for processing:
Stylus
Stylus
Eraser
Eraser
Text
Text
Styles
Styles
To transmit this one returns to the previous menu and selects the “Share“ option (dependent on
the installed programs).
Android device
iOS device
3.10.2 Data transmission to a PC
➔
Switch on the wifi function over the system settings of ROCAM 4
.
The SD card of the ROCAM 4 must be inserted!!
➔
Switch on the wifi function on the PC and
connect with the wireless network “roc-
am4_hotspot“. The network security key required to make the connection is: “letrocam4in“.
➔
Open the respective browser on the PC and enter the IP address of the ROCAM 4
One is now automatically connected with the existing ROCAM 4 directories and can view the
desired pictures and videos.
Proceed as one would normally to save the one or the other on the PC.
Switch off ROCAM 4 before replacing the reel!
➔
Installing ROCAM 4 vertically. Front flap (
6
) must be closed here!
➔
Remove camera head (
1
) from the holder (
10
) and take the reel cable (
4
) carefully out of the
guide hook (
11
) (Only SL40: remove camera head).
➔
Position camera head (
1
) with cable (
4
) into the reel (
8
).
➔
Bayonet connection operated by a half turn, and pulling gently (hold counterpart).
➔
Use caution not to damage the connector!
➔
Loosen locking bolts by pulling gently from the lock and Turning it 90 °. Restrain reel (
8
) to
prevent from slipping.
➔
Push reel (
8
) toward T-slot and remove the side. Use caution not to damage the connector.
3.11
Replace the reel
(C)
Содержание 1200001381
Страница 3: ...Mini Modul Mini Modul Replace the reel C 1 3 1 2 2 1 3 2 ...
Страница 6: ...20 DEUTSCH ...
Страница 25: ...FRANÇAIS 39 NOTES ...
Страница 26: ...NOTES ...


