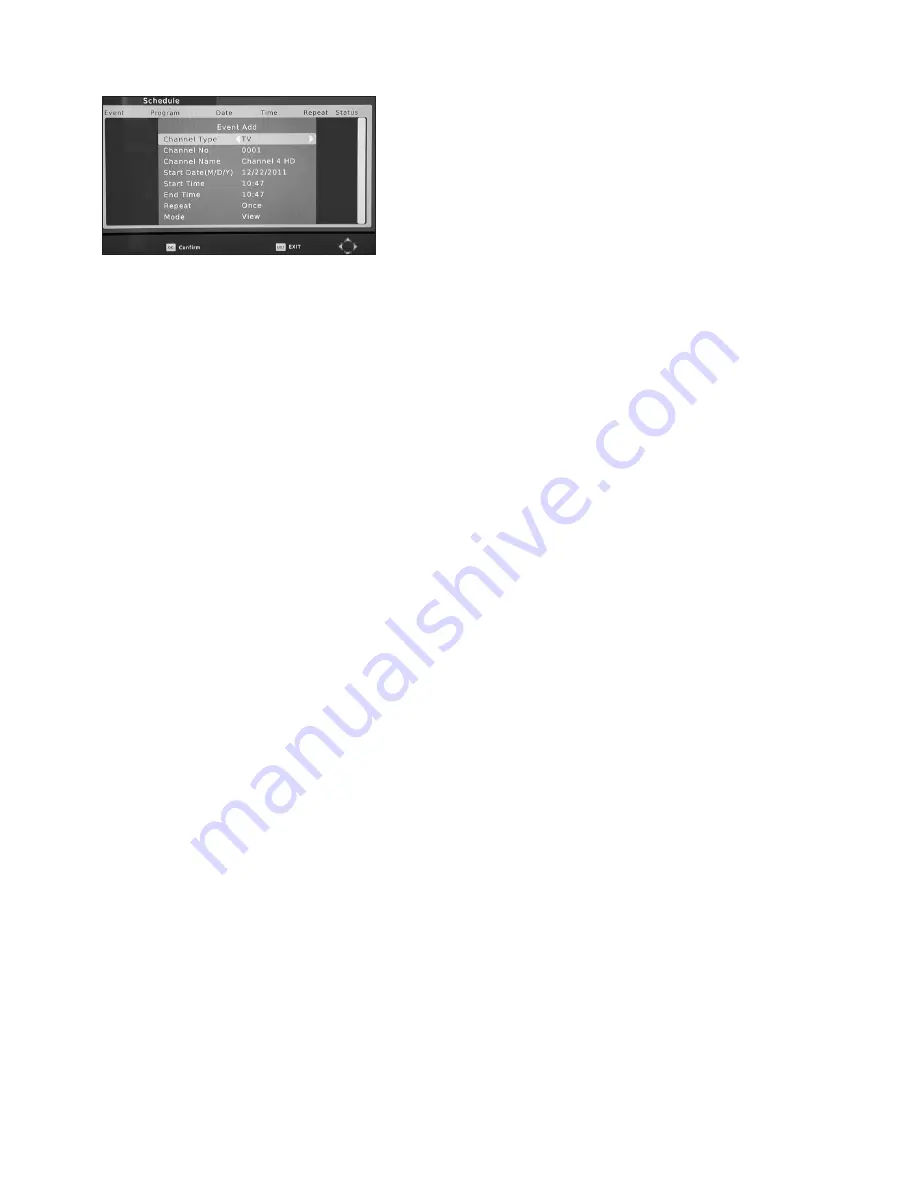
5.3.3 Schedule
NOTE: You can press TIMER button to enter
directly into the TIMER menu from the remote
control.
The TIMER Menu provides access to 8 Programmable
Timers for you to set to record a programme
whilst you are away or to switch on or off on a
specific day and at a particular time. Using the VOL+- and CH+-, buttons to set the pre-
ferred configuration, press the OK button to set the timer, you can also set the preferred
Power On mode for TV or Radio.
•
Channel Type:
Set to TV or Radio. Your Receiver will then turn on to TV or Radio at the
time you have specified.
•
Channel:
Use the VOL+- buttons to select the Programme that you want the Receiver to
switch to when the timer activates. This can also be selected from a drop down list of
channel names under
Channel Name
.
•
Start Date:
Use the numeric keys to enter date information as determined by the
•
Stop Date:
Use the numeric keys to enter date information as determined by the Timer
Cycle setting.
•
Start Time:
Use the numeric keys to enter time information as determined by the Timer
Cycle setting.
•
Stop Time:
Use the numeric keys to enter time information as determined by the Timer
Cycle setting.
•
Timer Control:
There are 3 Timer Control settings:
Power On:
Turns on the Receiver on a day and time that you specify
Duration:
This is used when you wish to operate the Receiver for a specific
amount of time, such as when you are making a recording.
Power Off:
This is used where you wish to set an off time for a specific date
and time.
•
Repeat:
Use the VOL+- buttons to select Once Time, Every Day, Sunday(day),
Every Week as desired
•
Mode:
Use the VOL+- buttons to select between View and record, View will automatically
switch to scheduled channel, while Record with Switch to view and record. (only available
when using USB storage)
When you have completed your settings press OK,you can then review your timer
settings and make sure they are valid (indicated by ENABLED or INVALID in the review
screen. Then press EXIT and OK to save your settings.
14


