Supported FSFC Video Formats
FSFCs can only convert between specific video
formats at a given frequency.
• The switcher supports synchronized and
unsynchronized 1080p and 1080i inputs. The 1080i
inputs are converted using a 4-line interpolator and
may result in lower quality video.
Note:
Only Carbonite Black+ and Carbonite Black+ 12G have
output format converters on outputs 3, 4, 5 that can be used
to convert the output video signal from the video format that
the switcher is operating in to another format required by a
downstream device.
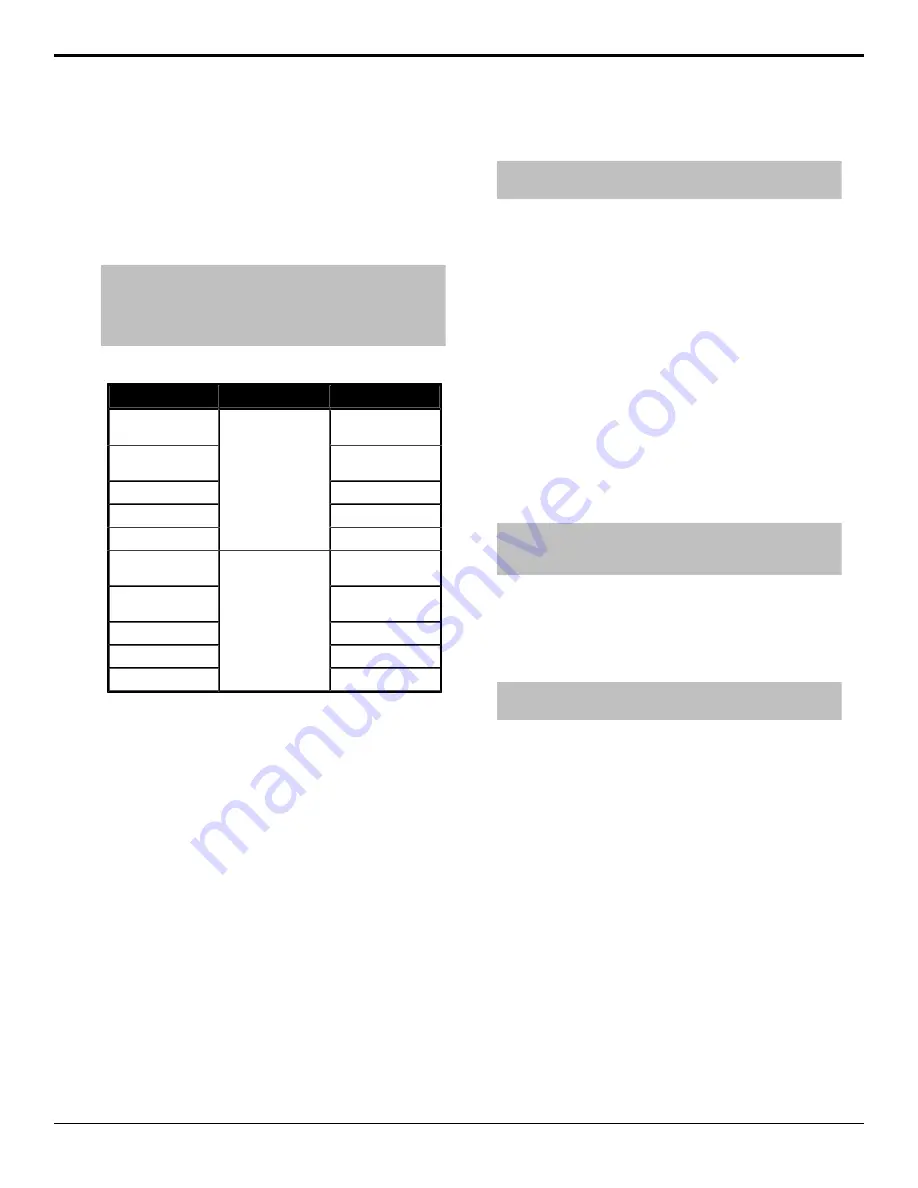
Table 2: Supported FSFC Input and Output Formats
Input
Switcher
Output
UHDTV1 UHD-2SI
59.94Hz
UHDTV1 UHD-2SI
59.94Hz
UHDTV1 UHD-QSD
59.94Hz
UHDTV1 UHD-QSD
59.94Hz
1080p 59.94Hz
1080p 59.94Hz
1080i 59.94Hz
1080i 59.94Hz
720p 59.94Hz
UHDTV1 UHD-2SI
59.94Hz
720p 59.94Hz
UHDTV1 UHD-2SI
50Hz
UHDTV1 UHD-2SI
50Hz
UHDTV1 UHD-QSD
50Hz
UHDTV1 UHD-QSD
50Hz
1080p 50Hz
1080p 50Hz
1080i 50Hz*
1080i 50Hz
720p 59.94Hz
UHDTV1 UHD-2SI
50Hz
720p 59.94Hz
To Set Up Input FSFC
Input mode locks a specific FSFC channel to a specific
input. Refer to
page 18 for a list of compatible video format
conversions.
1.
Press
MENU
>
Config
>
Input
>
NEXT
>
NEXT
>
NEXT
>
NEXT
. Click
Navigation
Menu
>
Configuration
>
Inputs
>
Physical
.
2.
Use the
Input
knob to select video input that you
want to apply an FSFC to. Click the
Configure
button for the input you want to assign an FSFC
to.
3.
Use the
FrmSnc
knob to select whether a frame
synchronizer is applied to the input (
On
) or not
(
Off
).
To Set Up Output FSFC
Output mode locks a specific FSFC channel to a
on page 18 for a list of compatible video
format conversions.
Note:
Only outputs 3, 4, and 5 support output FSFC
conversion.
1.
Press
MENU
>
System
>
NEXT
>
NEXT
>
NEXT
>
Output Config
. Click
Navigation
Menu
>
Configuration
>
Outputs
.
2.
Use the
Output
knob to select video output that
you want to convert. Click the
Conversion
button for the output you want to convert.
3.
Use the
Cnvrsn
knob to select the format you
want to feed out on the selected output. Click the
Output Conversion
button for the format you
want to feed out of the selected output.
Output Reference Synchronizers
The output reference synchronizers allow you to
have the switcher output a reference signal that other
devices, such as cameras and video servers, can lock
to.
Note:
Different applications require different output reference
formats and delay settings. Consult a facility engineer for
assistance in configuring these settings.
To Set Up an Output Reference Sync
If you are using one of the output references to time
external devices, ensure that they are connected to the
appropriate
REF OUT
output BNC.
Tip:
Output Reference Sync settings can also be set up from
the
Reference
tab on the Configuration node in DashBoard.
1.
Press
MENU
>
REF
>
NEXT
. Click
Navigation
Menu
>
Configuration
>
Reference
.
2.
Use the
RefO
knob to select the reference
output BNC that you want to set up. Click on the
Reference Output
X
button for the reference
output BNC that you want to set up.
3.
Press the
RefO
knob.
4.
Use the
RefO
knob to select the reference format
you want to output from the switcher. Click on
the reference format you want to output from the
switcher.
The available output reference formats depend on
the video format that the switcher is operating in.
You must be in a 50Hz video format for PAL and a
59.94Hz video format for NTSC.
5.
Use the
Mode
knob to select the type of delay you
want to apply to the reference signal. Select the
18
• Video Reference — Carbonite Black Setup Manual (v14.0)
Содержание Carbonite Black
Страница 1: ...Carbonite Black Setup Manual v14 0 ...


