Ronald Ju-06 Скачать руководство пользователя страница 4


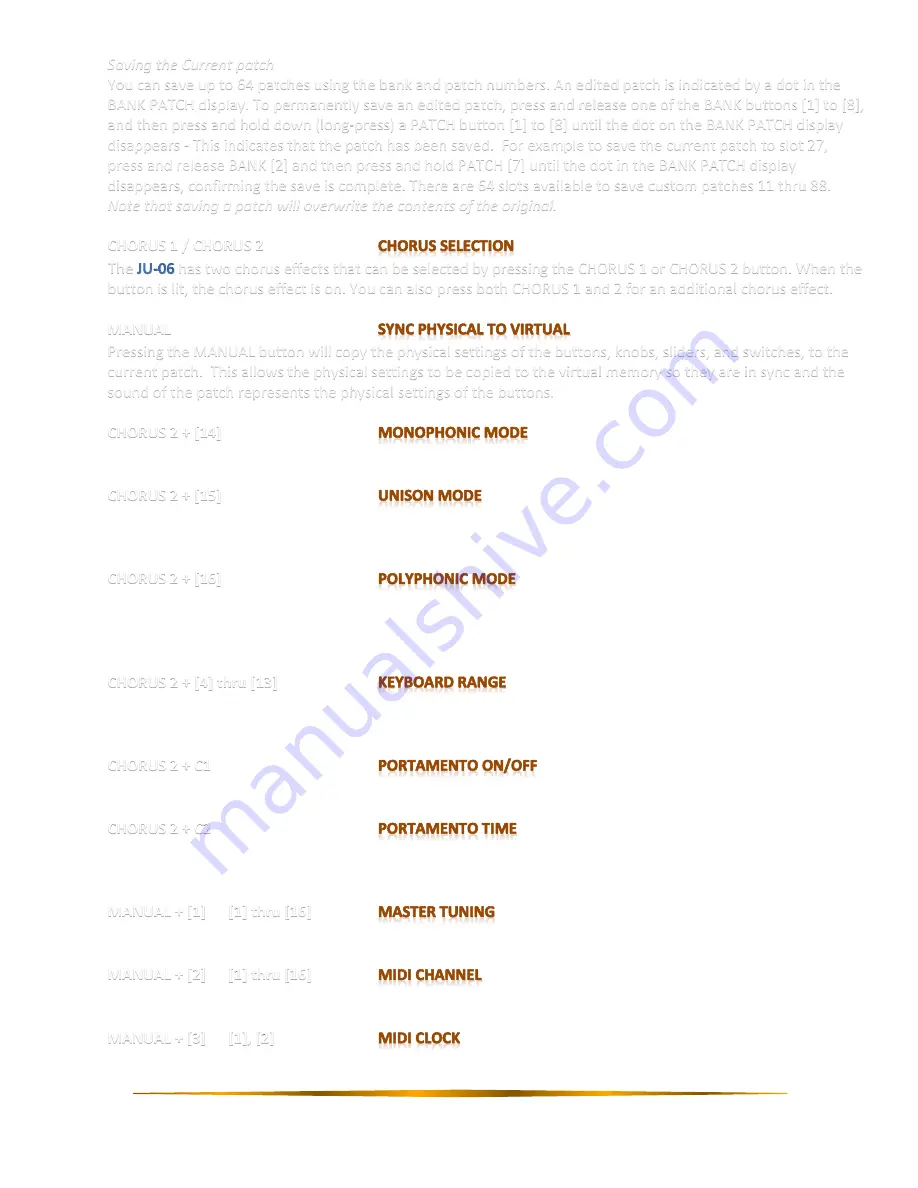
Saving the Current patch 

You can save up to 64 patches using the bank and patch numbers. An edited patch is indicated by a dot in the 
BANK PATCH display. To permanently save an edited patch, press and release one of the BANK buttons [1] to [8], 
and then press and hold down (long-press) a PATCH button [1] to [8] until the dot on the BANK PATCH display 
disappears - This indicates that the patch has been saved.  For example to save the current patch to slot 27, 
press and release BANK [2] and then press and hold PATCH [7] until the dot in the BANK PATCH display 
disappears, confirming the save is complete. There are 64 slots available to save custom patches 11 thru 88. 

Note that saving a patch will overwrite the contents of the original. 


CHORUS 1 / CHORUS 2   


The 

 has two chorus effects that can be selected by pressing the CHORUS 1 or CHORUS 2 button. When the 

button is lit, the chorus effect is on. You can also press both CHORUS 1 and 2 for an additional chorus effect. 


MANUAL 


Pressing the MANUAL button will copy the physical settings of the buttons, knobs, sliders, and switches, to the 
current patch.  This allows the physical settings to be copied to the virtual memory so they are in sync and the 
sound of the patch represents the physical settings of the buttons. 
 

CHORUS 2 + [14] 


Enters solo mode where playback is monophonic. Ie. Only a single note can sound at any given time. 

 
CHORUS 2 + [15] 


Enters unison mode where all sounds are played in unison. Ie. All 4 notes of polyphony are played with one key 
press. 
 

CHORUS 2 + [16] 


Enters Polyphonic mode where up to 4 notes of polyphony can be played. Playing more than 4 notes results in 
“note stealing”, where each successive note above 4-note polyphony cuts off prior notes to maintain the 4-note 
maximum. 
 

CHORUS 2 + [4] thru [13] 


Shifts the keyboard range in steps of one octave from button [4] (-4) thru button [13] (+5). The default of ±0 is 
[8]. 
 

CHORUS 2 + C1  


Switches portamento on and off to create a smooth change in pitch between notes played. 
 

CHORUS 2 + C2  


Adjusts the portamento time for the pitch change from 1 (slow) to 100 (fast).  This affects how quickly the pitch 
changes between note plays. 
 

 [1]   [1] thru [16]   


Specifies the master tuning from [1] (433Hz) to [16] (448Hz).  The default of 440Hz is [8]. 
 

 [2]   [1] thru [16]   


Specifies the MIDI receive/transmit channel 1 thru 16. 
 

 [3]   [1], [2] 


Specifies the MIDI Clock source. 

Содержание Ju-06

Страница 1: ...1 Roland Unofficial User Guide Ian R Wilson 2016 ...

Страница 2: ... connect the unit to an external power source or computer via a USB 2 0 A microB cable Use a commercially available USB 2 0 cable A microB to connect this port to your computer It can be used to transfer MIDI and audio data over USB The USB driver needs to be installed when connecting the to your computer and can be downloaded from the Roland website For details refer to the Readme htm file includ...

Страница 3: ... the same time as pressing the 3 button and then let go and press either button 1 or 2 BANK PATCH NUMBER 1 8 Loading a Stored patch You can recall up to 64 stored patches using a combination of bank and patch numbers There are a total of 8 banks selectable using BANK numbers 1 to 8 and each bank has a total of 8 patches selectable using PATCH numbers 1 to 8 For example pressing BANK 1 followed by ...

Страница 4: ...witches to the current patch This allows the physical settings to be copied to the virtual memory so they are in sync and the sound of the patch represents the physical settings of the buttons CHORUS 2 14 Enters solo mode where playback is monophonic Ie Only a single note can sound at any given time CHORUS 2 15 Enters unison mode where all sounds are played in unison Ie All 4 notes of polyphony ar...

Страница 5: ...2 Sets Auto Off 1 OFF Prevents the unit from powering down automatically 2 30 min Causes the unit to turn off automatically after 30 minutes of inactivity Auto Off will not occur while the unit is plugged in via USB MANUAL 8 1 thru 4 Specifies the length of inactivity before the LED demo turns on 1 OFF Prevents the unit from entering the LED demo 2 1 min Causes the LED demo to engage after 1 minut...

Страница 6: ...he patch in incremental adjustments of 1 thru 16 Note that this delay time refers to the length of time before the delay takes effect not how long the delay effect is MANUAL 16 1 thru 16 Adjusts the delay feedback applied to the patch 1 is no feedback and 2 thru 16 adjust it incrementally for a longer delay The step sequencer lets you input notes in up to 16 steps and then play the notes back in a...

Страница 7: ...time of all steps in the sequence This is the length of all notes in the sequence where UP on the C2 ribbon controller is longer and DOWN is shorter CHORUS 2 1 thru 16 Selects one of the stored sequencer patterns CHORUS 2 1 thru 16 long press Saves and assigns the current sequencer pattern to the button selected MANUAL 1 1 thru 16 Assigns the number of steps in the sequence min 1 max 16 MANUAL 2 4...

Страница 8: ...f the sound as well as the waveform that determines the timbre or character of the sound RANGE 16 8 4 This specifies the octave of the digitally controlled oscillator This simply changes the root octave of the DCO with 4 being the highest pitch and 16 being the lowest LFO Slider This allows the LFO to modulate the pitch of the sound producing vibrato Moving the slider up makes the LFO effect more ...

Страница 9: ... the filter cutoff frequency producing more electronic or synthesizer textures To an extent it also deemphasizes some of the lower frequencies in the sound ENVELOPE Switch This selects the polarity direction of the filter envelope ENV Slider Adjusts the depth by which ENV controls the cutoff frequency LFO Slider Adjusts the depth by which LFO modulates the cutoff frequency KBD Slider This allows t...

Страница 10: ...lease Time How quickly the envelope reaches minimum amplitude value after the note is released Perform the following steps to return your back to the default factory settings 1 Turn the POWER button A to ON while holding down the BANK 1 button The MANUAL button should blink indicating that the unit is ready to be reset Simply turn the POWER button to the OFF position if you choose to cancel the re...

Страница 11: ...BER 2 button 2 Connect the USB port to your computer via USB cable 3 Once recognized open the driver on your computer 4 Navigate to the computer folder containing your backed up data 5 Copy the backup files from this folder to the RESTORE folder on the drive 6 When the copy has completed safely eject the USB drive and disconnect the USB cable from the computer Windows Right Click on the icon in My...

Страница 12: ...1 PWM 131 PWM SOURCE 2 OSC1 CROSS MOD 0 OSC1 RANGE 2 OSC1 WAVE 3 OSC2 SYNC 0 OSC2 RANGE 164 OSC2 TUNE 146 OSC2 WAVE 1 MIX BALANCE 128 HPF 193 CUTOFF 197 RESONANCE 0 FLT LPF SLOPE 0 FLT ENV MOD 0 FLT ENV MOD SRC 1 FLT LFO MOD 0 FLT KEY FOLLOW 90 AMP LEVEL 191 AMP LFO MOD 0 ENV1 ATTACK 144 ENV1 DECAY 123 ENV1 SUSTAIN 149 ENV1 RELEASE 95 ENV1 POLARITY 1 ENV2 ATTACK 83 ENV2 DECAY 255 ENV2 SUSTAIN 102 ...

Страница 13: ...0 1 OSC2 RANGE 0 255 OSC2 TUNE 0 255 OSC2 WAVE 0 5 MIX BALANCE 0 255 HPF 0 255 CUTOFF 0 255 RESONANCE 0 255 FLT LPF SLOPE 0 1 FLT ENV MOD 0 255 FLT ENV MOD SRC 0 1 FLT LFO MOD 0 255 FLT KEY FOLLOW 0 255 AMP LEVEL 0 255 AMP LFO MOD 0 3 ENV1 ATTACK 0 255 ENV1 DECAY 0 255 ENV1 SUSTAIN 0 255 ENV1 RELEASE 0 255 ENV1 POLARITY 0 1 ENV2 ATTACK 0 255 ENV2 DECAY 0 255 ENV2 SUSTAIN 0 255 ENV2 RELEASE 0 255 E...

Отзывы: