13.
Installation
1.
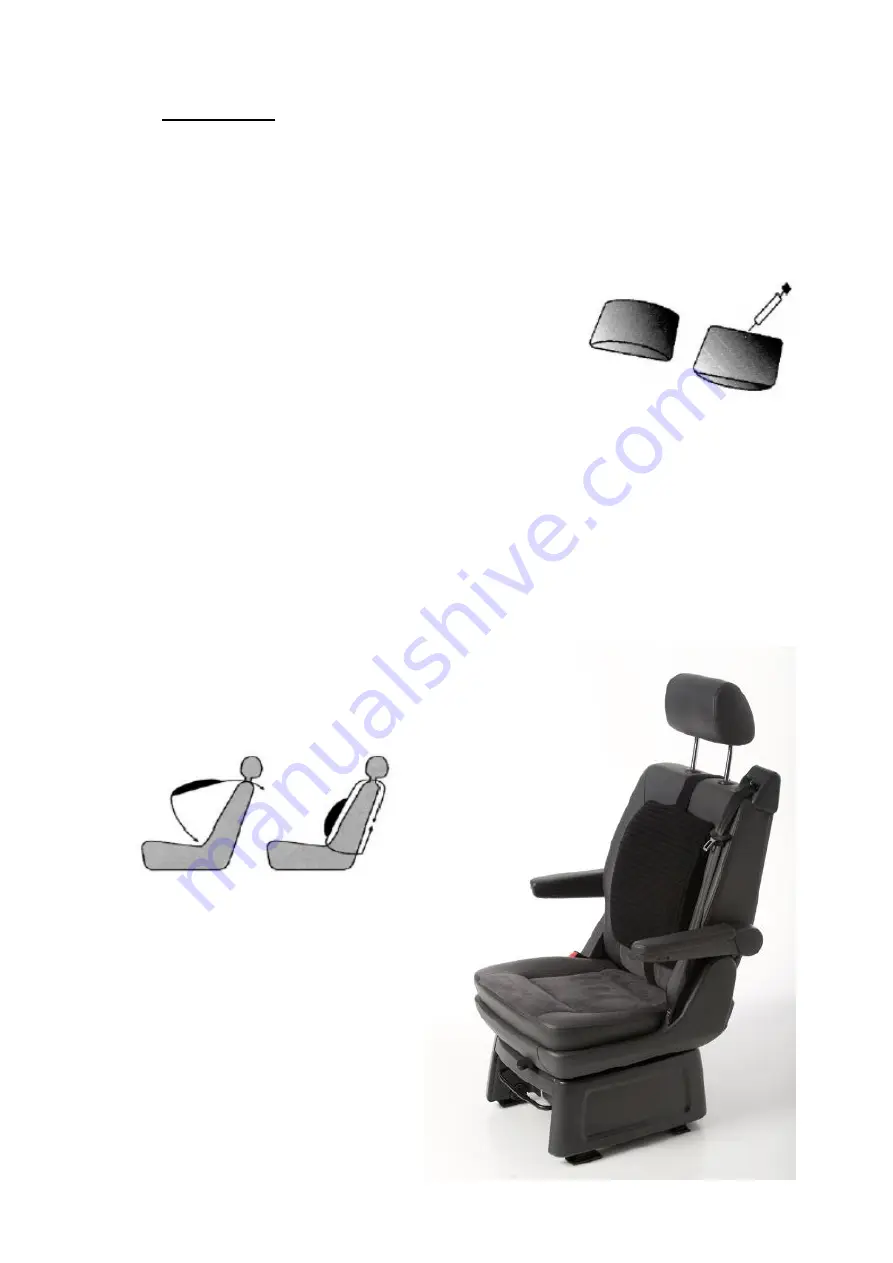
Adjust the inflation using the needle valve in the cushion and the included pump.
The needle is recessed into the head of the pump handle (under the yellow labelled
dot). The cushion is supplied inflated but may require adjustment according to your
individual preferences and needs. Add a little more air or release some air as
required. Make sure that the product is at room temperature before making any
adjustments. Always moisten the needle before
inserting the needle into the valve. Open the cushion
zip. The valve is located at the back of the product.
To deflate the cushion, insert the moistened needle
and press out excess air. When inflating, pump in air,
taking care not to inflate the cushion beyond the
maximum firmness.
2.
Use the belt to attach the cushion to your seat. Open the clip/Velcro® fastener
(press the two tabs inwards of the clip to open and push these together to close till
you hear a click). Place the flat side (the side with the zip) against the front of your
seat. Make sure that the shorter belt is pointing towards the seat and the longer
belt is towards the headrest.
3.
Pull the shorter belt down and through the back. Pass the longer belt between the
headrest and the back of the seat. The two belt sections can be connected with the
clip/Velcro® at the back of your seat.
4.
Make sure the longer belt has the length adjustment feature. Make sure the cushion
is connected tightly to your seat.
5.
Your shoulders should touch the
back of the seat. This makes sure
that the distance between your
head and the headrest is correct.


