35
Custom Installation
The custom installation allows individual selection of the software provided on the CD.
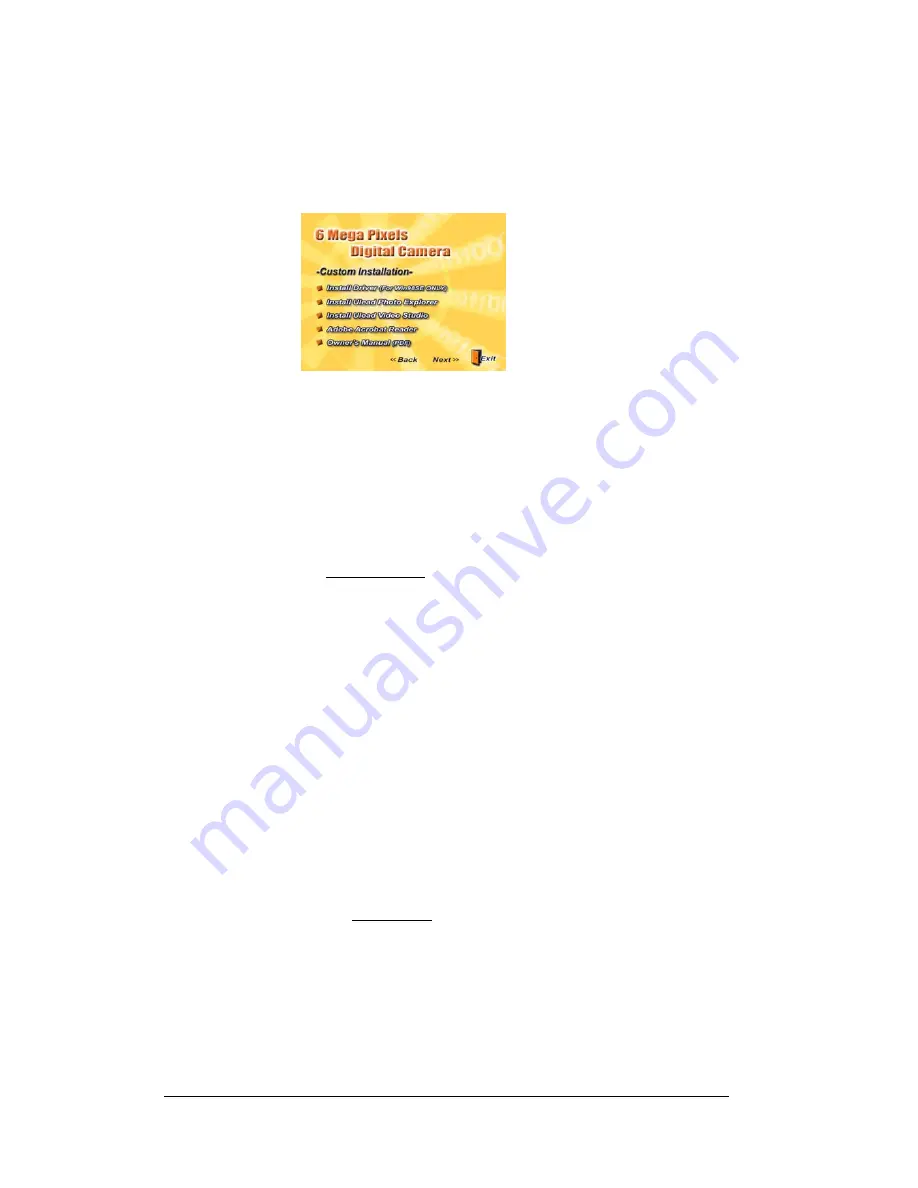
From the previous Installer Menu select “Custom Installation” and click “Next”. The following
screen will appear:
1
Check the desired application(s) and click “Next” to continue the software installation.
2
Follow the on-screen instructions to complete installing each software. The installation
will be in the order of the menu above.
3
After ALL software are installed, select “Yes, I want to restart my computer now” and
click “Finish”.
Note
: For information on how to use Ulead Photo Explorer and Video Studio, please
visit its website at www.ulead.com.
Downloading & Transferring Files to Computer
1
Plug the small end of the USB cable to the USB/AV port of your camera. Plug the other
end of the USB cable to the USB port of your computer
2
Set the camera to Power ON.
Be sure batteries are inside of the battery compartment.
3
Go to “My Computer” and open “Removable Disk (D:\)” or the next available alphabet
for the removable disk. (This camera uses mass storage so the computer will detect a
hardware device.) You will see a folder labeled “DCIM” is inside this drive. Click to open
this folder, and then click again to open the next folder “nnnSX630”.(where nnn
=100~999). Your video and image files are stored under this folder.
NOTE:
If you’re using Windows XP, the Windows Wizard will open
and you can select the operations offered by Windows to download,
view, or play your digital files (shown next page).


