


9
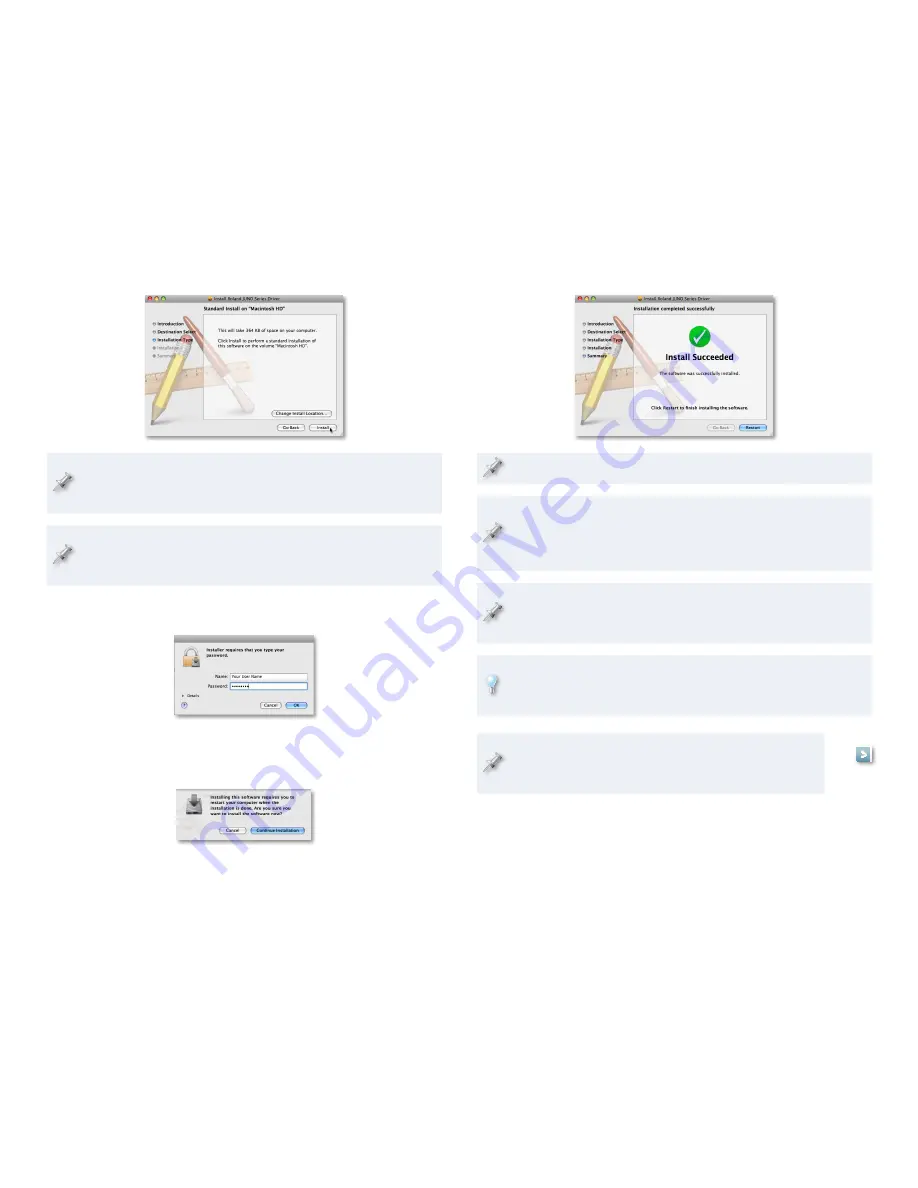
We recommend using the default install location unless you’ve got
a specific reason for not doing so. If you do, click Change Install
Location... and then choose the location you want.
If your Mac has more than a single hard drive or volume, you may be
asked to select the drive on which you want to install the driver. Select
the drive with your active operating system on it.
Click Install to display the password authentication window. Most
5
likely, your user name will already be filled in.
Type an administrator password for your computer.
6
Click OK—the installer informs you that a restart of your computer
7
will be required after the driver’s installed.
Click Continue Installation to install the JUNO-Di USB MIDI driver.
8
When you see the Install Succeeded window, click Restart.
9
If your Mac displays a message about reboot caches, click OK.
When the Mac’s restarted, make sure the JUNO-Di’s power is turned
off, plug one end of the included USB cable into the JUNO-Di’s rear-
panel USB jack, plug the other end into the USB jack you want to use
on your computer, and then turn on the JUNO-Di.
Whenever you perform Mac OS X system updates, please disconnect
the JUNO-Di during the process to avoid having to reinstall the
JUNO-Di USB MIDI driver.
In the same folder as the JUNOSeriesUSBDriver.pkg file you’ll find the
JUNOSeries Uninstaller. You can hold onto this file, or re-download the
driver folder later should you need it.
Later in this booklet, we’ll provide some further information
on using the JUNO-Di with a DAW. Click the button here to
jump to this section now if you like.


