


36
6. Network Settings
Memo
The examples used in the procedures for making the settings described in this section assume you are using
one computer and one machine. The settings used in this section are merely example settings. The procedures
and setting values described here may not be suitable for all operating environments.
If the computer you're using is connected to a number of networked devices or to the Internet, incorrect
settings may adversely affect the entire network. For detailed information about the settings, consult your
network administrator.
Step 1: Make the Network Settings for the Computer
Log on to Windows as an “Administrator” or a member of the "Administrators" group.
Windows 8.1 :
From the [Start] menu, click [PC Setting], and click [Control Panel].
Click [Network and Internet], and then click [Network and Sharing Center].
Click the [Ethernet].
Windows 8 :
Right-click in a blank area of the Start screen, and at the bottom right of the screen,
click [All apps].
Click [Control Panel].
Click [Network and Internet], and then click [Network and Sharing Center].
Click the [Ethernet].
Windows 7 :
From the [Start] menu, click [Control Panel].
Click [Network and Internet], and then click [Network and Sharing Center].
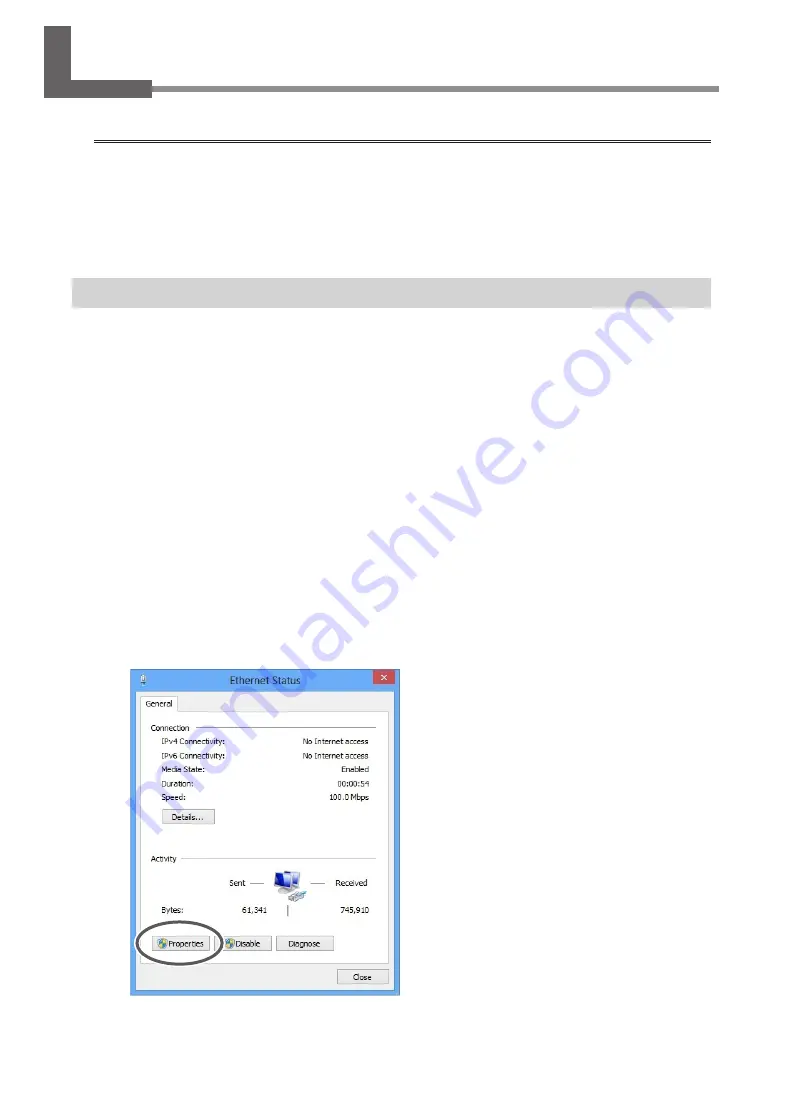
Click the [Local Area Connections].
Click [Properties].
The [Ethernet Properties] dialog box will appear.
(Windows 7; the [Local Area Connection Properties]
dialog box will appear.)
Click [Allow] when the [User Account Control] dialog
box appears.
Содержание Texart RT-640
Страница 2: ......
Страница 4: ...2 ...
Страница 12: ...4 Assembling and Installing 10 w x Tighten fully View from right above ...
Страница 14: ...4 Assembling and Installing 12 Tighten fully Bolts long 4 ...
Страница 16: ...4 Assembling and Installing 14 Tighten fully Bolts short 4 Tighten fully ...
Страница 17: ...4 Assembling and Installing 15 Tighten loosely 3 Install the media holder Tighten loosely ...
Страница 18: ...4 Assembling and Installing 16 x y Tighten loosely ...
Страница 19: ...4 Assembling and Installing 17 z Tighten fully ...
Страница 23: ...5 Filling with Ink 21 1 Install the ink pouch holder v w ...
Страница 24: ...5 Filling with Ink 22 x 2 Replace tubes Included Y shaped tube for new installation Removed tube ...
Страница 28: ...5 Filling with Ink 26 w ...
Страница 31: ...5 Filling with Ink 29 5 Apply the Cleaning Liquid OPEN COVER R Discharge any static electricity ...
Страница 42: ......
Страница 43: ......
Страница 44: ...R1 141107 1000012754 ...


