Roland SOLJET SC-500 Скачать руководство пользователя страница 20

18

What to Do upon Opening the Carton

Store ink cartridges out of the reach
of children.

Do not remove any ink cartridges except when shipping the machine.

If ink runs out, replace immediately with the same type and the same color ink cartridge (see "Maintenance -
Replacing the Ink Cartridges").  If an ink cartridge is removed, replace it immediately with a new one.
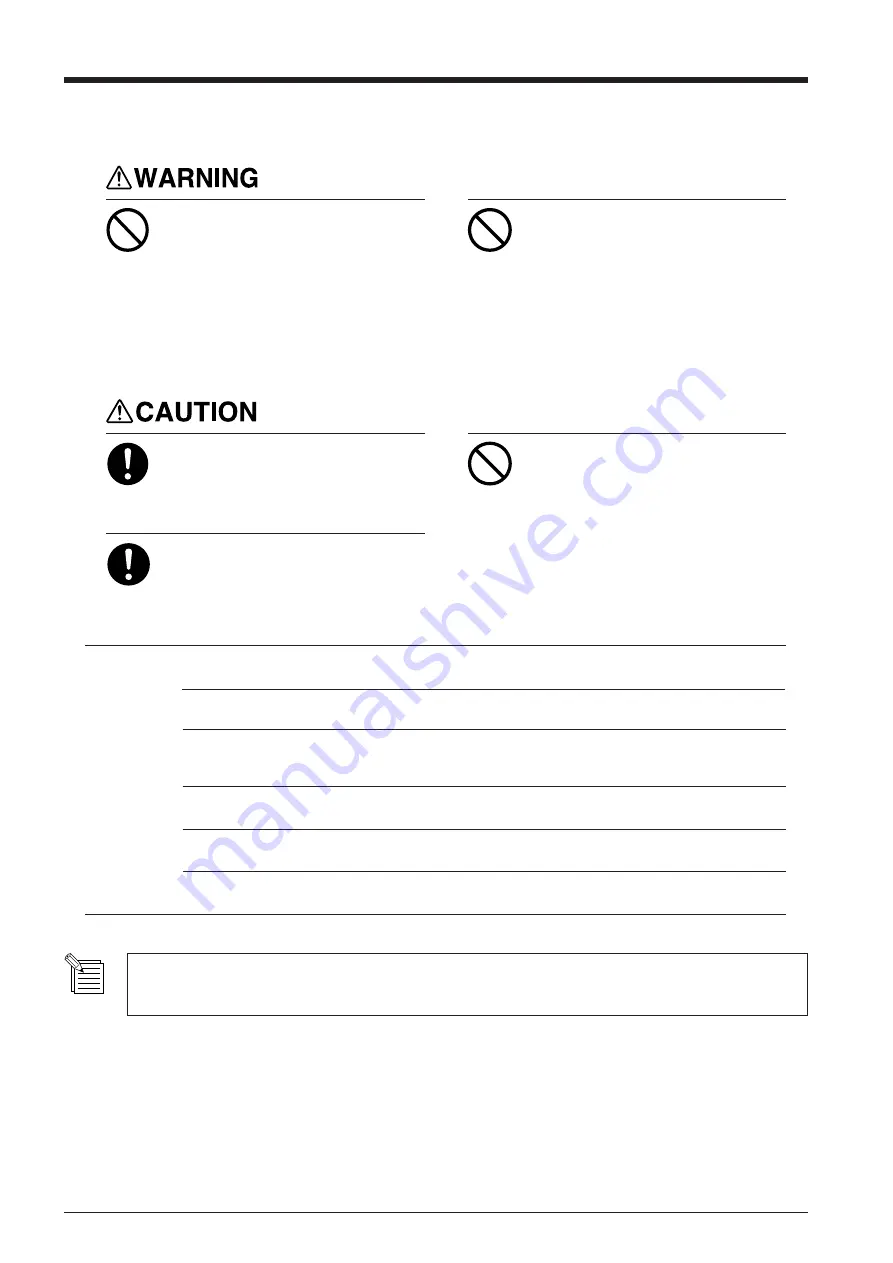
NOTICE

Do not attempt to disassemble an ink cartridge.

Store ink cartridges unopened at a temperature of -20 to 40 ˚C (-4 to 104 ˚F) in a well-ventilated location.

If an ink cartridge is dropped, the shock due to the fall may damage the ink cartridge and make it unusable.

Once an ink cartridge has been installed, do not remove it until the ink has been used up.  Frequent insertion and
removal may allow air to enter the ink tube and result in a drop in printing quality due to dot drop-out or the like.

4  Installing Ink Cartridges

Do not operate in a location exposed
to open flame, sparking, or static
electricity, or in a location exposed
to high temperatures, such as in the
immediate vicinity of a heater. Also,
do not place undried media in such
locations.

Doing so may result in fire due to
combustion of ink or cleaning liquid.

Do not store ink cartridges, cleaning
liquid, or discharged ink in locations
such as the following.

• Near open flame
• Locations exposed to high

temperatures, such as in the
immediate vicinity of a heater

• Near bleach, chemicals,

explosives, or the like

Doing so may cause fire.

Ensure adequate ventilation for the
work area.

Failure to do so may result in odor, physical
distress, or fire.

Do not allow ink or cleaning liquid to
come into contact with eyes or skin.
Do not drink or deliberately smell ink
or cleaning liquid.

Doing so may be hazardous to your health.

Do not use anything other SOL INK cartridges. Do not attempt to refill and reuse an empty ink cartridge.

Содержание SOLJET SC-500

Страница 1: ...cations of this product are subject to change without notice The operation manual and the product have been prepared and tested as much as possible If you find any misprint or error please inform us R...

Страница 2: ...nding plugs and 3 pole receptacles that accept the tool s plug Repair or replace damaged or worn out cord immediately For Canada CLASS A NOTICE This Class A digital apparatus meets all requirements of...

Страница 3: ...utting 31 1 Loading the Material 31 2 Installing a Blade 35 3 Test Cutting 36 Setup for Printing and Cutting 38 Downloading Printing Cutting Data 39 Remove the Material 41 Remove the Material from the...

Страница 4: ...r be disassembled The symbol alerts the user to things that must be carried out The specific thing that must be done is indicated by the design contained within the circle The symbol at left means the...

Страница 5: ...aning liquid Doing so may be hazardous to your health If ink or cleaning liquid comes in contact with the eyes immediately flush with running water for at least 15 minutes If eye irritation continues...

Страница 6: ...tempt to unplug the power cord with wet hands Doing so may result in electrical shock Do not allow liquids metal objects or flammables inside the machine Such materials can cause fire Unpacking instal...

Страница 7: ...dge Roll material must be placed at a predetermined shaft position Failure to do so may result in falling of the roll leading to injury Do not touch the tip of the blade with your fingers Doing so may...

Страница 8: ...ink are flammable Keep away from open flame Ink and discharged ink are toxic Avoid contact with the body Use only in a well ventilated area Indicates information to prevent machine breakdown or malfun...

Страница 9: ...l bruit inhabituel etc Le non respect de cette consigne pourrait provoquer un incendie ou des d charges lectriques Couper imm diatement l alimentation secondaire et ensuite l alimentation principale...

Страница 10: ...ment l encre ou le liquide nettoyant Cela est dangereux pour la sant Si de l encre ou le liquide nettoyant viennent en contact avec les yeux rincerimm diatement l eaucourante pendant au moins 15 minut...

Страница 11: ...ntroduire de liquide d objet m tallique ou inflammable dans l appareil Ce genre de mat riel peut provoquer un incendie Le d ballage l installation et le d placement de l appareil doivent tre effectu s...

Страница 12: ...en marche Une n gligence ce niveau pourrait provoquer des blessures L encre et l encre us e sont inflammables Les garder loin de toute flamme nue L encre et l encre us e sont toxiques viter toutcontac...

Страница 13: ...pendant l impression provoque un arr t d urgence Appuyer sur PAUSE si pour toute autre raison qu une urgence vous d sirez suspendre momentan ment l impression Ne pas mettre les mains dans l espace de...

Страница 14: ...12 MEMO...

Страница 15: ...ake sure that you received all the items that were shipped along with the unit Power cord 1 Drain bottle 2 Drain bottle cap 1 Screws 2 Roland COLORCHOICE 1 User s manual 1 Replacement blade for separa...

Страница 16: ...sure not to expose the machine to high temperatures of 40 C 104 F or more Temperature 5 to 40 C 41 to 104 F humidity 20 to 80 no condensation Never install the unit in any of the following situations...

Страница 17: ...t be unplugged and cause failure during operation Doing so may lead to faulty operation or breakdown Arrange the power cord and interface connection cable to prevent tripping when moving around the un...

Страница 18: ...de of the unit Drain bottle 3 Remove the cap for the drain bottle and attach the drain bottle to the unit by screwing it on in the direction of the arrow Line up the threads on the drain bottle with t...

Страница 19: ...n accordance with regional laws and regulations 3 Disposal of Discharged Ink Discharged ink is flammable and contains toxic ingredients Do not attempt to incinerate discharged ink or discard it with o...

Страница 20: ...ity due to dot drop out or the like 4 Installing Ink Cartridges Do not operate in a location exposed to open flame sparking or static electricity or in a location exposed to high temperatures such as...

Страница 21: ...d then press the ENTER key on the operation panel Insert cleaning cartridges into the ink cartridge ports shown by flashing on the display Insert the three cartridges firmly as far as they will go Was...

Страница 22: ...message is displayed then press the EN TER key Ink filling starts Replace the drain bottle with an empty one then press the ENTER key This completes the installation of the ink cartridges SET CARTRID...

Страница 23: ...R key to reset the power The carriage moves and the printing head is capped Front View Sheet Loading Lever Front cover If the cover is opened while the printing or cutting it will execute an emergency...

Страница 24: ...or Main power switch Rear View Power Connector Pinch roller Grit roller Platen Printing carriage When not printing this stays inside the cover Platen Grit roller Cutter protector Cutting carriage The...

Страница 25: ...various setting menus and messages BUSY LED This flashes while data is being received from the host computer ENTER key BASE POINT key LED ALIGN POINT key LED POWER key LED TEST PRINT key PRINT CONFIG...

Страница 26: ...stem can accept data from the computer when in this mode Thesystemisreceivingdata from the computer and per forming printing or cutting The SLEEP mode is enabled when the system has been inactive for...

Страница 27: ...shaft The shafts 2 pieces stoppers 2 pieces and screws 2 pieces are included with the stand When passing the shaft through the stopper be sure to loosen the screws on the stopper first 1 Loading Roll...

Страница 28: ...middle pinch roller when the material is wide or when the material is flimsy and prone to wrinkling during material feed Be sure to lower the left and right pinch rollers 6 The white stickers on the r...

Страница 29: ...roller the massage shown at below appears when you press the SETUP key SETUP SHEET ROLL EDGE PIECE PINCHROLL ERROR INVALID LEFTPOS or RIGHT Setup for Printing Check the positioning of the pinch roller...

Страница 30: ...d the warped portion to the front and perform setup again Performing printing with a warped piece of material may cause head smudging or jamming of the material If the printing heads become damaged or...

Страница 31: ...aning the Printing Heads 2 Test Printing Printing quality is greatly affected by the state of the printing heads Before starting to print you can carry out a printing test to check the state of the pr...

Страница 32: ...left Printing quality is better than with BI DIRECTION BI DIRECTION factory default Bidirectional printing Printing is performed as the carriage moves from right to left and also as it returns from l...

Страница 33: ...topper first 1 Loading Roll Material Attach the media flanges to match the inner diameter of the roll material core Insert them firmly as far as they will go The media flange is included with the stan...

Страница 34: ...move the pinch rollers to a position over the grit rollers the pinch rollers descend Then do not descend when they are moved away from the grit rollers It is a good idea to use one or both middle pinc...

Страница 35: ...at below appears when you press the SETUP key PINCHROLL ERROR INVALID LEFTPOS or RIGHT Check the positioning of the pinch rollers and make sure they are aligned at the correct positions When PREFEED...

Страница 36: ...o the front and perform setup again Press the SETUP key This detects the width and length of the material and shows the printable width and length on the display 5 If a pinch roller is positioned over...

Страница 37: ...crew Tighten Cutting carriage 1 Loosen the tool securing screw on the cutting carriage 2 Support the tool securing screw from below and install the blade holder Insert the blade holder until the colla...

Страница 38: ...de Repeat the cutting tests and adjustment of the cutting conditions until you obtain good cutting results for the material Setup for Cutting 1 Peel off the round section marked by When it can be peel...

Страница 39: ...adhesive layer may adhere to itself immediately when cut This means that even though the material has actually been cut it may appear as if it has not been cut and blade force may mistakenly be set t...

Страница 40: ...Cutting Refer to Setup for Cutting 3 Cutting Test and perform a cutting test and adjust the cutting conditions Setup for Printing and Cutting Setup for Printing and Cutting When cutting is performed...

Страница 41: ...cutting doesn t start even when data is sent from the computer Conditions for starting printing or cutting The material must be already set up with the SETUP LED lighted and the display must show the...

Страница 42: ...tting Data Hold down the SETUP key for one second or longer Any remaining data is cleared 3 The SETUP LED goes out Clearing the data may take some time About the EMPTY MODE When replacement of the ink...

Страница 43: ...terial Press the SETUP key Hold down for about 1 second 1 The SETUP LED goes out Move the sheet loading lever toward the back of the unit The pinch rollers rise to release the material 2 Sheet loading...

Страница 44: ...ENABLE The material separating location during continuous output Start of the next output End of output When the material cutting command has not been set to enabled at the computer automatic separati...

Страница 45: ...TUP LED goes out If the SETUP LED is lighted press the SETUP key Hold down for about 1 second 1 Move the sheet loading lever toward the back of the unit and remove the material 2 Sheet loading lever T...

Страница 46: ...s the following Near open flame Locations exposed to high temperatures such as in the immediate vicinity of a heater Near bleach chemicals explosives or the like Doing so may cause fire Ensure adequat...

Страница 47: ...45 Maintenance Remove the ink cartridge from the ink cartridge port 1 Ink cartridge ports SOL INK Insert new ink cartridge 2 NOTICE Use only SOL INK Do not insert any other type of ink cartridge...

Страница 48: ...yan M Magenta c Light Cyan m Light Magenta Y Yellow Remaining ink Much Little No marker Check how much ink remains Cleaning the Printing Heads Switching on the sub power automatically performs mainten...

Страница 49: ...CLEANING MEDIUM When head cleaning finishes hold down the TEST PRINT key for 1 second or longer to perform a printing test see Setup for Printing Test Printing 3 Check the printing test results If a p...

Страница 50: ...l securing screw 2 Remove the blade holder Press the push pin Blade holder Old blade Push pin Blade holder New blade Replace with a new blade 3 Loosen Tool securing screw Tighten Cutting carriage 1 Lo...

Страница 51: ...pull it out in the direction of the arrow Do not pull back while doing this 3 Replace with a new knife 4 Install the separating knife 1 Grasp the screw portion and slowly insert it into the groove Tak...

Страница 52: ...ung well and wipe gently to clean Cleaning the front cover Use a cloth moistened with water then wrung well and wipe gently to clean Cleaning the blade holder cap If material debris is adhering to the...

Страница 53: ...is out of use for an extended period then once a month switch on the power and perform cleaning When the machine s main power switch is left on a warning beep sounds about once a month to remind you t...

Страница 54: ...splay the screen shown in the figure 6 When all ink cartridges have been removed head washing starts Follow the messages on the display to carry out the procedure 7 DISCARD DRAIN INK REMOVE CARTRIDGE...

Страница 55: ...uter 10 Remove the drain bottle 11 Remove the drain bottle cap 12 Drain bottle cap Attach the tube plug to the tube tips instead 13 Referring to Unpacking and Repacking on the packing carton secure th...

Страница 56: ...54 Maintenance MEMO...

Страница 57: ...the operating environment Press the MENU key and key to make the following screen appear on the display 1 Press the ENTER key When material is loaded the message shown in the figure appears Remove th...

Страница 58: ...h the new printing or cutting start location base point 2 Press the BASE POINT key 3 To release the starting location that has been set Set a new starting location in a different location Press the SE...

Страница 59: ...ear on the display 3 Press the MENU key and key to make the following screen appear on the display 2 Load material and install a blade then press the SETUP key 1 4 MENU PRINT CUT ADJ 5 From the test p...

Страница 60: ...e key to make the following screen appear on the display 8 Enter the correction value read in step 5 Select the correction value with the key and press the ENTER key Repeat steps 6 through 8 and perfo...

Страница 61: ...press and hold the ENTER key The actual size where output is possible is displayed until you release the key The position where you cut off the material after printing ends is also important When you...

Страница 62: ...s received the following message appears and the system goes into standby Stop the output of data from the computer then press the SETUP key to stop printing Pressing the ENTER key starts printing but...

Страница 63: ...ollowing screen appear on the display 2 MENU CROP MARK CROP MARK DISABLE DISABLE CROP MARK DISABLE ENABLE If you used the program to enable or disable crop marks then crop marks are printed or not pri...

Страница 64: ...4 Set the align point Use the arrow keys to line up the center of the tool with one of the crop marks then press the ALIGN POINT key You normally use the upper right crop mark for this Line up the ce...

Страница 65: ...he material Crop marks and the like drawn with computer programs cannot be used as crop marks When you have set the align point at the upper right crop mark correction for length is performed automati...

Страница 66: ...in the feed direction which can help enhance image quality Feed Correction Press the MENU key and key to make the following screen appear on the display 1 Press the key to make the following screen ap...

Страница 67: ...he following screen appear on the display 2 Press the ENTER key to start printing a test pattern 3 Check the test pattern and choose a value with no displacement 4 MENU BIDIRECTION BIDIRECTION TEST PR...

Страница 68: ...e length for printing and cutting At this time the correction value in this section is ignored For more information take a look at User s Reference Removing Printed Material Then Reloading and Cutting...

Страница 69: ...ER PRINT NONE NONE Use the and keys to choose the number of passes two or three then press the ENTER key 3 OVER PRINT NONE 2 When you use the program to set the number of passes for overprinting the p...

Страница 70: ...ear on the display 1 Press the key to make the following screen appear on the display 2 Use the and keys to set a margin then press the ENTER key 3 MENU PAGE MARGIN PAGE MARGIN 20mm 20mm 0 to 100 mm I...

Страница 71: ...cally pulled out and then printing or cutting begins If material equal to the amount of data is not available operation pauses and the following message appears on the display SHEET TOO SHORT CONTINUE...

Страница 72: ...t SELECT SHEET choose ROLL or EDGE then press the SETUP key 4 Press the MENU key and key to make the following screen appear on the display 5 Press the key to make the following screen appear on the d...

Страница 73: ...nting results in jamming of the material the material catching on a printing head or other problems that indicate that material feed cannot be accomplished smoothly then position the lever at 2 or 3 W...

Страница 74: ...e inner diameter for roll material E Maximum weight for roll material F Roll material with a starting edge that is not taped down Side view of roll material 0 08 to 0 22 mm 0 00315 in to 0 00866 in de...

Страница 75: ...item to DISABLE Approx 1190 mm 46 7 8 in Material with a width 960 and 1140 mm 37 13 16and44 7 8in Material with a width 742 and 922 mm 29 3 16 and 36 5 16 in Material with a width 430 and 610 mm 16...

Страница 76: ...not cut through completely even when the tool force is increased by 50 to 60 gf more than the tool force values shown below it means that the useful life of the blade has ended Replace with a new bla...

Страница 77: ...ng cutting area Material Max 24998 mm 984 1 8 in 10 mm 3 8 in Approx 1 5 mm about 0 06 in 60 mm about 2 1 8 in When PIECE is selected Pinch roller left Approx 19 2 mm about 13 16 in 35 mm 1 1 8 in If...

Страница 78: ...76 User s Reference MEMO...

Страница 79: ...rinting quality and unidirec tional or bidirectional printing Settings cannot be made while printing is in progress To exit the PRINT MODE menu screen press the MENU key or the CLEANING key or the SET...

Страница 80: ...ely 108 mm x 18 mm 4 25 in x 0 71 in Before starting to print you can carry out a test printing to check the printing quality For more information see Setup for Printing Test Printing If there is a pr...

Страница 81: ...This menu is for verifying the adjustment ADJUST This sets the correction value For more information see User s Reference Making Corrections for Printing Bidirectional Correction TEST PRINT ADJUST 15...

Страница 82: ...eed to do this because refilling is automatic PUMP UP Drains ink from the printing heads HEAD WASH This washes the printing heads with optionally available cleaning cartridges For more information see...

Страница 83: ...ce per second To release the SLEEP mode Touch any key on the control panel Send data from the computer Open the front cover Move the sheet loading lever toward the back of the unit NONE 15 min to 120...

Страница 84: ...y be performed when absolutely necessary Performing cleaning from the POWERFUL menu in particular subjects the head to early wear and used up large amounts of ink MEDIUM This is used when performing c...

Страница 85: ...utting area of the loaded material length This is not displayed when ROLL or EDGE has been selected Printing cutting area of the loaded material width W1000mm L1230mm FINE BI DIR The settings for PRIN...

Страница 86: ...DEFAULT FACTORY DEFAULT NOW PROCESSING MENU CALIBRATION CALIBRATION PRINTING ADJ PRINTING ADJ ADJUST PRINTING ADJ TEST PRINT ADJUST 0 25 0 30 CALIBRATION CUTTING ADJ CUTTING ADJ FEED ADJUST FEED ADJU...

Страница 87: ...U SLEEP SLEEP 15min 15min ENABLE DISABLE MENU AUTO SHEET CUT AUTO SHEET CUT ENABLE ENABLE 0 to 100 mm In steps of 10 mm MENU PAGE MARGIN PAGE MARGIN 20mm 20mm mm INCH MENU MENU UNIT MENU UNIT mm mm ME...

Страница 88: ...mm 1 to 60 cm s In steps of 1 cm s UP SPEED 60cm s 60cm s 0 to 1 500 mm In steps of 0 025 mm Press the key Press the ENTER key to enable the setting Use or to select PRINT MODE FINE PHOTO SUPER FINE F...

Страница 89: ...computer and printing or cutting is stopped Is the top menu displayed If the top menu isn t displayed printing doesn t start even when data is sent from the computer Conditions for starting printing...

Страница 90: ...the platen see Maintenance When the Product Needs Cleaning Is the material dirty Remove superficial soiling then load the material Is the material damaged Clean attractive printing is not possible if...

Страница 91: ...see User s Reference Making Corrections for Printing Bidirectional Correction Does a piece of flat material touch the shaft or roll material at the back of the machine When loading flat material if th...

Страница 92: ...aking the SETUP LED go dark 4 Press the POWER key to switch off the sub power 5 Remove the jammed material Cut off any creased or torn portions 6 Correct whatever caused the material to jam For exampl...

Страница 93: ...command been set to enable with the driver When the material cutting command has not been set to enable with the driver automatic separation of the material is not performed even when AUTO SHEET CUT h...

Страница 94: ...leave the unit with the carriage not in standby position Recovery from this problem is impossible Use the POWER key to switch the power off First raise the temperature of the area where installed then...

Страница 95: ...main power switch was turned off without first turning off the sub power with the POWER key Action Perform the printing or cutting test inside the print ing or cutting area Press the POWER key to tur...

Страница 96: ...correction has been performed when the setting for CALIBRATION CUTTINGADJ has been made Error of less than 0 2 of distance traveled or 0 1 mm whichever is greater 0 1 mm or less excluding stretching c...

Страница 97: ...al Mastercut Film ARLON Series 2100 Special stand Roll material must be loaded on the shaft Side margins 25 mm 1 in or more for both the left and right margins Front margin 35 mm 1 1 8 in or more Afte...

Страница 98: ...ace Specifications Parallel Connector in compliance with specifications of Centronics Signal number Signal number Terminal number Pin Connection 1 19 18 36 3 3K 5V 3 9K 5V Standard Bidirectional paral...

Страница 99: ...R1 011011...

Отзывы: