8
Using the
Bluetooth®
Functionality
Here’s What You Can Do
Bluetooth functionality creates a wireless connection between
a mobile device such as a smartphone or tablet (subsequently
referred to as the “mobile device”) and this unit, allowing you to
do the following.
Bluetooth audio
You can use the speakers of this instrument to listen to music or
music videos played on your mobile device.
MIDI data transmission and reception
MIDI data can be exchanged between this unit and the mobile
device.
You can use the keyboard of this instrument to play a music app
that supports Bluetooth MIDI, such as Piano Partner 2.
Reference
For details on Piano Partner 2, refer to the Roland website.
http://www roland com/
Using Bluetooth Audio
* The volume of the Bluetooth audio cannot be adjusted from
this unit. Adjust the volume on the mobile device.
Registering a Mobile Device (Pairing)
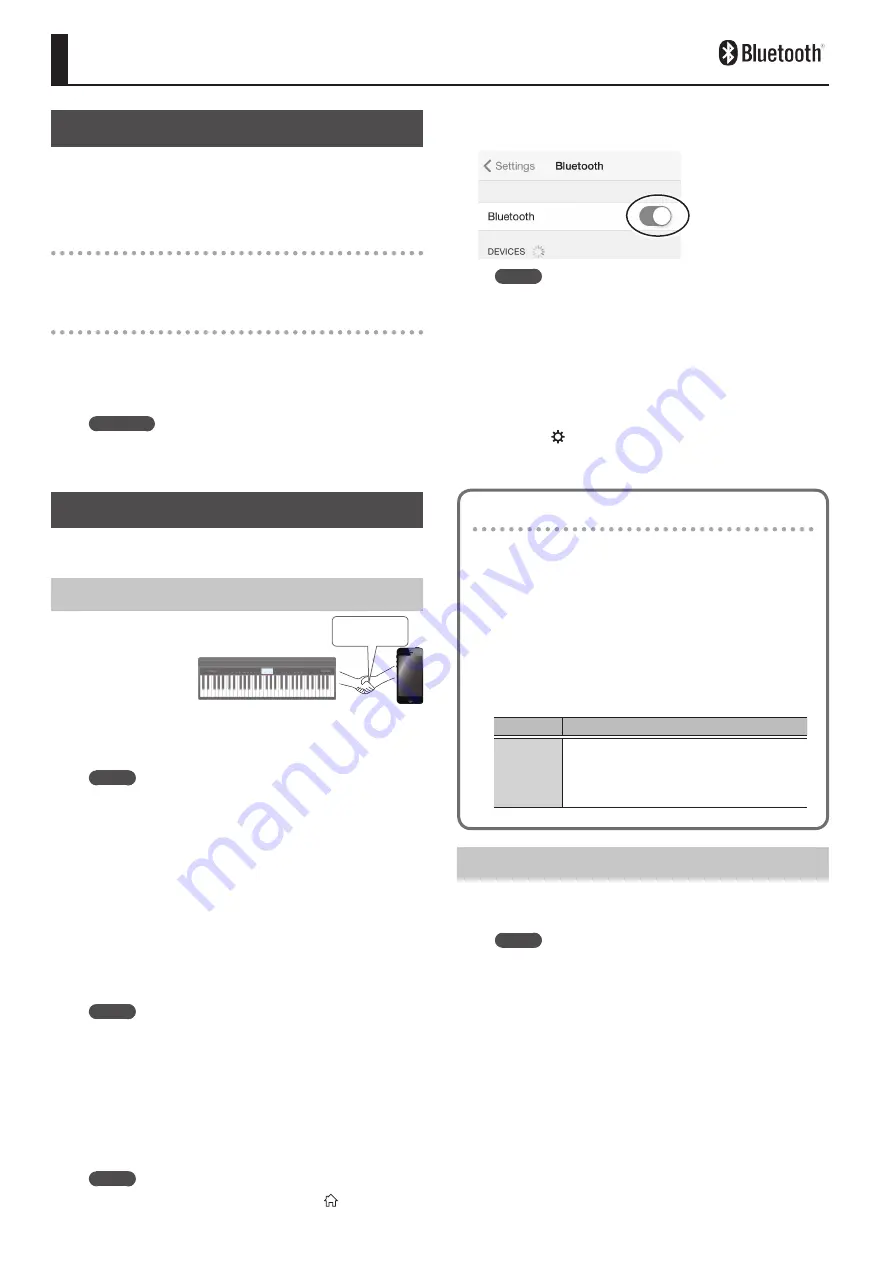
“Pairing” is the
procedure by which
the mobile device
that you want to use
is registered on this
unit (the two devices
recognize each other).
Make settings so that music data saved on the mobile device can
be played wirelessly via this unit.
MEMO
5
Once a mobile device has been paired with this unit, there
is no need to perform pairing again. If you want to connect
this unit with a mobile device that has already been paired,
refer to “Connecting an Already-Paired Mobile Device” (p. 8).
5
Pairing is required again if you execute a Factory Reset (p. 6).
5
The following explanation of the procedure is only one
example. For details, refer to the owner’s manual of your
mobile device.
* Make sure that this unit’s Bluetooth function is “On”
(settings
0
“BLUETOOTH” turned “On”).
1
Place the mobile device that you want to connect
nearby this unit.
MEMO
If you have more than one unit of this model, power-on only
the unit that you want to pair (power-off the other units).
2
In settings (p. 6), make the display indicate BT
PAIRING.
3
Press the [
s
] button.
The display indicates “PAIRING...,” and this unit waits for a response
from the mobile device.
MEMO
If you decide to cancel pairing, press the [ ] button.
4
Turn on the Bluetooth function of the mobile
device.
MEMO
The explanation here uses the iPhone as an example. For
details, refer to the owner’s manual of your mobile device.
5
Tap “GO:PIANO Audio” that is shown in the
Bluetooth device screen of your mobile device.
This unit is paired with the mobile device. When pairing succeeds,
“GO:PIANO Audio” is added to the list of “Paired Devices” on your
mobile device.
6
Press the [ ] button when you’re finished making
settings.
Specifying the Bluetooth ID
You can specify a number that is added following the
device name of this unit when it is displayed by a Bluetooth
connected application.
If you own multiple units of the same instrument, this is a
convenient way to distinguish them.
1
In settings (p. 6), make the display indicate
BLUETOOTH ID.
2
Use the [–] [+] buttons to edit the value of the
setting.
Parameter Explanation
Off, 1–9
Set to “Off”: “ GO:PIANO Audio,” “GO:PIANO
MIDI” (default value)
Set to “1”: “GO:PIANO Audio 1,”
“GO:PIANO MIDI 1”
Connecting an Already-Paired Mobile Device
1
Turn on the Bluetooth function of the mobile
device.
MEMO
5
If you were unable to establish a connection using the
procedure above, tap “GO:PIANO Audio” that is displayed in
the Bluetooth device screen of the mobile device.
5
To disconnect, either turn this unit’s Bluetooth Audio
function “Off” (Setting
0
turn ”BLUETOOTH” Off) or turn the
mobile device’s Bluetooth function off.
Pairing


