66
Playing in Studio Mode
Studio mode is what you’ll use when recording a song. It provides
sixteen parts, and allows you to assign a patch (or rhythm set or
sample set) to each of these parts, thus allowing you to use sixteen
different sounds simultaneously.
You can use the mixer screen to adjust the level and pan for each of
the sixteen parts.
In addition to sixteen parts of the internal sound generator,
Studio mode allows you to simultaneously use parts of an
expansion board (the number of parts depends on the
expansion board) and external MIDI output parts.
A Studio set contains a patch (rhythm set, sample set) assignment for
each part, as well as settings such as volume and pan for each part.
When you play the keyboard, you’ll hear the current part.
Every part whose keyboard switch (p. 69) is on will sound. We
recommend that you leave the keyboard switch turned off. If it
is on, parts other than the current part will also sound, and this
is probably not what you want when you’re creating a song.
Recording a song
For details on recording a song, refer to
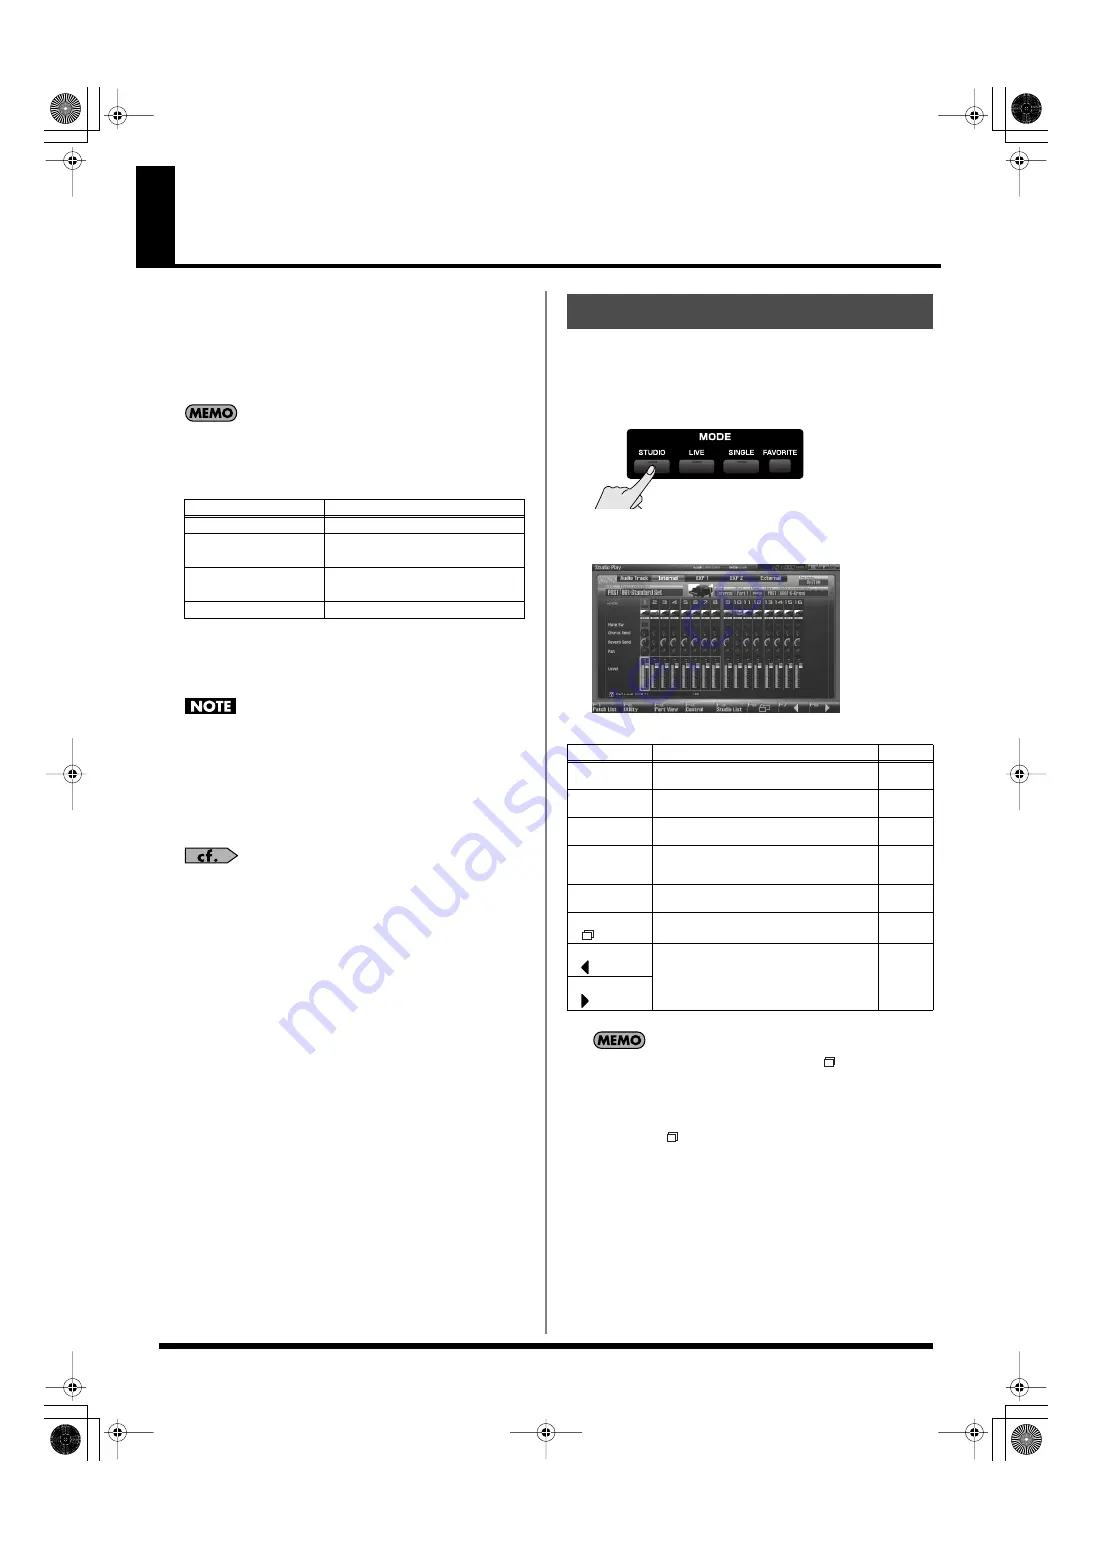
The Studio Play screen allows you to adjust the level and effect
settings of each part just as if you were using a mixer.
To access the Studio Play Screen, use the following procedure.
1.
Press [STUDIO].
You will enter Studio Mode, and the Studio Play Screen
appears.
fig.04-015_50
F-key operations in the Studio Play screen
In the Studio Play screen, pressing the [F6
] a number of
times will display the controller status (the functions assigned
to sliders 1–8, knobs 1–4, switches S1/S2, and the D Beam
controller, and the Bend Mode of the pitch bend lever).
Pressing [F6
] cycles you through the screens as follows.
MIXER 1
➔
MIXER 2
➔
Controller display
➔
MIXER 1
...
*
The controller display will not appear if audio tracks are shown in the
mixer.
Number of parts
Internal
16
Expansion board 1
Maximum 16
* Depends on the expansion board
Expansion board 2
Maximum 16
* Depends on the expansion board
External MIDI output
16
Displaying Studio Play Screen
F-key
Explanation
Page
F1
Patch List
Selects the patch assigned to each part.
F2
Utility
Makes settings common to the entire studio
set.
F3
Part View
Makes detailed settings for each part of the
studio set.
F4
Control
Selects the parameters that will be controlled
by the realtime controllers and the D Beam
controller.
F5
Studio List
Selects a studio set.
F6
Switches between the Mixer1/2 screens.
–
F7
Selects the eight parts that will be controlled
by the slider. A frame is shown around the
currently selected parts. By moving this
frame outside the screen, you can switch the
part group that is displayed.
–
F8
Fantom-G_r_e.book 66 ページ 2009年7月2日 木曜日 午後2時55分


