


Refer to your CAMMJET/Hi-Fi JET user’s manual for detailed instructions on working with the unit.
4
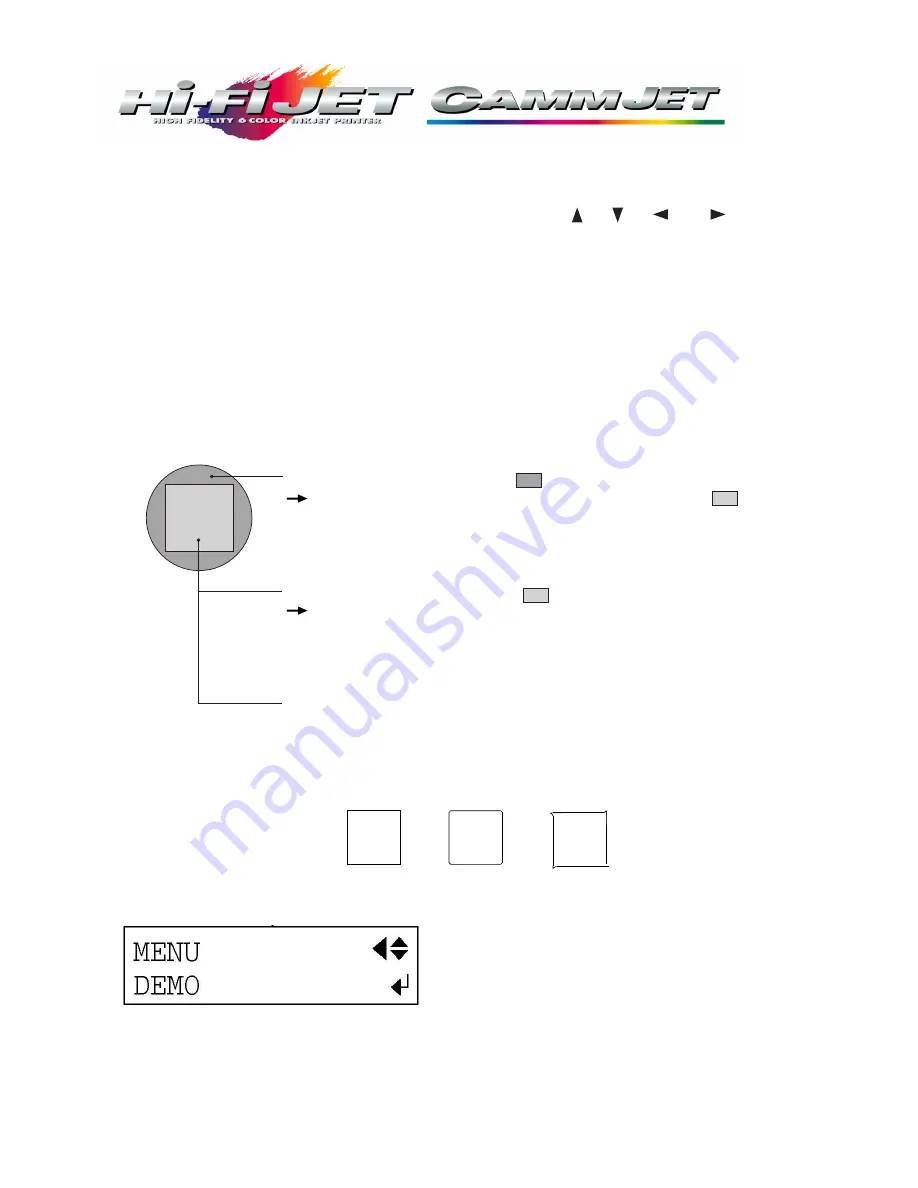
Demo Print
Go to the Demo Print menu and press enter. Six squares will print and cut confirming proper setup
Quick-Start Complete
The CAMMJET or Hi-F JET is now ready to print. Refer to the User’s manual on connecting to your computer, software
installation. An ECP printer cable is included in the accessories kit, which requires ECP settings on an
LPT port. Refer to your computer manufacturer’s instructions on setting a parallel port to ECP.
Install a blade and load a material, then close the front
cover.
1
Use the [
] , [ ] , [
] and [
] keys to move
the tool carriage to the place where the test cutting is
to be performed.
2
Press the [TEST CUT] key for 1 second or longer.
Test cutting starts.
3
Examine the cutting results for the material and diagnose the cutting conditions.
4
(1) Peel off the round section (marked by ).
When it can be peeled by itself, without disturbing the square (marked by ), the
cutter force is set appropriately.
If it peels, either the “blade force” or the “amount of blade extension” is insufficient.
(2) Remove the square section (marked by
).
The optimum blade pressure is correct if you can clearly make out the lines left by the
blade.
If the blade trace is indistinct or too strong, you need to adjust the “blade force” or the
“amount of blade extension.”
(3) Check the shape of the rectangle.
- If the corners are cut securely as shown in A, there conditions are correct.
- If the corners are rounded as shown in B, the “blade offset” is insufficient.
- If the corners have “horns” as shown in C, the “blade offset” is too large
A
B
C
Setup for Cutting


