USER GUIDE
1) Install the Rokinon Lens Manger Instruction Manual
and Software onto your computer.
a) Please go to Rokinon.com/downloads and click on “Lens
Station Software”.
b) Depending on the operating system of your computer click on
and download either “Lens Instruction Manual for Windows”
or “Lens Instruction Manual for Mac”.
c) Depending on the operating system of your computer click on
and download either “Lens Manager for Windows – Sony”
(Requires OS-Windows 7 or higher) or “Lens Manager for
Mac– Sony” (Requires Mac OS 10.9-10.12).
2) Attach the lens.
a) Remove the Lens Station’s body cap.
b) Remove the rear lens cap of your Rokinon AF Canon EF
lens.
c) Position the lens with its front lens cap on and its front facing
down (mount facing up) on a stable surface.
d) Align the white index mark (dot) on the lens with the red index
mark (dot) of the Lens Station.
e) Do not press the lens release button on the Lens Station
when mounting the lens.
f) Rotate the lens station in the direction labeled “close” on the
rear of the Lens Station until it “clicks” and locks in place.
3) Connect the Lens Station to your computer.
a) Use the supplied USB cable to connect the Lens Station.
b) Read and familiarize yourself with the Instruction Manual.
c) Start Lens Manager and update the firmware or customize
the features of your Rokinon AF Canon EF lens.
d) Close Lens Manager when completed.
4
) Detach the lens.
a) Remove the USB cable from the Lens Station.
b) While holding down the lens release button on the Lens
Station, rotate the Lens Station in the direction labeled
“open” on the rear of the Lens Station until it stops.
Separate the Lens Station from the lens.
c) Attach the rear lens cap of your Rokinon AF Canon EF lens.
d) Attach the Lens Station’s body cap.
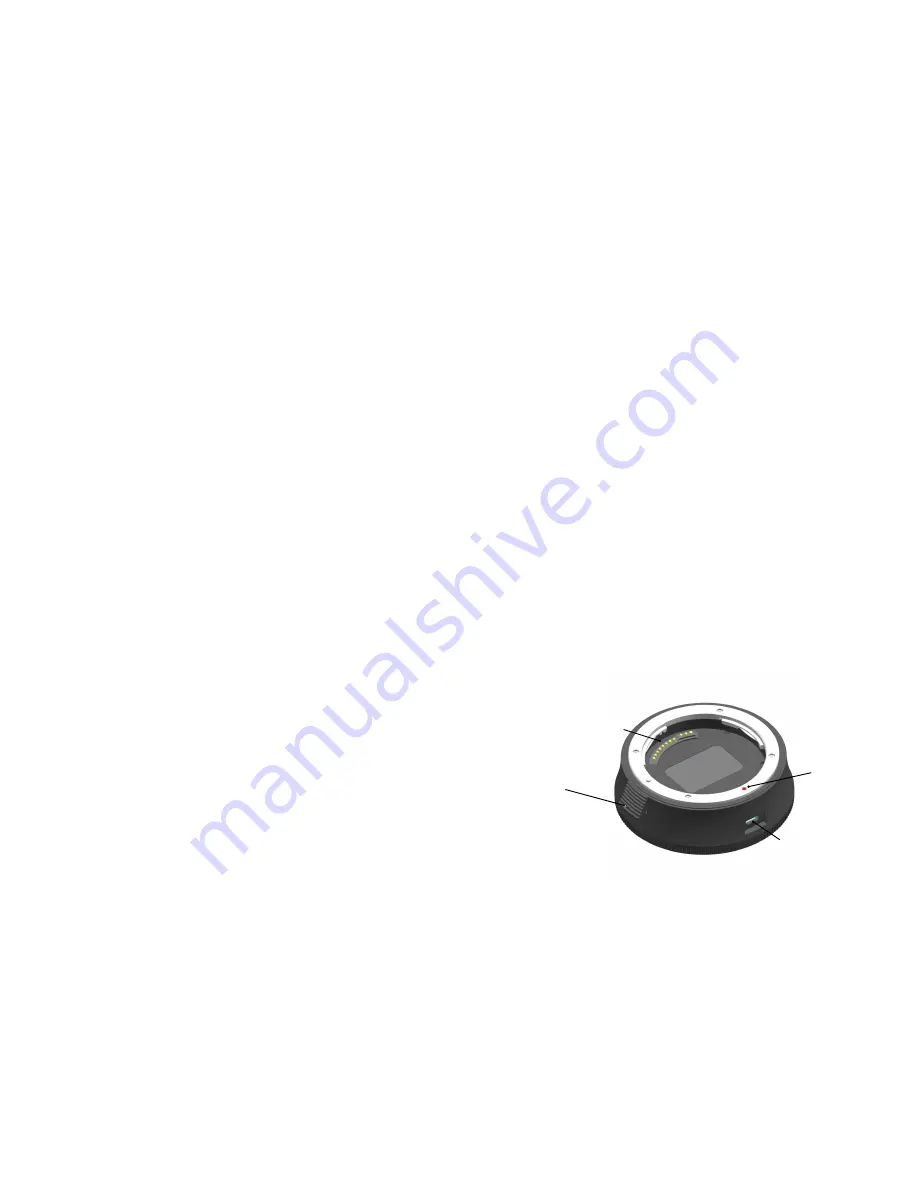
PARTS
USB connection
terminal
Lens mount
index mark
Electronic
contacts
Lens release
button


