Rockwell Automation Publication 2711P-QS002B-EN-P - April 2022
5
Getting Started
4. Connect the Ethernet cable to one of the network ports located at the bottom of the terminal, and connect the
other end to the network.
5. Connect the terminal to an appropriately-rated DC power source.
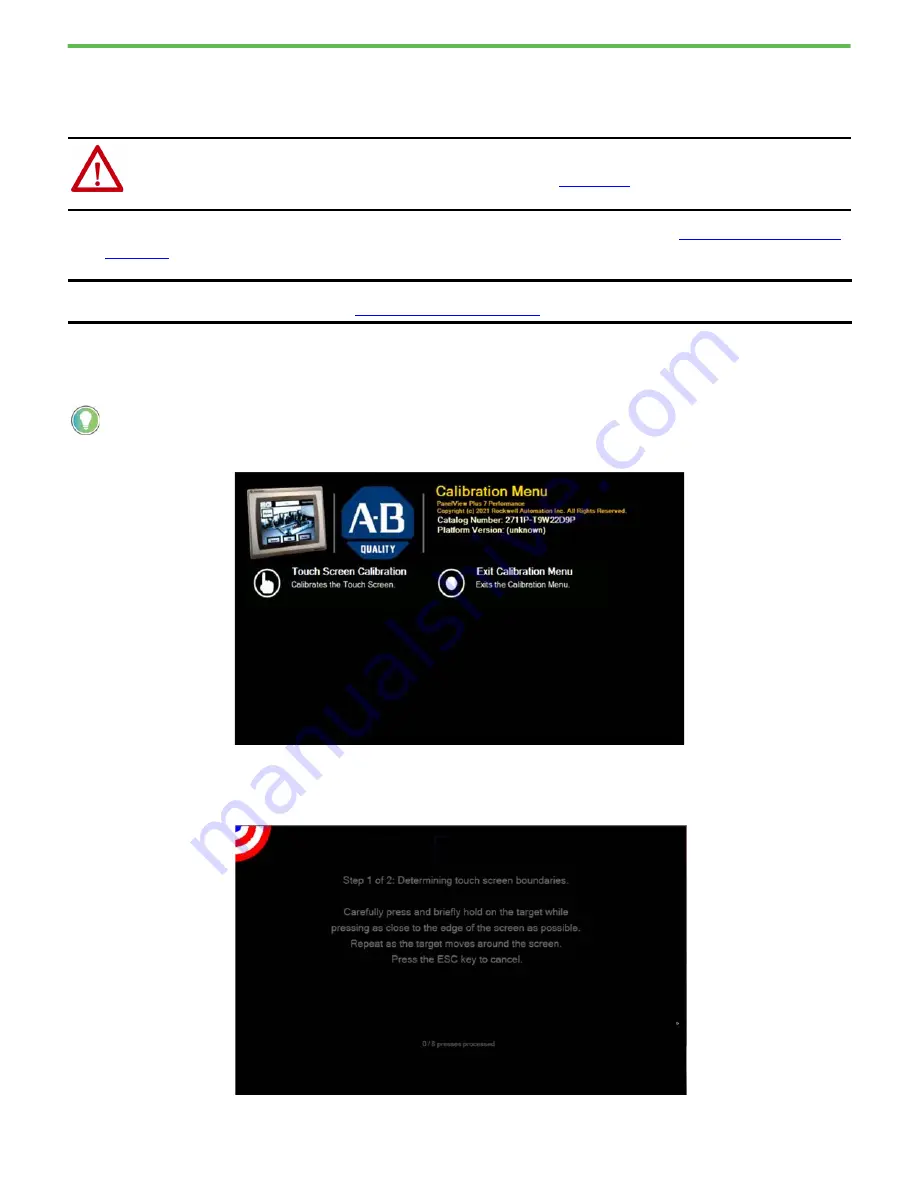
After the initial power up, the terminal displays the Calibration Menu. Continue with
Configure the Terminal
1. On the Calibration Menu screen, tap Touch Screen Calibration.
2. In the Touch Screen Calibration dialog box, tap Yes.
3. On the first calibration screen, calibrate the touch screen boundaries as prompted.
WARNING:
Series B terminals are designed for use with DC power only. Do not apply AC power or attempt to insert an AC
terminal block (gray in color) into a Series B terminal.
See the PanelView Plus 7 Performance Terminals User Manual, publication
, for additional information about how
to connect to DC Power.
IMPORTANT
In some cases, the terminal displays the Maintenance Menu at initial power up. If this happens, select Calibrate Touch
Screen, and then continue with
Configure the Terminal on page 5
.
For the following procedures, if you do not have a keyboard or mouse connected to your terminal, you can tap commands and
icons on the screen.


