7
Check Rockler.com for updates. If you have further
questions, please contact our Technical Support
Department at 1-800-260-9663 or
Fig. 3
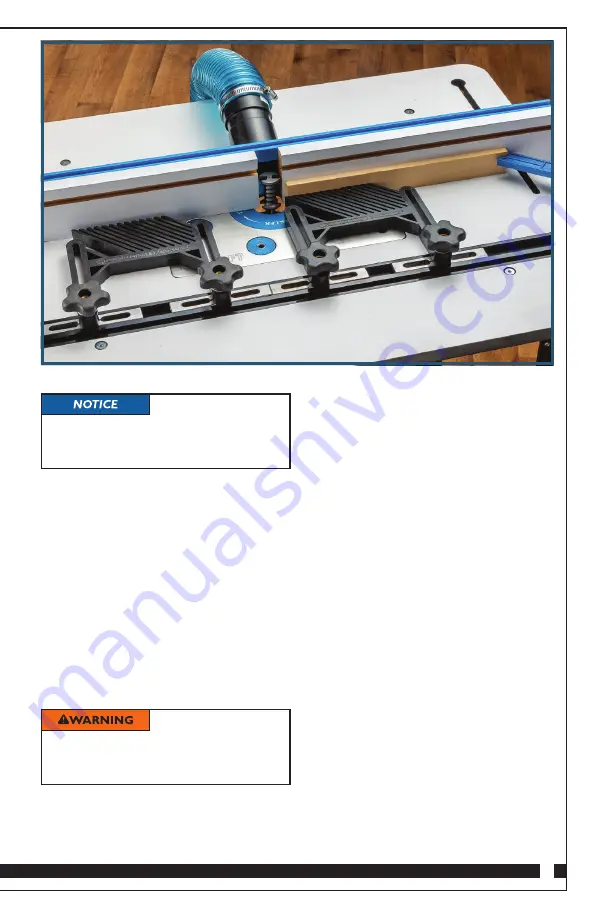
4. Install featherboards on the table on both
infeed and outfeed sides of the bit and set
it to maintain pressure on your workpiece
as you feed it past the bit.
Fig. 3.
5. Plug in and turn on the router. Use a push
stick to make test cuts to verify the bit
cutting height and fence position. Test
the piece in a mortise drilled with your
Beadlock jig to check the fit.
Fig. 3.
6. If fine-tuning is needed, turn off the router,
wait for it to fully stop and unplug it before
making adjustments.
7. Once adjustments are made, make an
additional test cut. Repeat the adjustment
and test-cut process until desired cutting
results are achieved.
8. Rout your workpiece(s) on both faces (front
and back) of your stock to create your
Beadlock tenon stock.
1. Install the Beadlock Tenon Router Bit in
your table-mounted router.
2. Sight down the table and adjust the height
of the bit until the bottom curve intersects
with the plane of the table surface. (You
will fine-tune this position after making
test cuts.)
Fig. 1.
3. Move the fence so that most of the bit
is “buried” behind the face of the fence,
with the deepest point of the flutes in the
bit lined up with the fence face.
Fig. 2.
The goal is a depth of cut that just rounds
the face of your workpiece without making
it narrower overall.
A piece of
factory-milled Beadlock tenon stock
can be used as a guide to help make
setup quicker and easier.
Never postion a
featherboard so that it applies pressure
into the cutter. Use featherboards only
on infeed and outfeed sides of the cutter.


