07
08
PIC 1
x
00
00
:
01
:
44
00
:
09
:
43
TT 1/5 CH 1/1
VOL
x
00
00
:
01
:
44
00
:
09
:
43
TT 1/5 CH 1/1
VOL
Disc Function Operation
1. Play/eject disc
Play disc
Insert the disc into the disc slot with the printing surface up, system will detect the disc and automatically take it in to read and play.
Eject disc
(1) Click
button on the panel to eject the disc.
(2) If a disc has not been took away 15 seconds after it is ejected, system will automatically take in the disc but not play.
Do not insert two discs or more.
Play/pause
Touch the button to pause, retouch it to continue to play.
Stop
Touch the button to enter into pre stop status.
The previous/next song
Touch the button to select the previous/next song.
Fast
forward
/
backward
Consecutively touch this button to select the speed of fast-forward/fast-backward.
Volume adjustment button
Touch this button and volume adjustment modulation shall pop up, touch
button to adjust the volume.
2. DVD/VCD disc playback
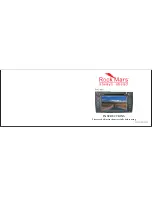
During playback of disc, touch the middle lower area of the screen to pop up the touch menu, operate
the touch menu to perform various playback controls. (
PIC 1
)
3.
After a CD is inserted, system shall access disk reading state immediately.
When there is a disk in the device, click [Disk] at the main interface so as to access disk reading state.
After the disk being read out, system shall automatically play in sequence.
4. MP3/JPEG/MPEG4 disk playing
When the disk contains readable files, such as MP3/JPEG/MPEG4 files, it shall be automatically read out and played after slipping into
DVD player.
During playing, touch the screen area and the touch menu shall pop up. Operate the touch menu for various playing.
CD Disc Playback
5. Touch Menu Function Description
Radio Function Operation
1.
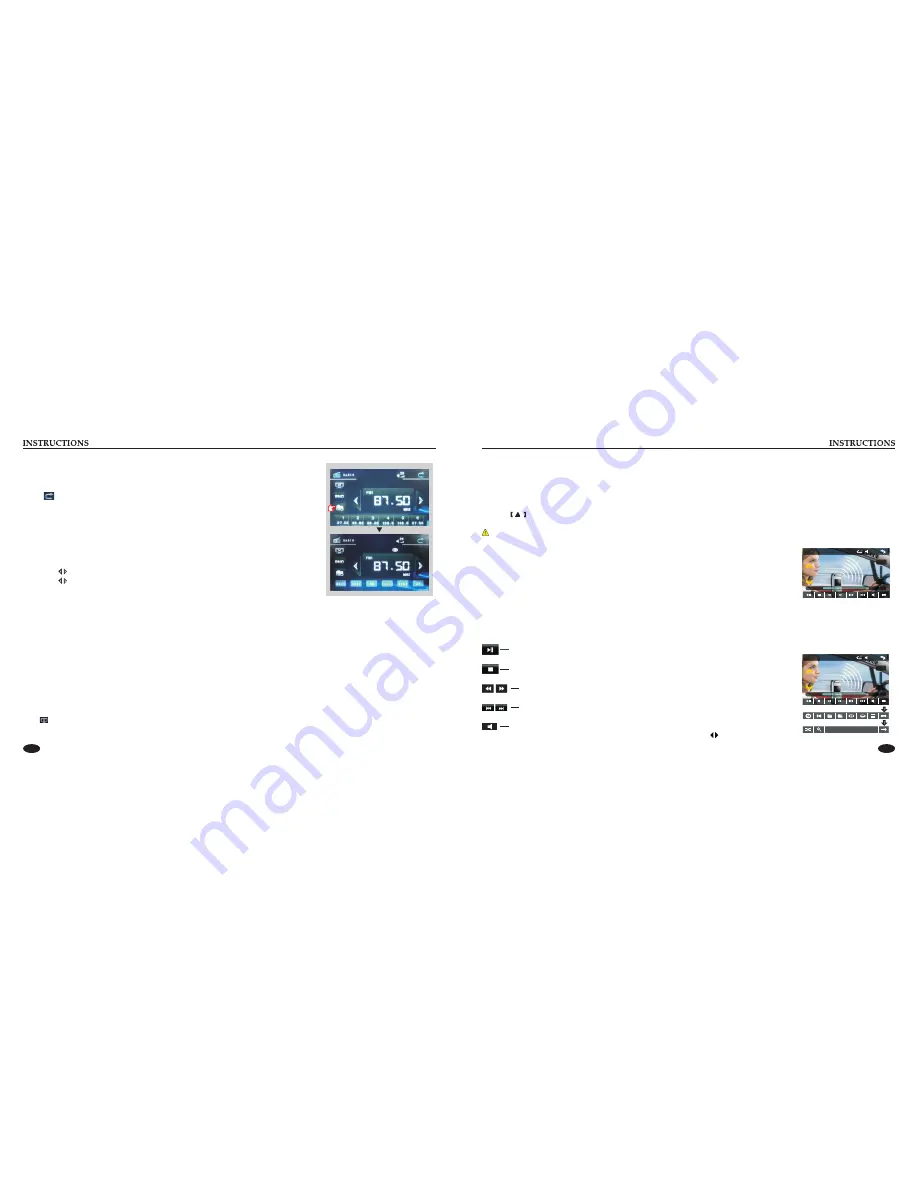
Touch [ Radio ] icon in the main interface to enter into the radio interface.
Click [LOCAL] icon, the search pattern in the local search (LOC) and remote search (DX) switch between. LOC feature is turned on
after the signal is strong enough only to listen to those in good condition and receiving radio station; DX enabled, you can receive
remote weak radio signals.
Note:
This function is available only when FM band is selected.
Enter/exit
Touch icon to return to main interface, and then touch other function icons so as to exit
radio mode.
2. Band selection
Click [BND] icon so as to switch among FM1, FM2, FM3, AM1, AM2 bands.
3. Search/Save radio stations
Short press [SCAN] icon to browse the stored radio stations. FM band can save 18 radio stations
(Six stations for FM1/FM2/FM3), AM band can save 12 radio stations (Six stations for AM1/AM2).
4. Scan radio
Short press icon to manually fine-tune radio stations upward/downward.
Long press icon to automatically search and save radio stations.
5. Sound setting
Click [EQ] icon to access sound setting interface.
6. Turn on/off the Long/Short-range
7. Loudness on/off
Click [LOUD] icon so as to turn on/off loudness function.
8. Stereo on/off
When receiving stereo signals, click [ST] icon to turn on/off stereo.
9.
Mute on/off
Click [MUTE] icon to turn on/off mute function.
10. TFT on/off
Click icon to turn off TFT, and then click the screen area so as to turn on TFT.


