T: 1.418.380.2788 option 3
October 2018
V1.0
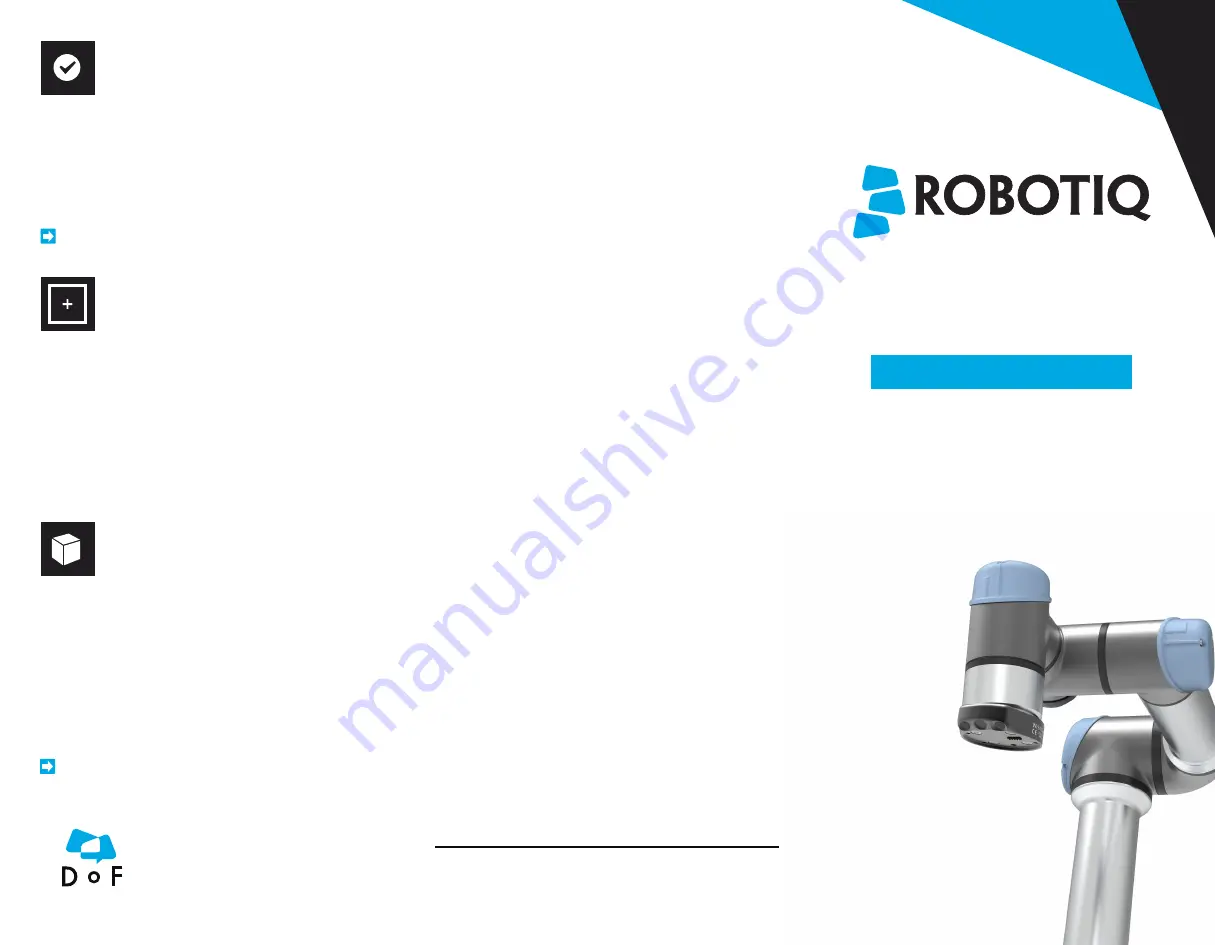
WRIST CAMERA
QUICK START GUIDE
support.robotiq.com
New product has a 1 year warranty from the above date.
Refer to your product instruction manual for details.
7. TEST WRIST CAMERA
8. SNAPSHOT POSITION
• Tap the
Installation
button and select the
URCaps
menu in the left pane.
• Select
Camera
and go to the
Dashboard
to verify that the
system is running.
• Go to the
Camera
tab.
• The output image from the camera will display.
9. TEACH OBJECT
• Tap the
Program
button.
• Select the
URCaps
menu in the left pane.
• Tap the
Cam Locate
button.
• Select the
Cam Locate
node in the program tree and
tap the
Teach object
button in the
Command
tab
to launch the object teaching wizard.
• You will need to select the previously taught
snapshot position.
Visit support.robotiq.com to get the latest
instruction manual and further information
on how to program with the Wrist Camera.
Where automation Pros share
their know-how and get answers.
dof.robotiq.com
• Tap the
Installation
button.
• Select the
Features
menu in the left pane.
• Define a new point and rename it if applicable.
• Set the point at any position in the robot’s workspace.
• Tap the
URCaps
menu in the left pane and select
Camera.
• Go to the
Snapshot
tab.
• Select the new point in the dropdown menu and tap
Define
to launch the
Snapshot position wizard
.
For installation on
e-Series
Universal Robots
For help with troubleshooting,
visit support.robotiq.com.


