25
Chapter 3 – Operation and Charging
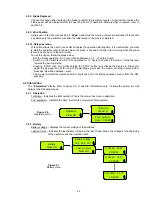
3.1 Edge Mowing
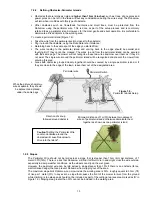
The first mowing chore for Robomow is mowing the edge. Edge is the outer perimeter of the active zone
Robomow is working within. This is essential where you placed your perimeter wire in the wire set-up.
Edge mowing provides a clean even cut around the perimeter and helps to minimize the amount of trimming
along walls and other obstacles.
Edge Operation –
-
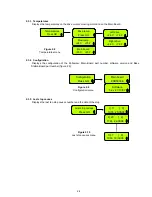
Place Robomow inside the lawn, switch on the Perimeter Switch on and press the
‘GO’
button once;
-
Robomow will automatically find the edge (perimeter). It will now begin mowing the edge, completing one to
two complete passes around the perimeter and then turn into the lawn to mow the inner area of the lawn;
-
It will then drive into the lawn and begin what is called the scanning process (see paragraph 3.2).
3.2 Scanning (Mowing of the inner area)
The scanning process is simply a process whereby Robomow is moving across your lawn while it is mowing.
Robomow’s movement pattern is irregular with combination of parallel lines in narrow passes. Keep in mind
that the Robomow will not mow all the grass on its first pass; in fact it will leave uncut grass in between many
of the passes it makes. This is expected and is entirely normal. These uncut areas will be cut on subsequent
passes of the Robomow across the lawn. Just like a dishwasher, wait until the job is finished before you can
appreciate the results.
Robomow will continue to run for the amount of time selected or for the default
‘MAX’
time, which is
generally 2.5 hours, depending on grass type and condition.
3.3 Skipping Edge Mowing
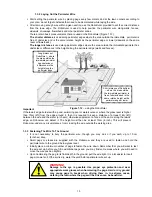
Robomow provides a means that will allow you to skip the edge mowing process and start directly with the
scanning (mowing) process. In order to do this, simply press the
‘GO’
button twice at the initial startup of the
mower. Pressing
‘GO’
the second time immediately following the first press will tell the mower to skip
mowing the edge.
3.4 Operation
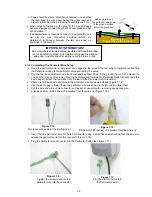
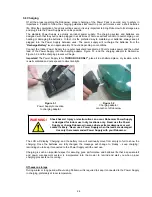
Robomow cannot operate unless the Perimeter Switch is turned on. Press the
on/off
button to turn on the
switch. To verify switch operation, there is a green LED located next to the button that will flash when
operating properly. If an intermittent beeping is heard shortly after turning the switch on, there is a problem
of cut wire or poor wire splicing (refer to chapter 4 – Text messages and Troubleshooting for further help).
Look to see which of the red LED is flashing to identify the problem (refer to figure 1.19). You must correct
the problem before Robomow can operate automatically.
Place the mower inside the active perimeter.
Press
the
‘Down’
scroll arrow to receive the display of the zone to be mowed (Zone A or
B) and press the
‘GO’
button. In a case where you have forgotten to turn on the Perimeter Switch, a ‘No wire signal’
message will be displayed, reminding you to turn the switch on.
3.5 Completing the Operation
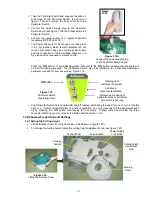
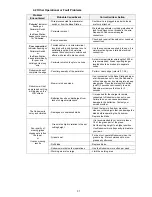
When Robomow has operated the allotted time, it will simply stop in the lawn, waiting for you to drive it
back to the Base Station. The LCD will display a ‘
Recharge battery’
message if the mowing time is set to
‘
MAX
’ or ‘
Time completed’
if the mowing time has been set to any time other than ‘
MAX
’.
If Robomow has completed its mowing and it is more than 15 minutes before you arrive to move it, the
LCD screen will be blank. Robomow will shut itself down into a sleep mode after 15 minutes of inactivity
at all times. This is an energy saving feature. Pressing the
‘GO’
button will wake it up and display the
message that was on the LCD when it went into sleep mode.


