3
Installation Instructions
Please ensure that all power is switched off before installing the range hood. Installation must be in accordance to the
local electrical authority and codes. This range hood must be earthed at all times for the operators’ safety.
The G.P.O. for the range hood should be positioned to enable the user to turn the power off, to enable cleaning and any
maintenance required.
Ensure that when installing the range hood, that it is protected from any possible damage from tools etc.
Ducting for this unit must be installed in accordance to the local authority. Ensure that the fixings used for this range
hood are suitable.
Check the area where the range hood is to be fitted, to ensure that it is structurally sound.
Before using the appliance, remove the plastic coatings protecting the stainless steel finish.
Ensure that the wall is structurally sound, and is capable of carrying the weight of the range hood.
It is recommended that the dimension be checked on the range hood before installing.
1.
The cooker hood should be placed at a distance of 65‐75cm (26‐30inch) from the cooking surface for the best
effect.
2.
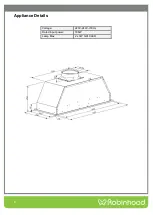
Drill a hole in the cupboard, 490*265(mm) for model RUM52XCOM.
3.
Make sure the distance between the edge of the hole and the edge of the cupboard edge is at least 35mm.
Take down the filter and remove the four screws on the panel.
4.
Use random accessory tighten screws fix the hood into cabinet.
5.
Use 4 screws fix the panel into body and equip the filter.
6.
Install one‐way valve: put the one‐way valve into air outlet, Put on the one‐way valve with air outlet.
Operating Instructions
Note
: Before the unit can be operated, it must be ducted.
1.
Connect the plug into the power.
2.
Turn on wall socket power, this will start the Rangehood.
This Rangehood does not feature an On/Off switch, it is simply turned on and off from the power outlet at the wall. If
your range hood does not function correctly when attempting any of the above, please ensure that your power is on
and is functioning correctly. If the power seems to be functioning correctly in the house, there may be a problem with
the range hood. Please call your authorised Omega service centre in this case to organise a service call.
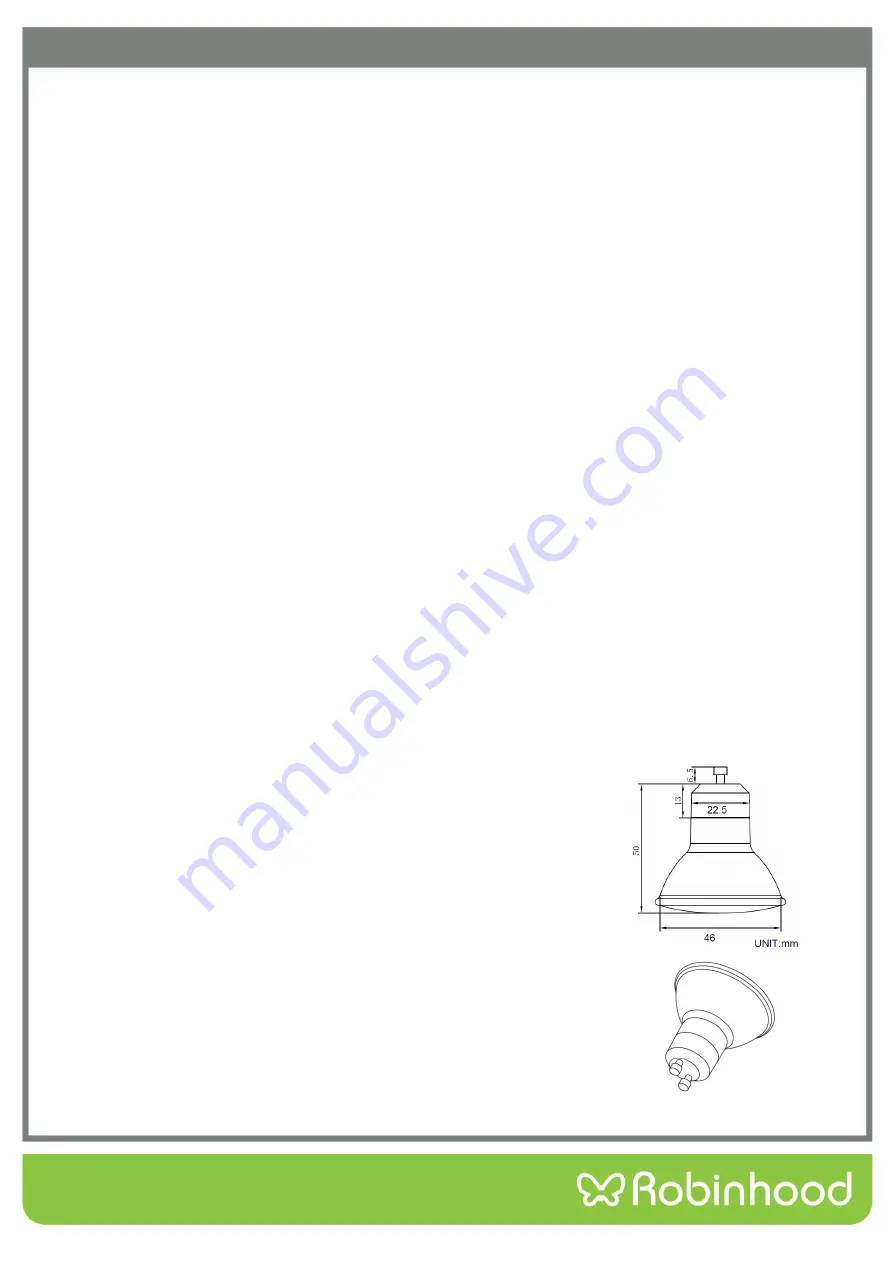
Light Replacement
1.
Switch the unit off and disconnect from mains power first.
2.
Remove filter and read labels regarding maximum lamp ratings.
3.
Press the light face and remove by turning in anti‐clockwise direction.
4.
Pull out the LED bulb carefully and replace with the same type and same
rated LED bulb (240V 3W MAX).

