6
TAC
-
200A Revision 5
USING A TAC
-
200A DIVER
NAVIGATION BOARD
Navigating with the TAC
-
200A is simple once you understand the prin-
ciple
“
elapsed time
”
as a method of underwater navigation. The key to
using
“
elapsed time
”
is knowing how long it takes to swim a known dis-
tance in a set frame of time. For example, if you consistently travel 30
ft.(10M) in 20 seconds, then you can estimate the distance you travel
by timing the length of your swim over a given compass heading. To be
fairly accurate, you must set this
“
benchmark
”
by swimming in a normal
relaxed pace.
Once you have established this
“
benchmark
”,
the TAC
-
200 allows you
to plot and follow a predetermined pattern or course for your dive in-
stead of randomly swimming around. To understand how to plot a
course, you must understand how the components of the TAC
-
200A
work together.
Depth and time are tracked on the TAC
-
DG depth gauge and the TAC
-
CHRON Chronometer. Course heading is monitored by the large un-
derwater compass mounted in the center of the TAC200
-
1 navigation
board. The compass card has white luminous digits on a black back-
ground for better contrast in poor visibility, and the three compass rose
points, North, East, and West, are highlighted.
Now let
’
s plot a dive to see how the TAC
-
200A really works. We are
able to cover a distance of 30 ft. (10m) in 20 seconds, which is our
benchmark. Using this benchmark, let
’
s plot a dive to a reef that is lo-
cated north of the shoreline, 270 ft.(82m) offshore in 40 ft.(12m) of wa-
ter. In planning this dive, we will explore the reef in a westerly direction
and then return to our entry point.
For the first leg of the dive we will plot a course along a heading of 0°
north for 3 minutes. We should cover a distance of 270 ft. and be on
the reef. Now for leg 2, we will plot a course on a heading 270° west for
10 minutes. This means we cover a distance of 900 ft. while exploring
the reef. After the end of leg 2, it
’
s time to start planning our return to
the entry point. But first, let
’
s plan on exploiting the area between the
reef and shoreline. To do this, we plot our next course heading for leg
3 on a heading 180° south for 1 minute. This means we will transverse
90 ft (27m) along the bottom toward the shore. Here, we will turn to a
heading of 90° east for 10 minutes which places us back in the middle
of leg 1. Now, all we do is turn to a heading of 180° south and head for
shore.
TAC
-
200A Revision 5
7
By plotting your dives this way, you become much more efficient
underwater and can truly optimize your bottom time. If you have to map
an underwater site, the TAC
-
200A becomes an effective tool for the
job.
TAC200
-
1 NAVIGATION BOARD
The TAC200
-
1 Navigation Board is a rugged high impact plastic board
that is the base for the TAC
-
200A Navigation System. The TAC200
-
2
Underwater Compass, TAC
-
CHRON, and TAC
-
DG/80I or TAC
-
DG/25M are all mounted onto the TAC200
-
1 to complete the system.
The hardware used to mount the TAC200
-
2 Underwater Compass is
made out of non
-
corrosive material and should provide you with many
years of service.
TAC200
-
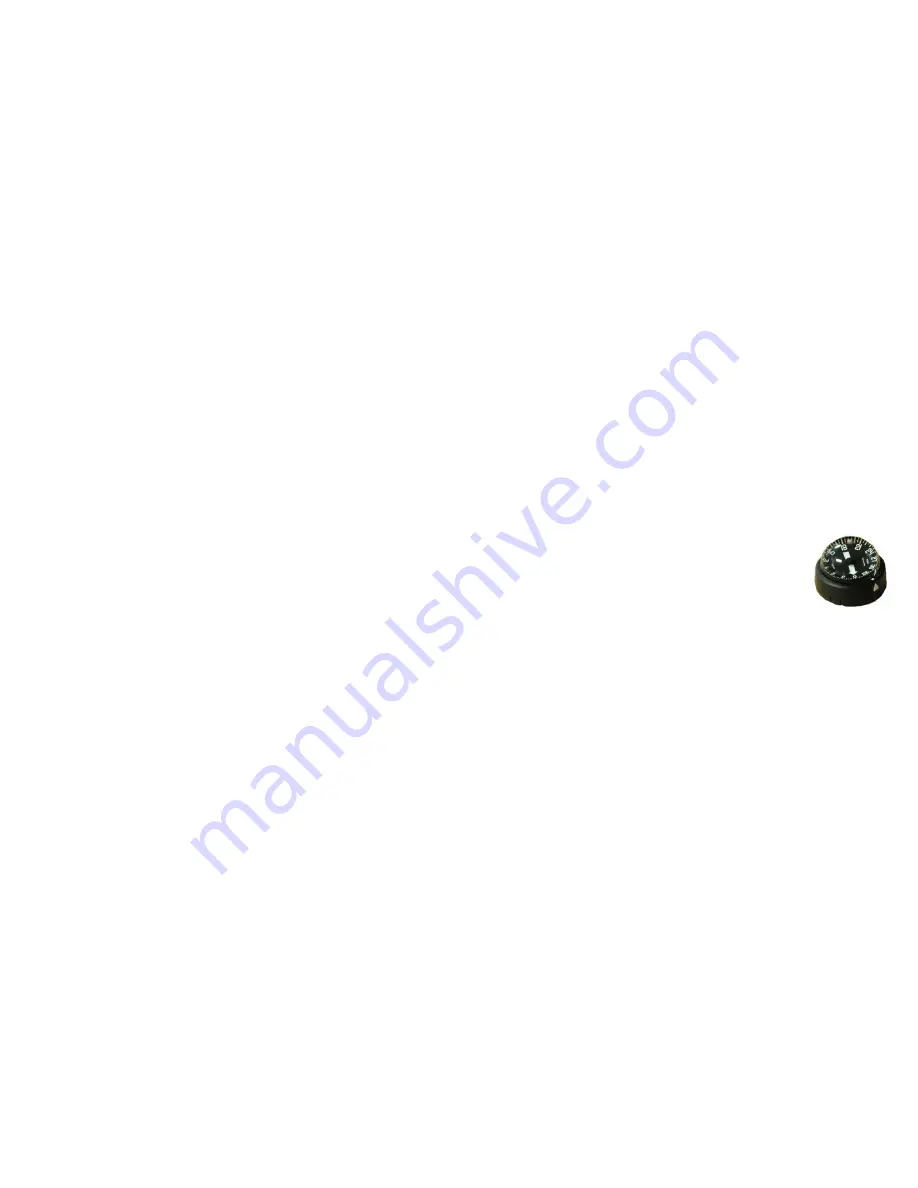
2 UNDERWATER COMPASS
The TAC200
-
2 Underwater Compass is designed and manufactured
for the rigors of underwater use. The rugged housing is depth compen-
sated and should give you many years of dependable
use with proper care. A black compass card with lumi-
nous heading markers allows you to maintain a course
heading, even in the worst visibility, for up to eight
hours.
Illuminating the compass can be achieved by shining a
bright light or UV light on the compass card for several minutes. This
excites the luminous properties of the card and allows you to visually
see the compass at night or in poor visibility conditions for up to eight
hours. The longer you excite the card with light, the longer it glows un-
derwater.
The TAC200
-
2 Underwater Compass requires very little care. However
this is a precision instrument and should be treated as such. The entire
compass should be periodically removed from the TAC200
-
1 Board
and rinsed with clear water and dried with a soft cloth to maintain clear
vision. If air bubbles appear in the dome or any other problems should
occur, contact RJE International, Inc. for service.


