Advanced Features
Automatic Sorting into Groups [Program]
39
Setting Up for Programed Printing (When Printing Without
Registering)
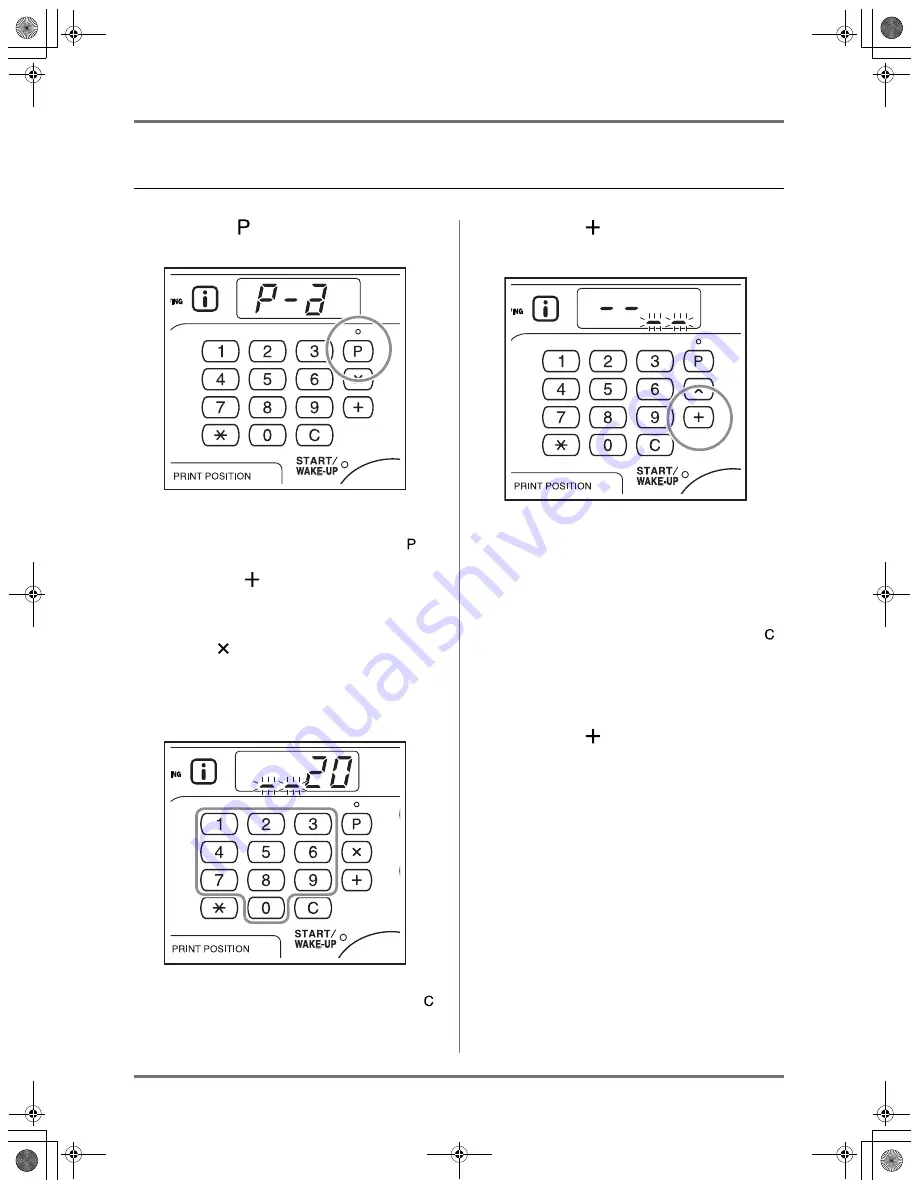
1
Press the key to turn on its indicator.
[P-a]
appears on the Print Quantity Display.
Note:
• Mode switches between
[Program Settings]
and
[Cancel Program]
by pressing the key.
2
Press the key.
The print quantity entry mode is started.
Note:
• Press
key to return to the previous step.
3
Enter the number of pages to be
printed, using the Print Quantity keys.
Enter the number of pages for the first group.
Note:
• If you enter an incorrect number, press the
key to clear the number, then enter the correct
number.
4
Press the key.
The number of set entry mode is started.
5
Enter the number of set using the
Print Quantity keys.
To set the next group, go to step 6.
To finish the setting and start printing, go to step 7.
Note:
• If you enter an incorrect number, press the
key to clear the number,and then enter the cor-
rect number.
• If you do not enter a number, 1 (a single set) is
selected.
6
Press the key.
The print quantity entry mode for the second
group is started.
Repeat steps 3 through 6 to specify the number of
pages and sets for each group.
Important!:
• To save the current program settings, see “Sav-
ing Programs” (
)
p.41) for further information.
Once printing is finished, the settings cannot be
saved.
7
Place an original.
Adjust the Original Guide to the width of original,
and place the original face down.
KZ30_UG.book Page 39 Monday, December 21, 2009 11:11 AM


