84 | Your home computer
14. Highlight the files you want to transfer to your Rio Advanced Digital Audio
Center.
15. Click
Edit
>
Copy
in the
Windows Explorer title bar
or press the
Ctrl
and the
C
keys on your keyboard. This makes a copy of the highlighted files.
16. Click on the
title bar
of the
Main emplode window
to bring it to the
foreground.
17. Right-click on the
Playlists Column
under
All Tracks
and select
Paste
or
press
Ctrl-V
on your keyboard.
This command pastes a copy of the selected music tracks into your emplode
database and makes them available for transferring to the Rio Advanced
Digital Audio Center. You can also click and drag a file from Windows
Explorer.
Once the tracks exist in All Tracks, emplode reads their ID3 tags and creates
Artist, Album, Genre, and Year folders to accommodate the new tracks.
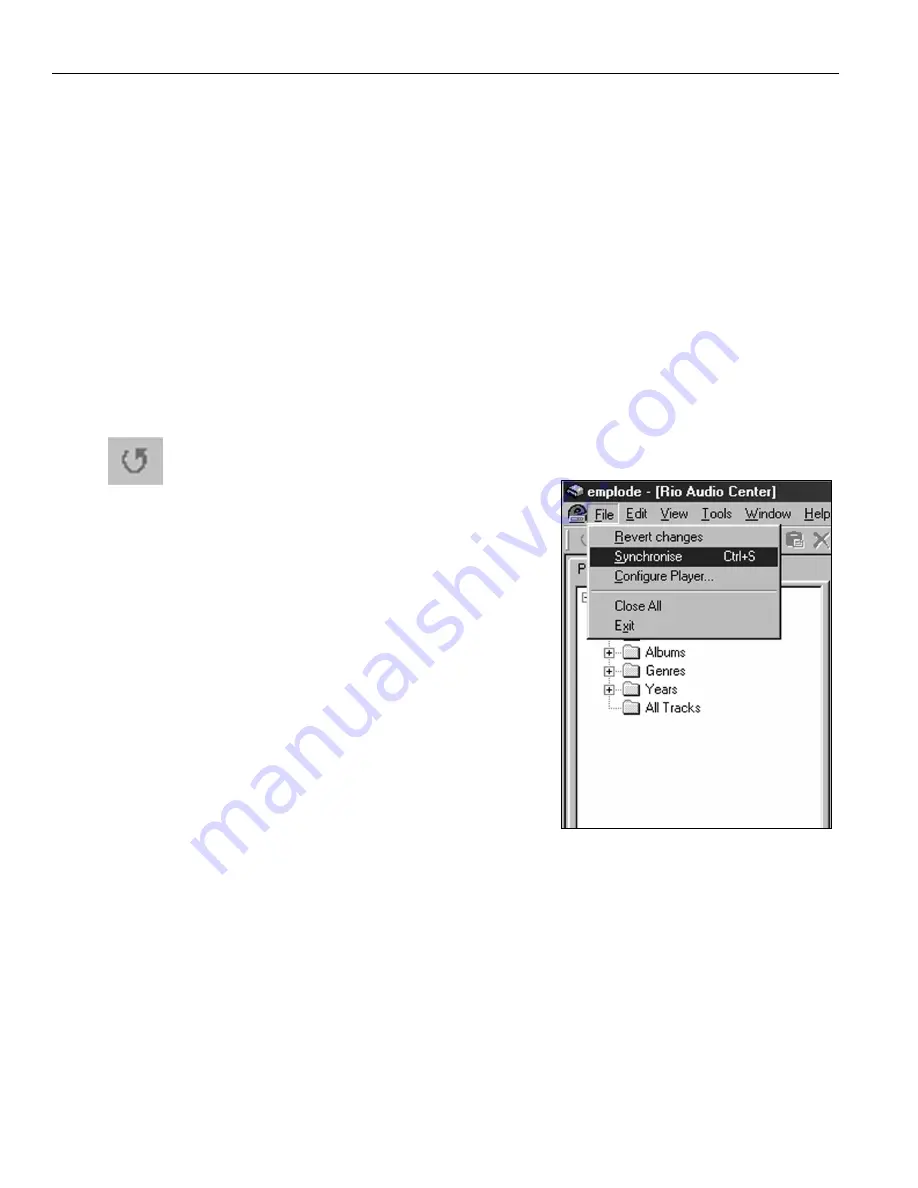
18. Click
File
on the
emplode title bar
and select
Synchronise
or click the
Synchronise
button on the tool bar.
Synchronise transfers any files you have
added to the database to the Rio
Advanced Digital Audio Center. It also
updates the Rio Advanced Digital Audio
Center hard drive to reflect any changes
you have made to Playlists, Artists,
Albums, and so on. If you delete playlists
or tracks, they are also deleted from the
Rio Advanced Digital Audio Center
during Synchronisation. This process can
take some time if you are copying a lot of
files over to the Rio Advanced Digital
Audio Center.
When it completes this process, the Rio
Advanced Digital Audio Center’s hard
drive contains the same tracks as your
computer’s hard drive, and they are
organized by their ID3 tag information,
and the changes you made in the emplode database.
If a track was recorded on the Rio Advanced Digital Audio Center, the track
information will appear in the emplode database after sychronisation; however,
there will not be a copy of the track on the PC hard drive.
NOTE: You will lose any changes in emplode since the last
synchronisation with your Rio Advanced Digital Audio Center
if your PC drops into hibernation while the emplode software
is running.
Synchronise Button
Содержание Advanced Digital Audio Center
Страница 1: ...User s Guide...
Страница 5: ...Rio Advanced Digital Audio Center User s Guide 3 1 Chapter 1 Getting Started...
Страница 13: ...Rio Advanced Digital Audio Center User s Guide 11 2 Chapter 2 Using your Rio Advanced Digital Audio Center...
Страница 50: ...48 AboutyourRioAdvancedDigitalAudioCenter...
Страница 51: ...Rio Advanced Digital Audio Center User s Guide 49 3 Chapter 3 Setting up the software...
Страница 78: ...76 Using emplode...
Страница 79: ...Rio Advanced Digital Audio Center User s Guide 77 4 Chapter 4 Sharing music with your other devices...
Страница 87: ...Rio Advanced Digital Audio Center User s Guide 85 5 Chapter 5 Advanced features...
Страница 92: ...90 UpgradeyourRioAdvancedDigitalAudioCenter...
Страница 93: ...Rio Advanced Digital Audio Center User s Guide 91 A Appendix A Technical specifications...
Страница 95: ...Rio Advanced Digital Audio Center User s Guide 93 B Appendix B Regulatory information...
Страница 100: ...98 EU declaration of conformity...
Страница 101: ...Rio Advanced Digital Audio Center User s Guide 99 C Appendix C Warranty information...
Страница 103: ...Rio Advanced Digital Audio Center User s Guide 101 D Appendix D Frequently Asked Questions FAQ...
Страница 107: ...Rio Advanced Digital Audio Center User s Guide 105 E Appendix E Customer care information...
Страница 109: ...Rio Advanced Digital Audio Center User s Guide 107 F Appendix F Menu Tree...
Страница 114: ...112 Index User s Guide...
Страница 116: ...Rio Advanced Digital Audio Center User s Guide First Edition November 2001 Part Number 52260049 001...


