Replace a Quick-Release Recorder on a Producer IIIN
Producer 7100N™ and Producer 8100N™
2000770_B
© 2008, Rimage Corporation
2
Install the Recorder
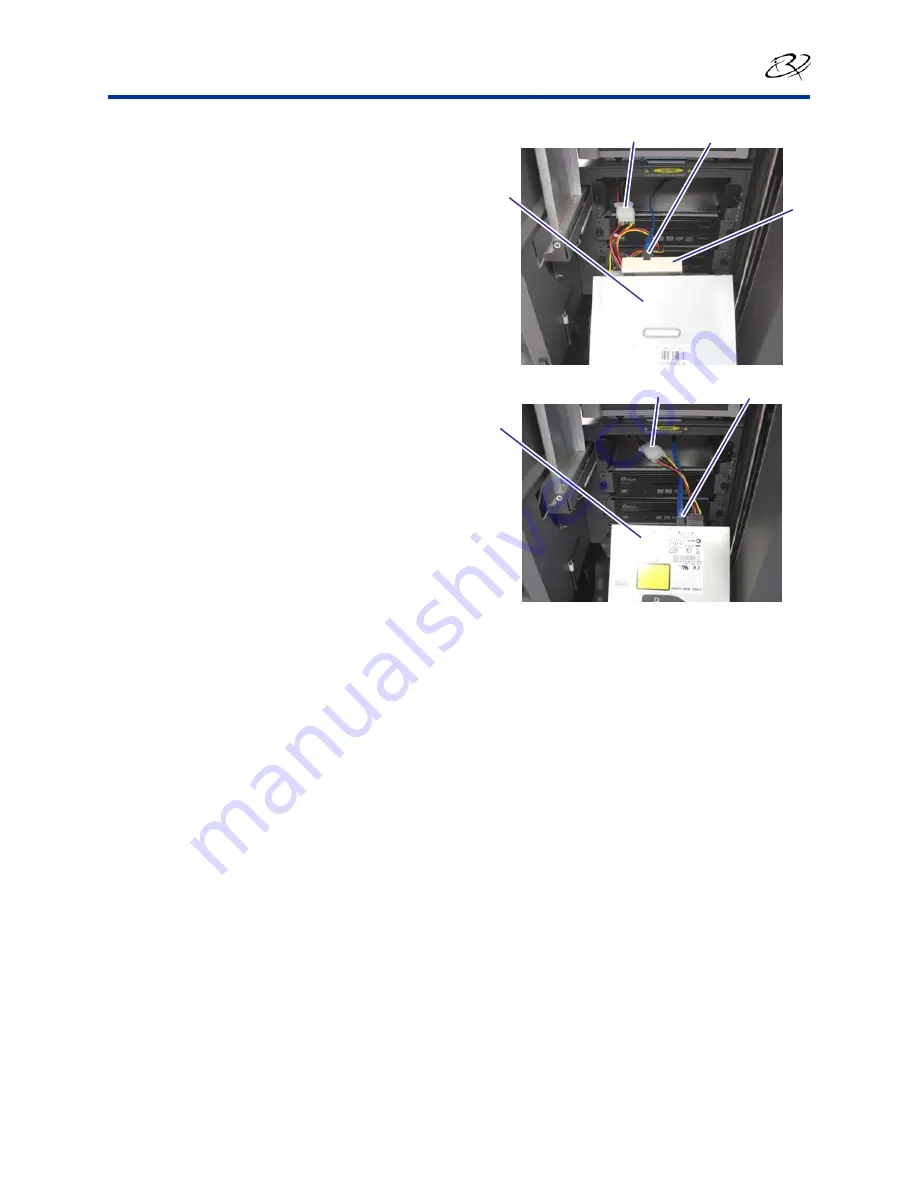
1. Connect the cables to the replacement recorder.
•
SATA cable
•
Power cable
Tips:
•
For a
standard recorder
, connect the
SATA cable to the bridge board on the
back of the recorder.
•
For a
Blu-ray recorder
, connect the
SATA cable directly to the back of the
recorder.
2. Insert
the
recorder
into the system until it clicks into place.
-
Important!
If you feel resistance, make sure that the cables are not being pinched. Pull the
recorder out, straighten the cables, and reinsert the recorder.
3. Close
the
front door
.
4. Connect
the
power cord
to the power outlet. The system is ready for use.
Note
:
To use Blu-ray recorders in your system, you may need to upgrade your version of Rimage
Producer Software Suite on the embedded control center. Be sure to install any new software you
received with the Blu-ray recorder before trying to use the recorder.
Tip:
You should not need to align the new recorder unless you are experiencing disc picking
problems. For instructions, refer to the
Align a Recorder
document found at
www.rimage.com/support.html
.
Navigate:
> Producer Family > Support – 8100N >
Documents
tab.
SATA Cable
Standard
Recorder
SATA Cable
Bridge
Board
Power Cable
Blu-ray
Recorder
Power Cable


