19
MAINTENANCE
1. Before each use:
- Review the Safety Instructions listed on pages 3 to 6.
- Check the power cord and plug for any wear or damage.
- Check for any loose screws, hardware, locking handles,
jigs or various lathe accessories.
- Check the area to make sure it is clear of any misplaced
tools, lumber, cleaning supplies, etc. that could hamper the
safe operation of the machine.
2. Avoid a build-up of wood shavings and dust. Regularly
clean all parts of the machine using a soft cloth, brush or
compressed air. A general cleaning should be done after
every use to avoid future problems and ensure that the
machine is in ready condition for its next use.
WARNING:
If blowing sawdust, wear proper eye protection
to prevent debris from blowing into eyes.
3. Keep the lathe bed
s
free of resin and rust. Clean them
regularly with a non-flammable solvent, then coat with a
light film of dry lubricant spray, or wax, to enhance passage
of the tool rest base, tailstock and upper sliding bed on/
over the lathe bed.
Turn the power switch “OFF” and disconnect the plug from the outlet prior to adjusting or maintaining
the machine. DO NOT attempt to repair or maintain the electrical components of the motor. Contact a qualified service
technician for this type of maintenance.
4. Keep the lathe tools sharp and make sure the steel is
not loose in the handle so that no accidents might occur.
Making sure that they are in proper operating condition will
ensure that the quality of your turning will be the best
possible.
5. Check all lathe accessories (spur centers, live centers,
chucks, tool rests, etc) to ensure that they are in perfect
working condition.
6. The lathe’s ball bearings are lifetime lubricated, sealed,
and do not need any further care. To prevent slipping, k
eep
the drive belt free of oil and grease.
7. Position the upper sliding bed against the headstock if
the lathe is not to be used for an extended time. This will
help protect the lathe from accidents if left in its extended
position, and reduce pressure on the upper bed supports.
8. When not in use, make sure that the #70-3040’s Main
ON/OFF Switch that is located on the lathe’s inverter box
is turned off. This will prevent any damage to the lathe’s
electrical system and prevent any unauthorized use. See
page 13 for details.
ADJUSTMENTS
CHANGING THE SPINDLE BEARINGS
1. Unplug the lathe from the power source, and remove
any installed spur center or faceplate from the spindle.
2. Follow the steps 2-9 on page 18 for ‘Changing the Belt’.
3. Once the Spindle Pulley and Plastic RPM Reader Disc
set screws are loose, place a block of wood against the left
spindle end and strike it with a mallet/hammer to move the
spindle towards the tailstock. The wood will prevent any
damage when the spindle is hit. Carefully knock out the
spindle.
4. Carefully remove the bearings from the spindle and/or
headstock casting by tapping them loose. Bearings on the
spindle can be removed with a gear pulley, if available.
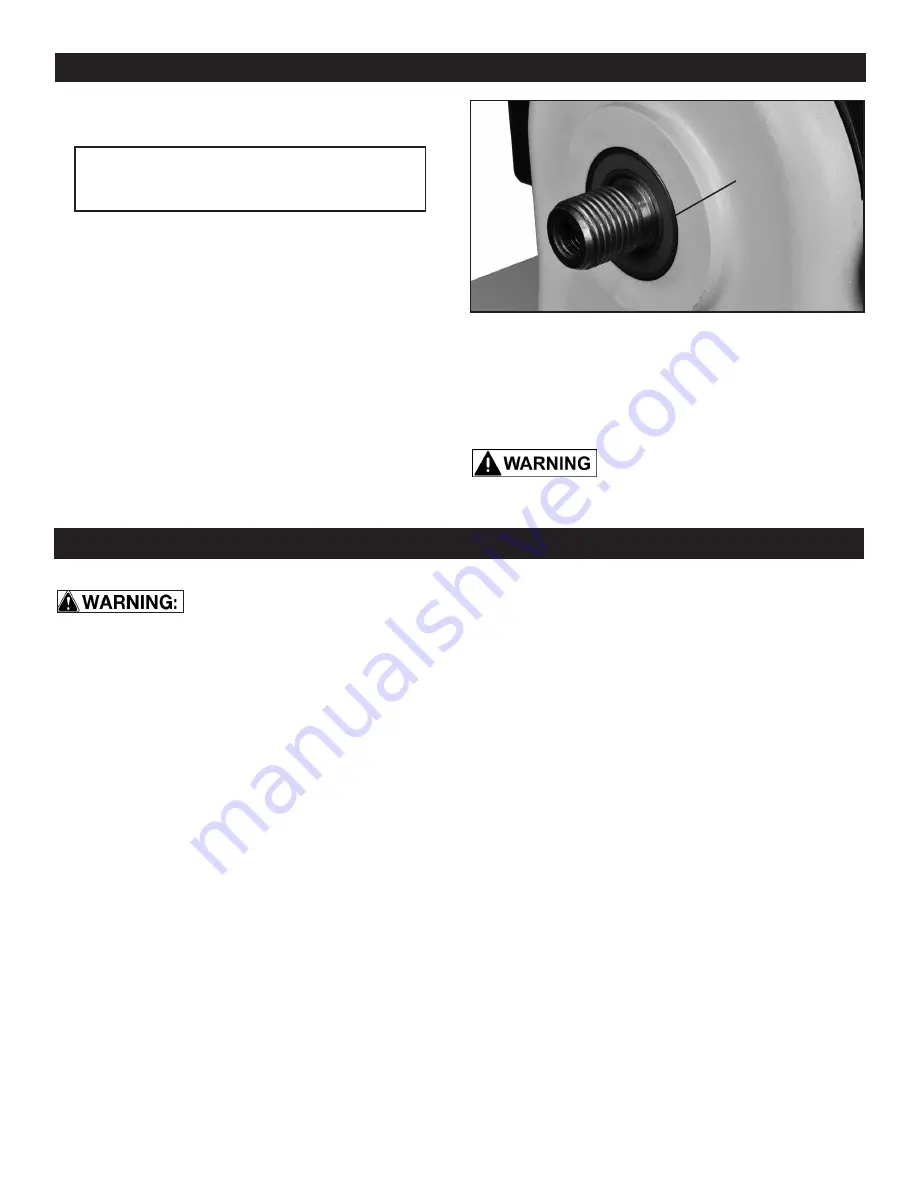
FIG. 41
NOTE:
CHANGING THE SPINDLE BEARINGS
follows the same spindle removal process as
described on page 18 for ‘CHANGING THE BELT’.
THE MACHINE MUST NOT BE
PLUGGED IN AND THE POWER SWITCH MUST BE IN THE
OFF POSITION UNTIL ALL ADJUSTMENTS ARE COMPLETE.
5. Replace the four Bearings (#B25) on the spindle or in
the headstock casting as applicable.
6. Reassemble the lathe parts by reversing the procedure
described in steps 3 - 1 above, and 9-1 on page 18.
TAILSTOCK
BEARINGS


