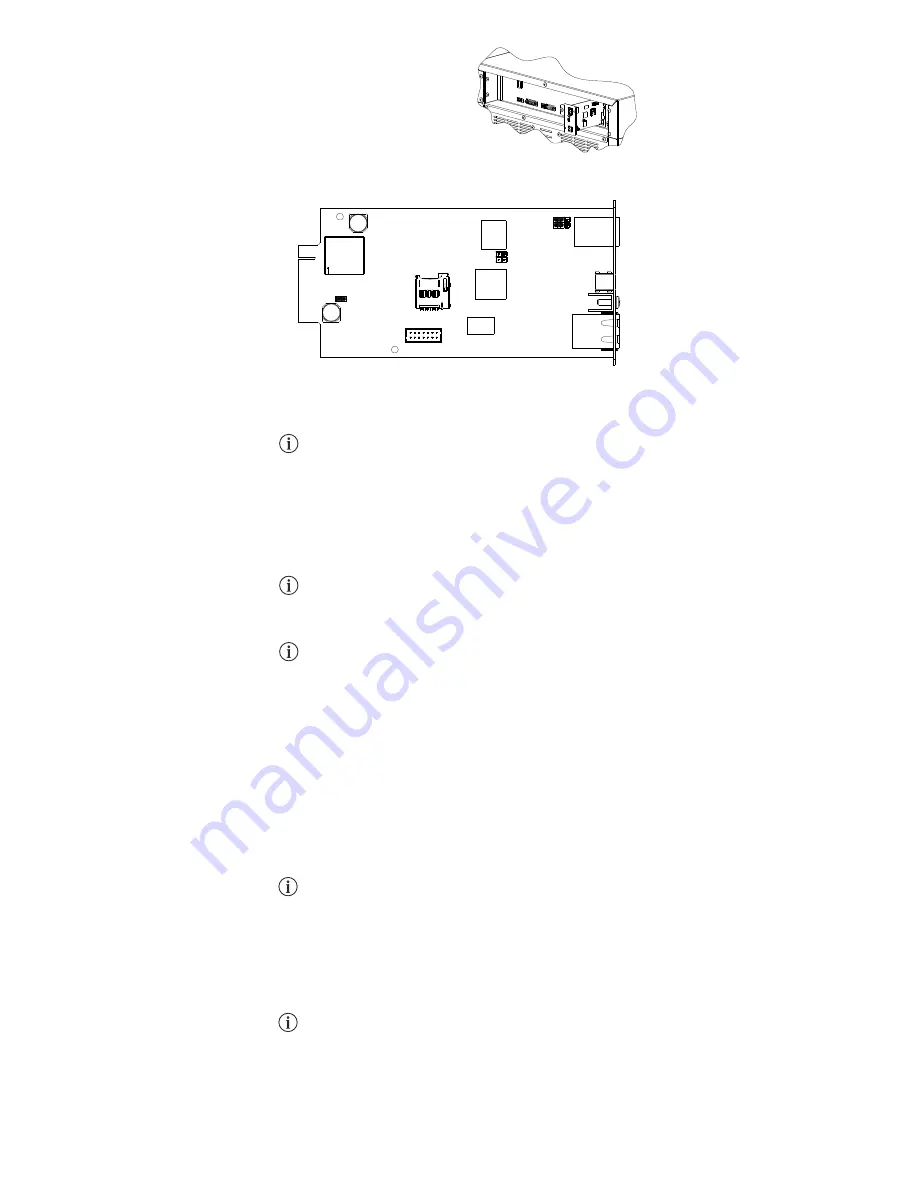
- 0MNACCSA4ENQC -
JP2
JP3
JP4
JP1
DEFAULT JUMPER SETTING
CONFIGURATION
NetMan 204
can be configured via USB, SSH or HTTP.
NetMan204
is provided by default with the DHCP enabled and with the following services
active: SSH, HTTP, SNMP, UDP and FTP.
In order to change the configuration of the
NetMan 204
, you must log in as admin (default
password “admin”).
NetMan204
requires approximately 2 minutes to become fully operational from when
it is powered up or following a reboot; before this time the device may not respond to
commands that are sent to it.
Configuration via HTTP
In order to change the configuration via HTTP, you must insert the hostname or IP address of the
NetMan204
into your web browser and then log in as admin (default password: "admin").
The HTTPS service uses TLS (transport layer security) in order to provide cryptographic
security. However, the certificate used is self-signed and therefore the web browser may
prompt a security alert; if this is the case you can ignore the alert and proceed with the
configuration of the
NetMan 204
.
Once logged in you can browse through the menus to configure the
NetMan 204
as required.
In order to make a new configuration active, it is necessary to save it. Some changes are
applied immediately, whilst others require a reboot of the
NetMan 204
(as required with a
pop-up by your web browser).
Configuration via USB
In order to change the configuration via USB it is necessary to:
Ÿ
connect using the USB cable provided via the micro-USB port, this can then be connected to
the USB port of a PC with a Windows operating system;
Ÿ
if not previously installed, install the USB driver which is available from the manufacturer's
web site. Once the driver is installed, a virtual COM port named “NetMan 204 Serial” will be
present in device manager.
Ÿ
start a terminal emulation program with the following settings: 115200 baud, no parity, 8
databits, 1 stop bit, no flow control;
Ÿ
press the “Enter” key on the PC;
Ÿ
at the login prompt, enter “admin”;
Ÿ
at the password prompt, enter the current password (default password: "admin")
Whilst the password is being typed no characters will be shown.
Once login has been achieved, the start menu screen will be displayed. From this screen, it is
possible to access the various menus in order to change the
NetMan 204
configuration.
Configuration via SSH
In order to change the configuration via SSH it is necessary to:
Ÿ
start an SSH client on a PC connected within the same network as the
NetMan 204
, using
the IP address of the device to be configured;
Ÿ
at the login prompt, enter “admin”;
Ÿ
at the password prompt, enter the current password (default password: "admin").
Whilst the password is being typed no characters will be shown.
Once login has been achieved, the start menu screen will be displayed. From this screen, it is
possible to access the various menus in order to change the
NetMan 204
configuration.
INSTALLATION
1. Remove the cover from the device
expansion/communications slot by
removing the two retaining screws.
2. Carefully insert the
NetMan 204
into the slot.
3. Secure the Netman 204 in the slot using the
two previously removed screws.
4. Connect the device to the network by means
of an RJ-45 connection cable.


