2
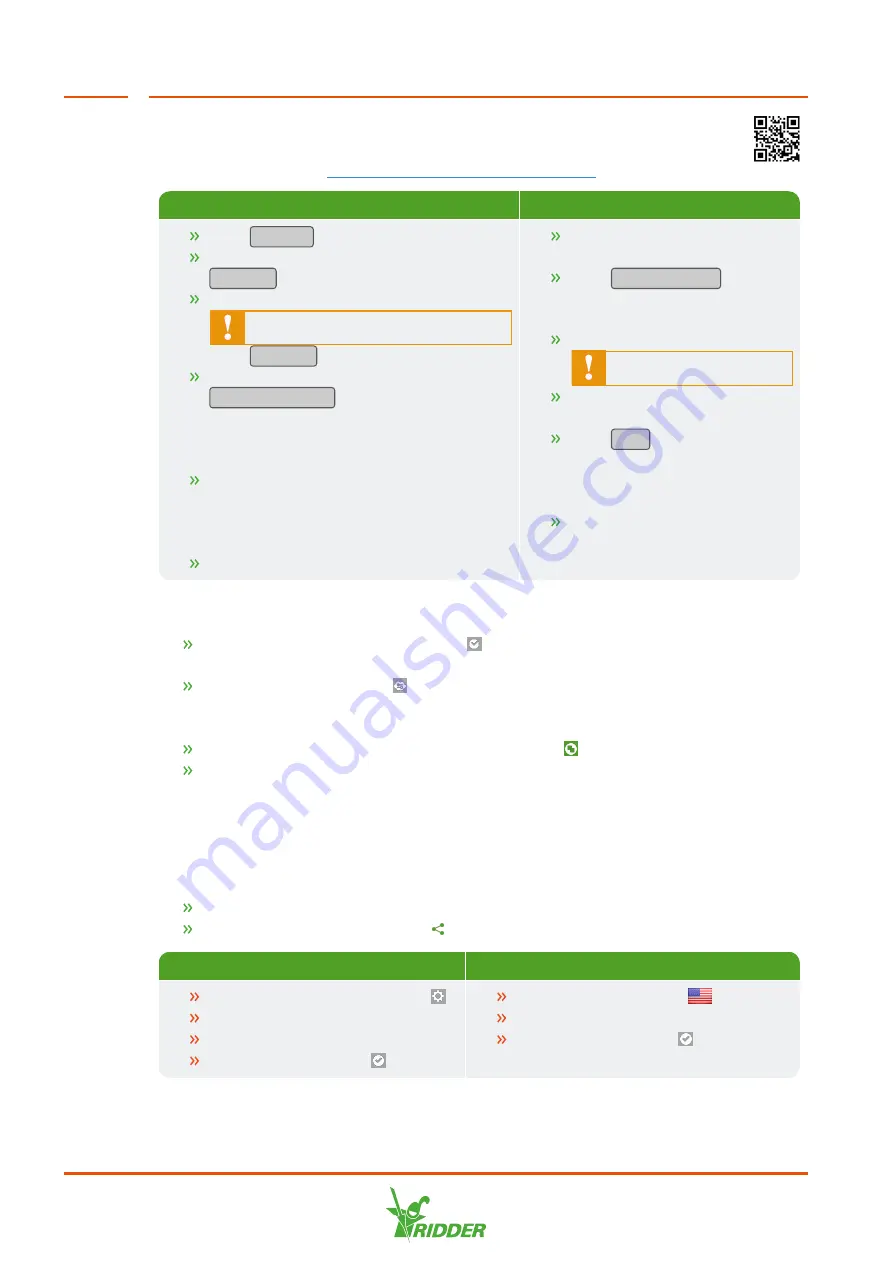
Register your CloudBoX
Go to the CloudPortal:
https://portal.hortimax-go.com
.
Registering first CloudBoX
Registering extra CloudBoX
Click
Register
.
Enter your e-mail address. Click
Continue
.
Enter the CloudBox ID.
Use capital letters.
Click
Continue
.
Enter your account details. Click
Register account
.
A verification e-mail has been sent to the e-
mail address that you entered.
Click the link in the verification e-mail
to complete your registration.
Your registration is complete.
Restart the CloudBoX.
Log in and go to the
CloudBoX
page.
Click
New CloudBoX
. The
New CloudBoX
window
opens.
Enter the CloudBox ID.
Use capital letters.
Enter a name for the
CloudBox.
Click
Save
. The
New
CloudBoX
window closes.
You have now added a CloudBoX.
Restart the CloudBoX.
3
Link the controller to the CloudBoX
Tap and hold the system time icon ‘
'. The system menu slides over the right
sidebar.
Tap the cloud menu icon ‘
'. The cloud menu opens.
The CloudBoXes in the network appear.
Tap the link CloudBoX to current controller icon ‘
'.
Wait until this icon is disabled (takes up to 3 minutes).
The controller has been linked to the CloudBoX.
4
Install the HortiMaX-Go! app
The HortiMaX-Go! app is available from the App Store and Google Play.
Launch the app.
Tap the network settings icon ‘
'.
Logging in
Selecting language
Tap the system settings icon ‘
'.
Select area 'PRD-EU'.
Enter username and password.
Tap the confirm icon ‘
’.
Tap the language icon ‘
'.
Select the desired display language.
Tap the confirm icon ‘
'.
Use the HortiMaX-Go! app to operate the controller. The app user interface is the
same as on the controller.
Quick Start Guide HortiMaX-Go! CloudBoX


