JOB
EDITOR
•
Border
If you want a white border around the drawing, activate the
"ON" field and enter the required spacing for all side borders.
The current dimensional units are given in the status bar at the
bottom of the screen.
•
Media Source
Here you can select the trays in which the rolls with the different
Printing materials (paper, translucent, etc.) are located. They
can also have varying widths.
If you select the "Automatic" setting, the plotter chooses the input
tray, which matches the format size of the drawing. Should this
input tray be empty, the plotter uses the tray (roll) with the next
largest format.
•
Invert
If you activate this option, the drawing is inverted, i.e. black and
white colors are swapped.
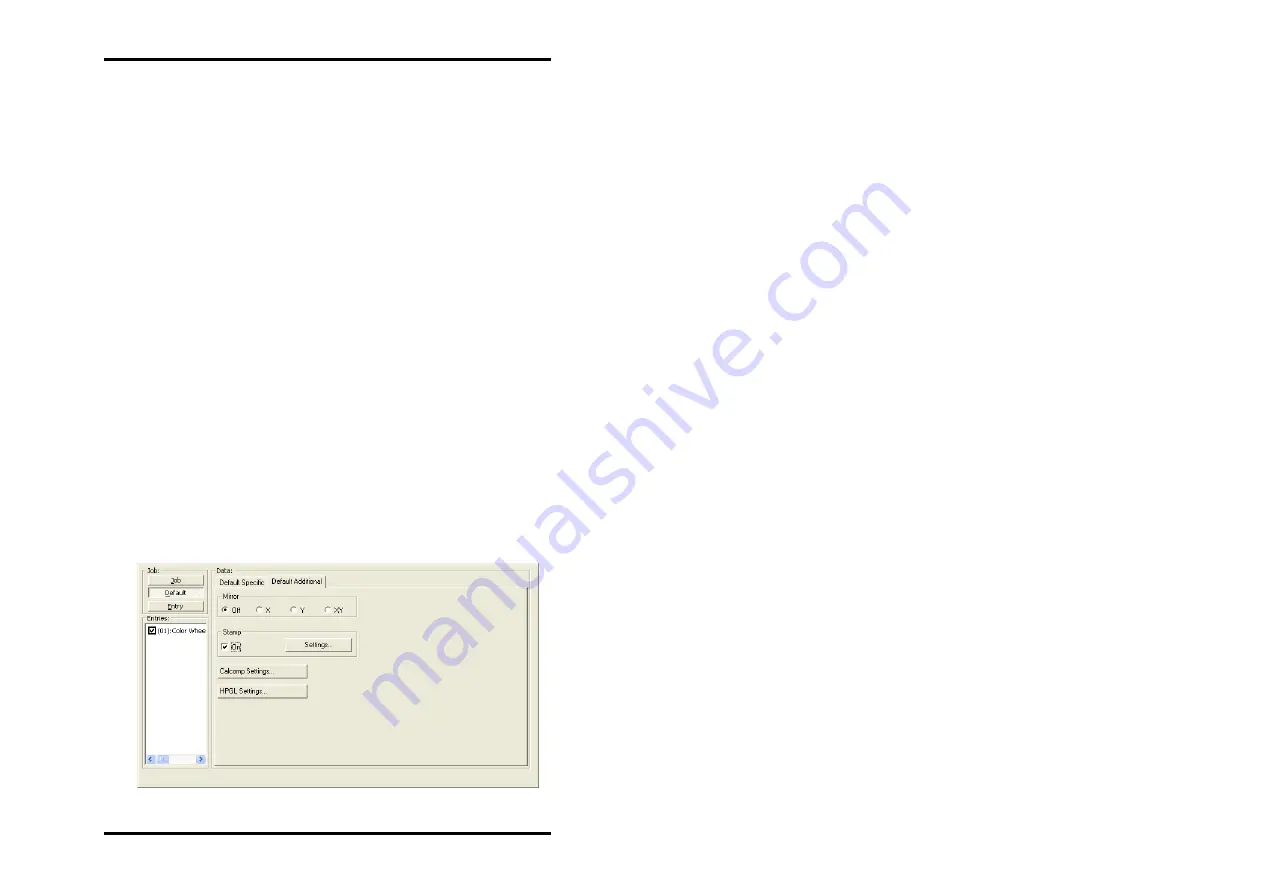
"Default Additional" tab
The "Default additional" tab is used to enter mirroring, stamping
and pen details.
The stamp editor and the pen settings (Calcomp, HPGL) are
each explained in their own chapter. Please read the separate
"Stamp editor" section at the end of this Chapter from Page 46
ff. and the separate chapter on "Pen settings" from Page 53 ff.
RW-480 CLIENTS 43
Содержание RW-480 PLOTCLIENT WIN
Страница 1: ...RW 480 CLIENTS...
Страница 7: ...CONTENTS Index 151 RW 480 CLIENTS 7...
Страница 11: ...Part I RW 480 PLOTCLIENT WIN RW 480 CLIENTS 11...
Страница 15: ...INSTALLATION a job example which you can send off straight away as the first print job RW 480 CLIENTS 15...
Страница 17: ...PROGRAM WINDOW Program window RW 480 CLIENTS 17...
Страница 77: ...Part II RW 480 WINPRINT RW 480 CLIENTS 77...
Страница 88: ...Part III RW 480 PLOTCLIENT HDI ADI RW 480 CLIENTS 88...
Страница 103: ...Part IV RW 480 PLOTCLIENT WEB RW 480 CLIENTS 103...
Страница 136: ...Part V RW 480 PLOTCLIENT MAC RW 480 CLIENTS 136...
Страница 142: ...Part VI RW 480 PLOTCLIENT LPR FTP RW 480 CLIENTS 142...
Страница 150: ...Part VII Appendix RW 480 CLIENTS 150...


