


Daft 2000/12/04
Setting Originals
23
2
D
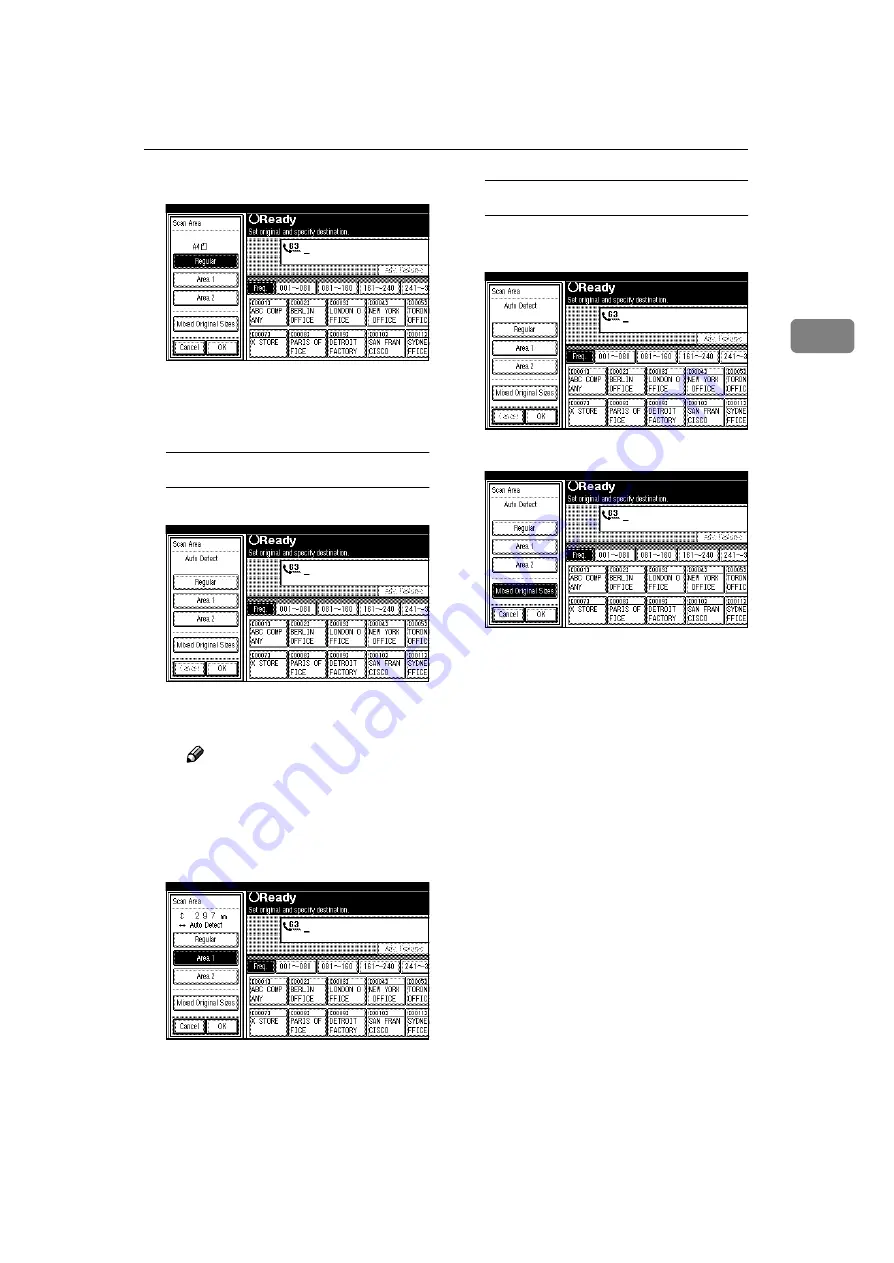
Press
[
OK
]
.
[
Regular
]
is highlighted on the
display and the size is shown
above this.
Specifying Programed Sizes
A
Press the
[
Area 1
]
or
[
Area 2
]
key.
The length and width of the
programed size is shown.
Note
❒
To cancel the set programed
size, press
[
Cancel
]
. The
menu returns to that of step
B
.
B
Press
[
OK
]
.
Area 1 or Area 2 is highlighted
on the display the scan area is
shown above this.
Specifying Mixed Original Sizes
A
Press the
[
Mixed Original Sizes
]
key.
B
Press
[
OK
]
.
Mixed Original Sizes is high-
lighted on the display the scan
area is shown above this.
D
Specify the receiver and press the
{
{
{
{
Start
}
}
}
}
key.