66
Counterpart Counting Scale Indicator
On the Counterpart
Use the following steps to set up WeighVault on the Counterpart side.
1. Enter menu settings and go to Ethernet.
2. DHCP should be set to Off.
3. Set the IP address 192.168.0.1 (this should be in the same range as the computer side, but the last digit is
different. (If setting your system, check with your network administrator.)
4. Set the subnet mask — 255.255.255.0.
5. Set the default gateway, DNS Pri, DNS Sec — no changes.
6. Set the local port — 10001.
7. Set the remote IP address — 192.168.0.02 (this is set same as computer above).
8. Set the remote port — 5466.
9. Set the Vault — set onboard.
10. Set up softkey — Code.
11. IN/OUT softkey — for in/out inventory setup
5.6.2
Using WeighVault
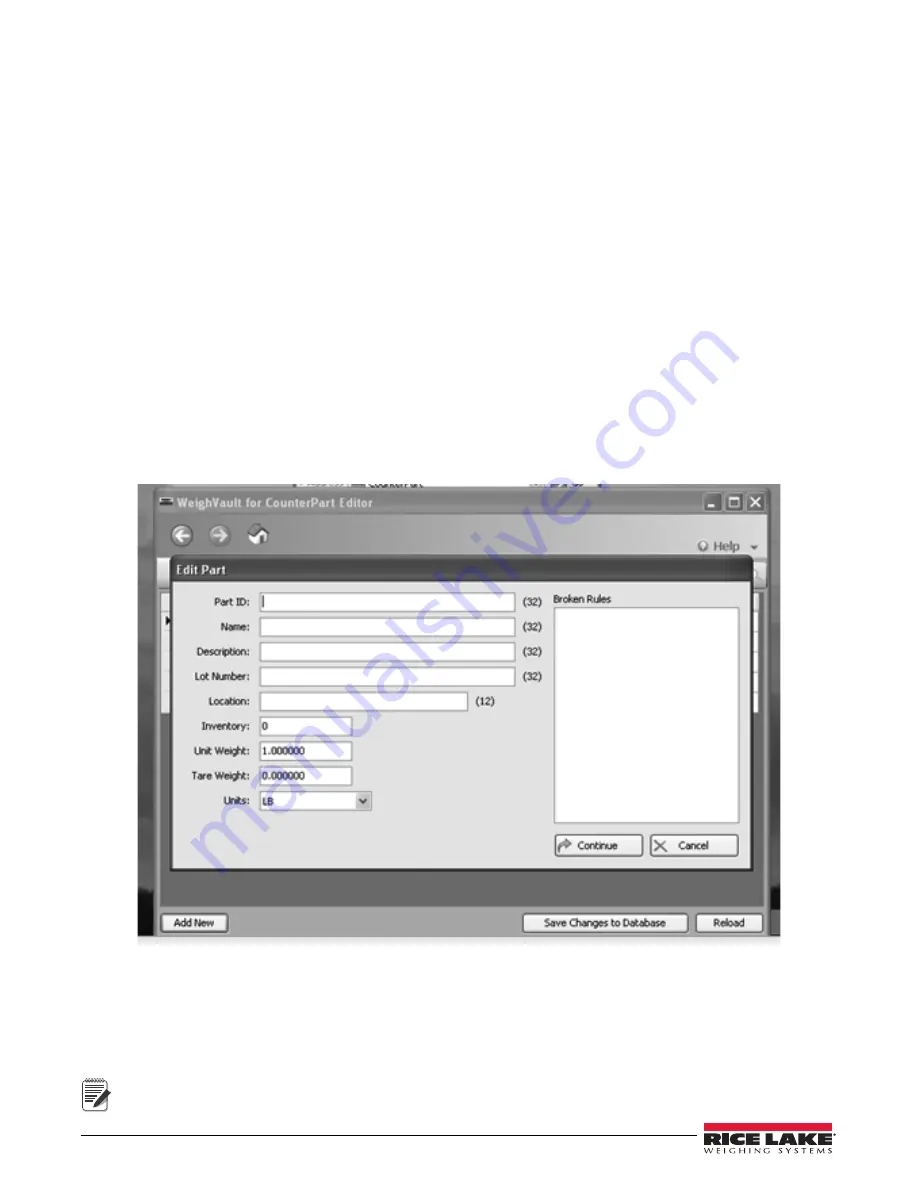
Once the above criteria have been met, IDs can be entered into WeighVault and saved on the PC’s hard drive. The
Edit Product
dialog box in Figure 5-3 shows ID parameters that can be saved in WeighVault.
For testing purposes, enter a few part numbers and click
Save Changes to Database
.
Figure 5-3. WeighVault Edit Product Dialog Box
To access a saved ID from WeighVault over the network connection,
1. Using the
Counterpart
front panel, press the
CODE
key.
2. Enter an
ID CODE
value.
3. Press the
TARE (Enter)
key. The ID CODE is loaded and ready to use.
Note
If the demo feature is complete and not being used permanently with WeighVault, go to your network settings
and turn off the Assign IP Address feature.
Содержание 118788
Страница 1: ...Counterpart Counting Scale Indicator Version 2 5 User Manual 118677 Rev E...
Страница 2: ......
Страница 6: ...iv Counterpart Counting Scale Indicator...
Страница 26: ...20 Counterpart Counting Scale Indicator Figure 2 22 Counterpart Assembly and Components...
Страница 27: ...Installation 21 Figure 2 23 Counterpart Dimensions Figure 2 24 Counterpart Rear and Side Dimensions...
Страница 111: ......


