5.
Windows XP
users can skip to Step 6. For
Vista and Windows7
users, at the
“Installation
Folder”
dialog, the path for the installation of the VNMS software needs to change. The
procedure to do this is described below.
a. Click “Change” and enter the path “C:/Users/Public/Documents/Exmux 3500 Visual
NMS” in the
“Where would you like Visual NMS Installed.”
field.
b. Click Next.
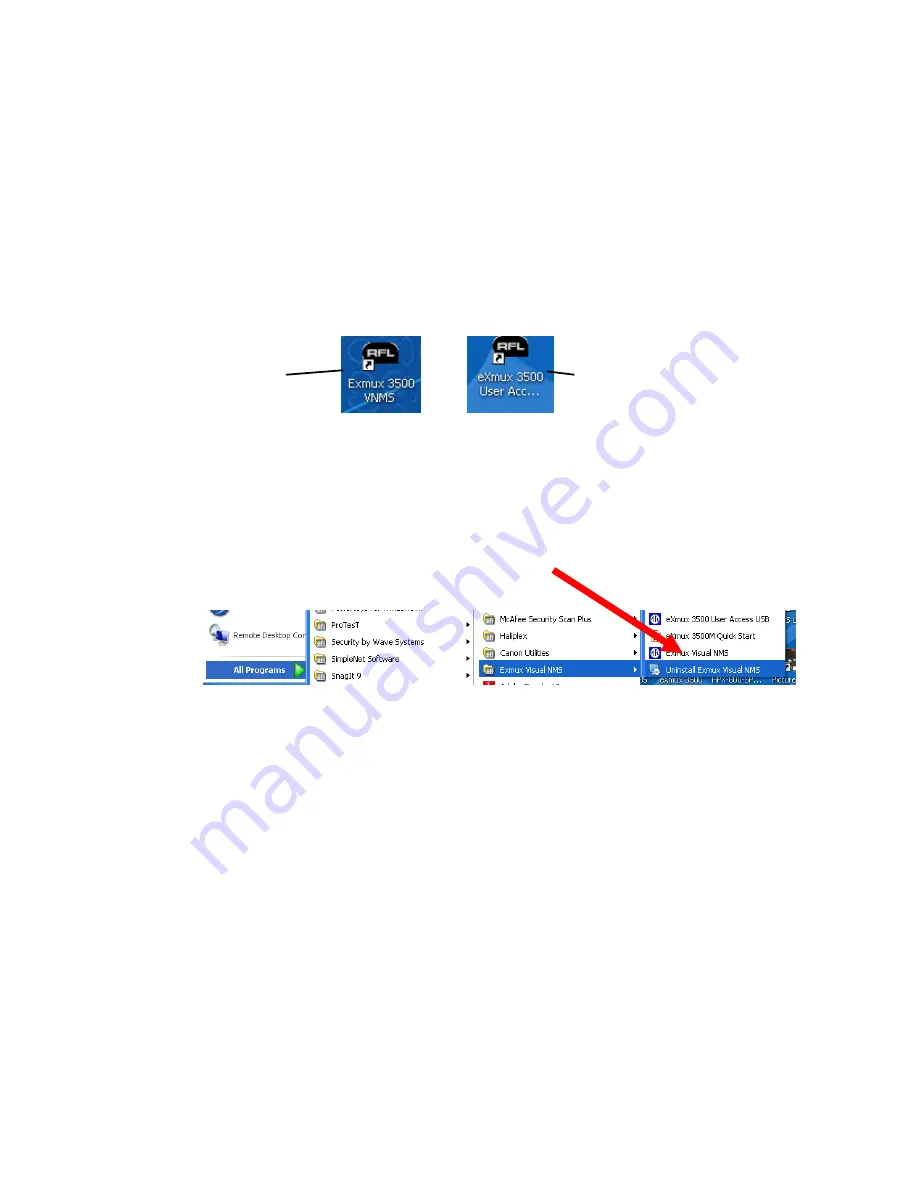
6. When the installation is complete the following icons will appear on your desktop, clicking an
icon will display its full description.
Shortcut to the Visual
Network Management
Software (VNMS)
Shortcut to launch the terminal
program to allow IP programming
through the "User Access USB" port
Installing VNMS over a previous version
The VNMS software is now installed on your computer. Below are instructions for upgrading VNMS
over a previous version.
1. Uninstall the previous version of the Visual NMS
E
X
MUX 3500 Quick Start
RFL Electronics Inc.
May 29, 2013
7
973.334.3100
2. Run the install set-up, for
Windows XP
operating systems simple click “Next” and
complete the software installation. For
Windows 7 or Vista
proceed as follows:
3. Step through the screens clicking next until you reach the screen named
“Installation
Folder.”
Click “Change” and enter the path “C:/Users/Public/Documents/Exmux 3500
Visual NMS” in the
“Where would you like Visual NMS Installed.”
field.
4. Click “Next.” The new version of VNMS will be installed onto your Laptop or PC.
Note: Before VNMS can be used the original activation key code may need to be entered.
Call RFL Customer Service at 973.334.3100 for key code information if necessary.
The following sub-section will show you how to connect to the eXmux 3500 through a USB port in
order to set IP Address information and other limited settings.
Because RFL™ and Hubbell® have a policy of continuous product improvement,
we reserve the right to change designs and specifications without notice.


