1104UESAGBEN, page 24/31
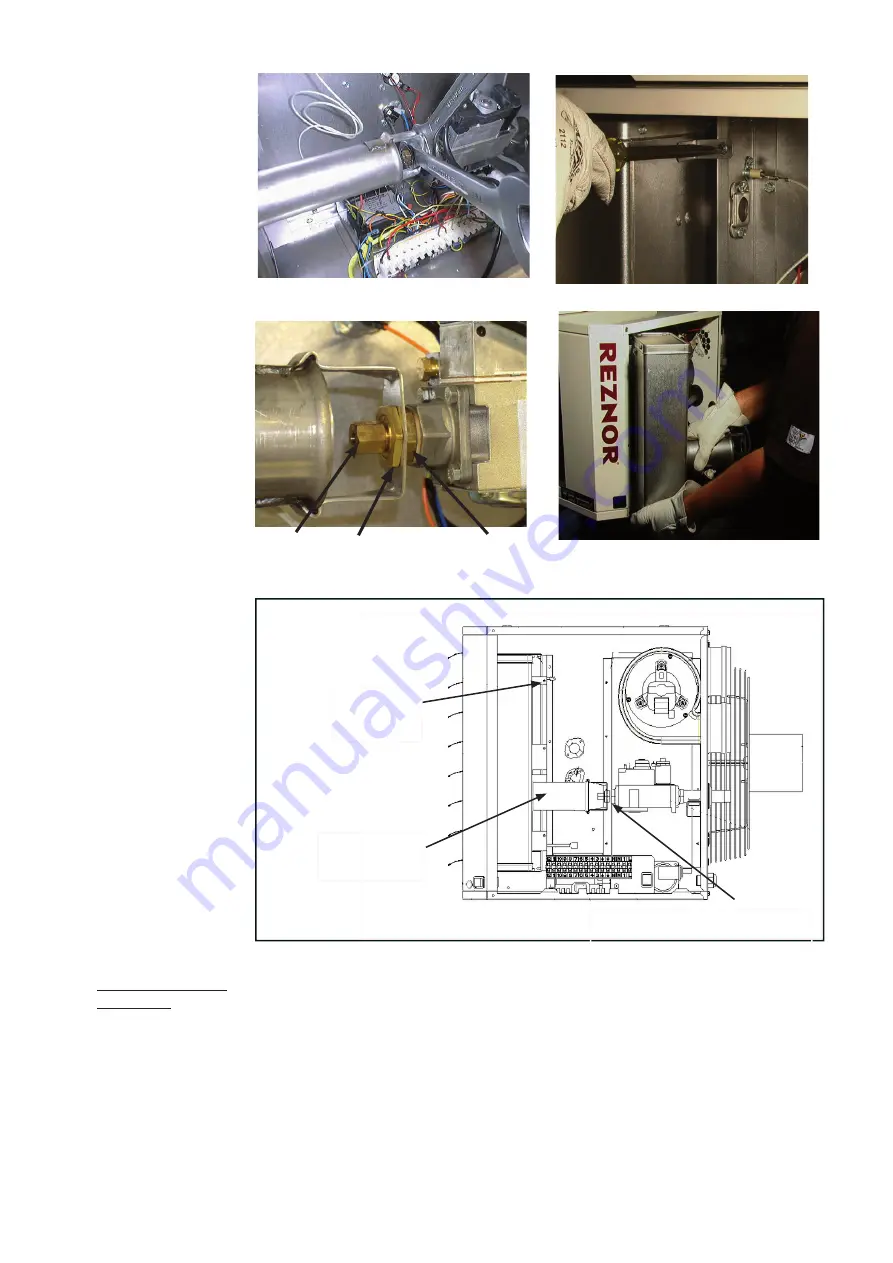
Figure 17a
Figure 17b
burner
ori
fi
ce
Locking nut
Ori
fi
ce
Figure 18b
Figure 18a
Figure 19
Burner removal
steps
Remove screws
attaching burner
Venturi tube : slide
right, rotate out-
ward, pull out
Disconnect manifold at ori
fi
ce and out-
side the heater, slide to the right
With the burner assembly removed, shine a
fl
ashlight on the burner ribbons. Look for
carbon buildup, scale, dust, lint, and/or anything that might restrict
fl
ow through the
spaces between the burner ribbons. Holding the burner assembly so that any foreign
material will fall away from the burner, use a stiff bristle brush to loosen and remove
any foreign material(s). If the burner is excessively dirty, remove one of the burner end
caps. Remove the four screws that hold the end cap to the burner housing. Lightly tap
the end cap to remove it.
Clean all foreign material from the burner and venturi. After the burner is thoroughly
clean, replace the end cap making certain that it is tight against the burner housing.
NOTE:
If any of the burner components are damaged or deteriorated, replace the burn-
er assembly.
Inspect and clean
the burner


